


Model: 840281 model: 840285 model: 840286
Trade names: walled water-saving automatic induction urinators
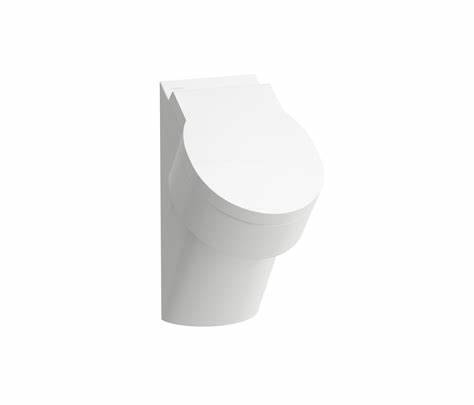
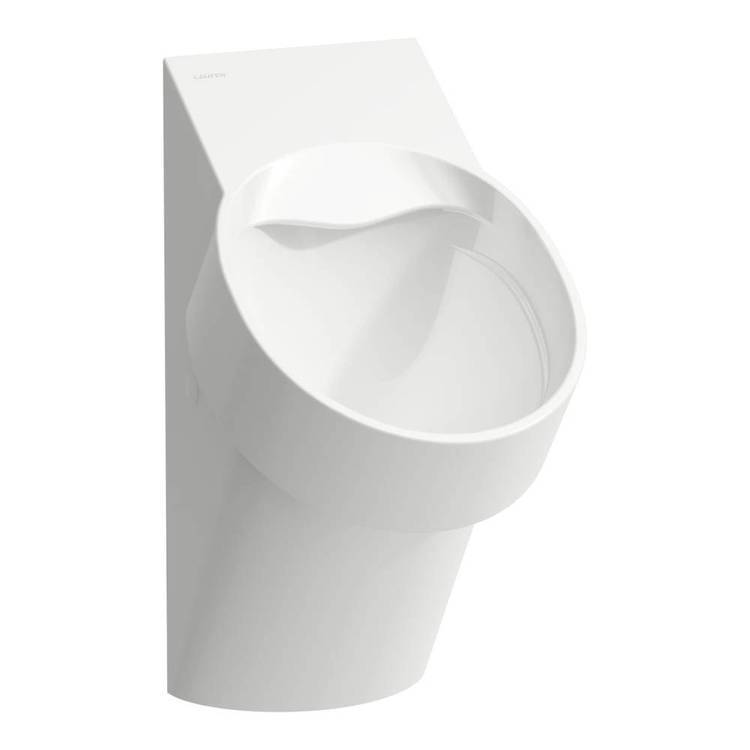
Dimensions: length: 305 mm width: 365 mm height: 560 mm
Water intake requirement: 0. 07 mpa (motion pressure) ~ 0. 75 mpa (silence pressure) i'm not sure
Water efficiency level: 1
Nominal water use: 0. 5 l
Water intake: backwater entry
Perceptive distance: 650 mm in front of sensor window internal
Installation: walled
Power: communication mode
Remarks: power: 220v (50hz)
Functional characteristics:
▪ sensors and urinators-physical design to shape a more modern public space。
The carrying of degenerative water can inhibit the adjunct of water in a urinator. A 2-hour automatic flush inhibits the entropy of urine in a urinal drain。
▪ the use of wisdom, the difficulty of adhesive dirt and the ease of cleaning. There is no need for excessive water and cleaning agents。
▪ sensory flush, with no contact at all. Safe... Sanitary。
▪ spacing of drainage pipes, combined with debactivation of water, and more economical maintenance。
▪ the control department is located at the top of the product and is easy to maintain。
• water flushing: 0. 5 l。
Attention before installation
Warning
It's not like it's in the bathroom,
It's off the water
Otherwise, there is a risk of malfunctioning, electricity outages, etc。
(technology breakers, leaks and circuit breakers must be installed in case of danger。
Use of wires: 600v insulated wires or cables (o1. 6, 02 0mm single line or 2 0mm winch)
(`the power lines shall be insulated and waterproof。
The power lines must not be placed in the equipment, but the power lines must be used to keep them in line,
Otherwise, there is a risk of electrocution, blackouts and fires。
• drainage and electrical work should be carried out after full confirmation。
• prepare power lines on site。
Since you don't need to have a surface line, please use a two core power line. (ac type, microbicide)
Water pressure range: the required water pressure is 0. 07 mpa (when moving at 9l/min) and the water pressure is
0. 75 mpa. Please use this pressure range。
Be careful not to damage the sensor surface。
Since it's electrical equipment, please be careful not to shower。
Sensors are exposed at an angle as well as at sensor distance. Also, if you have to install an arm in front of a urinator, bet on it
No barrier in the aerodynamic sensor induction area (stabilized sensor area or within unstable sensor distance)。
Reactionable objects, such as mirrors and stainless steel, are installed within 3 metres of the side of the urinator, resulting in the mishandling of sensors。
Even vertically installed mirrors, stainless steel, etc., from a distance of 3 metres can produce a reflection of the ground, causing the sensor to be wrongly operated。
It may not work in an environment of strong light exposure。
. There is a risk of error of operation due to the use of an infrared transducer or other equipment。
• there is a risk that water will remain in the commodity and that it will not be problematic, as water is inspected prior to packaging。

~pressing a fixed metal piece from the inside side of the urinator, then wringing the bolt with the inner six-angle wrench (known as 4 diameter)。
♪ put the decorating bolts on the outside. ♪ (standard: 8mm or so)
# the cotton that will be attached to the surface of the top covers will be pressed to the wall and placed on the top。
. . . . With a six-angle wrench to tighten the bolt, fix the urinator and the top cap。
Be careful not to overwhelm the nut, otherwise the urinator and the top cap will create cracks。
When the top covers are fixed, if there is a gap between the top cap and the urinator, untie the decorator bolt and re-write the gap evenly on both sides to remove it。
Since the urinator is produced in combination with ... The upper cap, the upper cap shall be fitted to a urinator in the same packaging, and if the urinator is fitted to a top that is not in the same packaging, there may be shaking。
Please confirm the assembly with a numbered sticker on the side of the urinator and on the back。
? When a fixed metal piece is removed, refer to the left chart for assembly。
