As a blogger, there is occasionally a need to build pure HTML static sites -- such as personal work collections, project display pages, simple navigational stations -- which do not use databases, complex back-ends, and use the pagoda panel to build it as "a half-do." there were fans who asked, "how can a pure HTML file be accessed on the server?" in fact, with the three core steps of the "new web page upload access test" three, the zero base is working. Today, by tearing down the whole process, with a hole that two newcomers have to hide, the collection can go right into it。
If you're going to use the bean bag ai, you can get the bean bag ai to create a HTML page to put in the pagoda。
I. Preparatory: 3 things must be done first (none less)
Before starting construction, confirm 3 preconditions to avoid subsequent operation of the shell:
Servers and towers are ready
Check method: log-in to the left side of the tower panel [software management] to see if nginx/apache is installed, or not installed first (about 5 minutes)。
Ports are open (key! Otherwise inaccessible)
The static website needs to be open with two core ports to ensure that both the server firewall (such as the aliyun security unit) and the tower firewall are released:
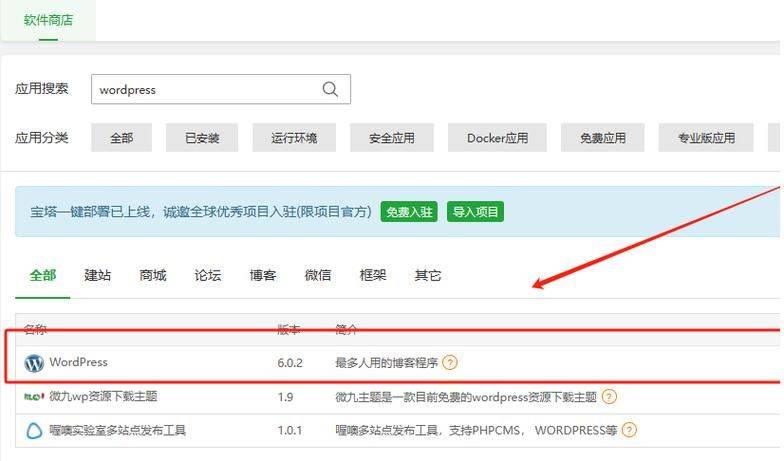
Configuration method: aliyun conservator sets up 80, 443 port to the server [firewall]; the tower panel [safe] 80, 443 port。
The HTML document is ready for the second, core step:4 step to build the HTML static website (with a stop-chart alert per step) step 1: create a new "static website" (the key is a "no database") on the tower panel
Once you log in to the tower panel, create a web container to let the server know where your HTML file is to be placed and what domain name to access:
Click on the left-hand menu [web site] [addend], pop up the configuration window; fill in the information (new hands to default) as follows: domain name: fill your domain name (e. G., “test. Com”) to ensure that domain name is deciphered to server public network ip (my collection of HTML works); root directory: default is “/wwwroot/domain name” (e. G., “wwwroot/test/test. Com”) to add a records, host log to server ip; no domain name: fill the server public network ip (e. G., “120. Xx. Xx. Xx”), follow-up ip access; note: simply fill (e. G., “my collection of HTML works”) to facilitate self-identification; root directory: default is “www/wwwroot/domainname” (e. G., “wwwroot/test. Com”), without changing this path, not to send HTML files to here; ftp: choose not to create” (less station files, use a tt server) to make it easier to select a database (p) static stations do not need a php environment, choosing this to reduce server occupancy and avoid php-related errors; click on [submission], the website is created and newly created sites are visible in the [web site] list。
Interception tip: the tower "add web" window screenshot is marked as the three key positions of the "database selection `no creation'" "php version selection `pull still'"。
Step 2: upload HTML files to the website root directory (both options selected)
Once the container is installed, the ready HTML files are sent to the root directory (the "/www root/ domainname" path in step 1) and two methods are recommended:
Method 1: the paeta takes the "file manager" (first-in-hand, without additional software) back to the [web site] list, finds the newly created site, clicks on the right [root directory] and enters the file management interface directly; removes the "default files" from the root directory (e. G. "index. HTML" “404. HTML" ), which are generated by default from the paeta; clicks on the upper left corner [uploading] [uploading of files and/or uploading of directories]: single files: drag directly into your index. HTML, style. Cs, etc.; multi-file items: wrapping all files into zip compressoring packages, uploading them and then pressing them to the current directory (e. G. Directory); after uploading them, confirm that the root directory has an index. HTML document (must be the name, server default loading index. HTML as head page)。
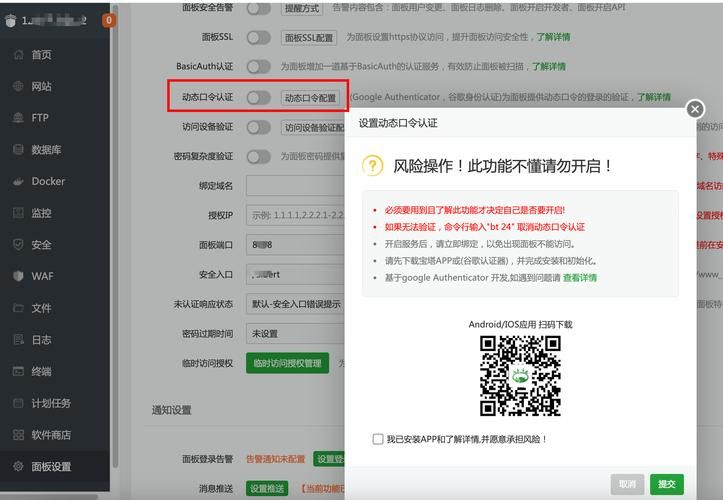
Cut-off hint: a pagoda file manager screenshot, indicating the location of the "deleting the default file " " upload button " " unpressure button " 。
Method 2: upload with ftp tool (suitable for large files / batch upload, recommended filezilla)
If you have multiple HTML project files (e. G. Dozens of pictures), use ftp tools more efficiently:
Download installation filezilla (free of charge), click [file] [site manager] [new site]; configure ftp connection information: protocol: choose "ftp - file transfer protocol"; host: fill server public network ip; port: default 21 (to fill modified port if the tower changes the ftp port); login type: select "normal " ; user / password: the tower panel [ftp] [add ftp] (a new root directory is created here if it has not been created before); click [connection] to the left is a local computer file, and to the right is the server website root directory, drag the local HTML file directly to the right root directory. Step 3: access testing: open your HTML website with an ip/ domain name
Once the file is uploaded, test for regular access:
Use ip access (where no domain name exists): open the browser, enter "http://server public network ip" (e. G. Http://20. Xx. Xx). If you can see your HTML page, describe the success of the installation; enter "http://your domain name" (e. G. Http://test. Com) and see the success of the page; test the internal link: if you have a jump link in HTML (e. G., "for me. HTML" work 1. HTML), if the click test is properly open and the path error is avoided (e. G. The link is written as "./a.""bout. HTML" is the relative path, correct; read "c:/a"It's a local path, error. Step 4: (optional) install ssl certificates so that the website displays "small green lock" (safer)
If you have a domain name, it is recommended to install a free ssl certificate so that access can change from "http" to "https", where the browser displays "small green lock" and more professional:
Go back to the tower [website] list, find your website and click on the right [ssl]; select "let's encrypt" (free certificate valid for three months and the plaque will be automatically renewed); tick "autore extension" and "compulsory https" (quoted access to http will automatically jump to https); click on [application], wait a minute, the certificate is automatically installed and the certificate is refreshed to view the green lock. "404 not found"
Reason 1: there is no index. HTML file in the root directory, or the file name is wrong (e. G. “index. HTML” “index. Htm”, server only lowercase index. HTML); solution: confirmation root directory is index. HTML, file name is strictly lowercase and suffixed. HTML. Reason 2: HTML files have been misrouted (e. G. In “/www/wwwroot” instead of “/www/wwwroot/ domainname”); solution: go back to [website] list, click [root directory] and confirm that the document is in the correct root directory。
Pit 2: access displays "502 bad gateway"
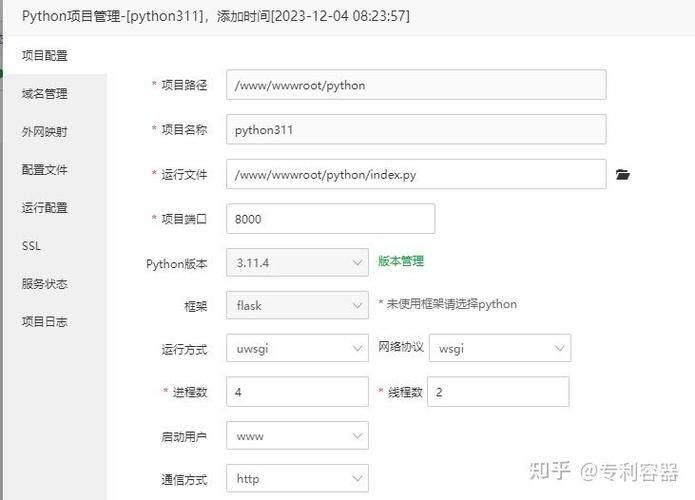
Reason: the php version was wrong (e. G., “php 7. 4” instead of “pure static”, static stations did not have php files, leading to errors in server reporting); the solution was to go back to the list of [websites] and find the website to click on the right [sets] and select “pure static” click [storage] five minutes later。
Iv. Optimizing skills: making your HTML website available faster (required by the organizers)
Upon completion of the setup, do two minor optimizations to enhance user access:
Open gzip compression (reduce file size, load faster): %1 %1 %2 default cache time (e. G., 30 days for picture cache, 1 day for HTML cache) saved. Summary: core logic of static station construction
In fact, using the tower to build the HTML static station, the essence is "tell the server three things":
Use which domain name / ip access (the domain name of step 1 is configured); which location of the HTML file is on the server (the root directory of step 1); and which rules are used to parse these files (step 1 selects "pure static" and allows nginx to process by static file rules)。
The whole process can be done in five minutes after it's mastered, and it's especially good for the organizers to quickly build their collections and project presentation pages. If there are other errors in the operation, please leave a message in the comment area and i'll analyze them for you