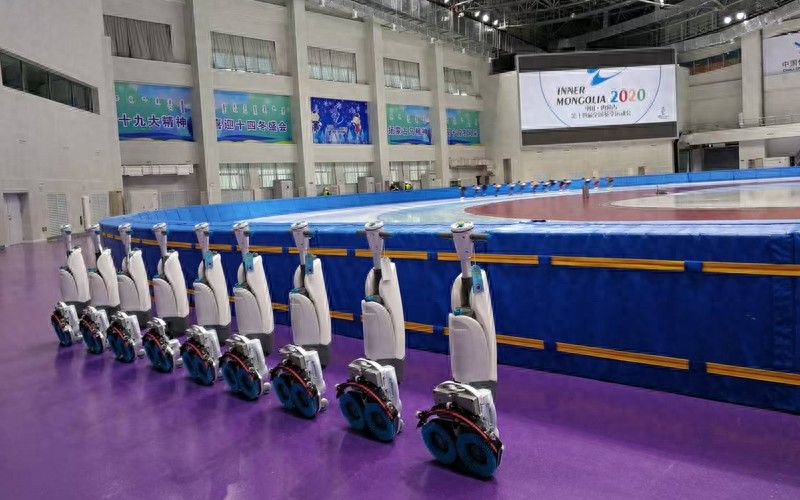
1. To improve the efficiency of the operation of the equipment in automated production, the juki sticker is equipped with practical software functionality to easily reposition the smt transmitter. Its core objective is to optimize the path between material pick-up and component adhesion and to make the journey as short as possible, thereby reducing the beat time and improving overall production capacity. This layout process is usually pre-pre-production and contributes to efficient and smooth operating processes. The method of operation is as follows: click on the top of the interface, the feeder option, with the left area to list all current sender names in a01, a02, etc.; select nozzle to sort the senders by each snuff number; if you click total, the system is sequenced according to the number of feed per transmitter, and the frequency of the extraction is higher. When working at the bottom of the interface, clicking on feeder gives the right list a standard order of delivery of a01 and a02; selecting single automatically follows the optimal path for single-headed material to ensure the shortest pick-up distance; and after clicking on the pair function, the system repositions the sender according to a two-headed synergetic operation model to achieve the optimal configuration of the two adhesive headers while collecting the material, especially for the production scene that requires an efficient two-channel operation. These intelligent sequencing can significantly improve the operational efficiency and production rhythm of the equipment。
2. After the rearrange has been completed, click on the name of the current sender with a black arrow in the left box, then select the name of the target sender that needs to be replaced, confirming that there is a black arrow on the left side. Click the blue left arrow button to move the name of the selected smt used paster to the new feeder display area and complete replacement。
3. Switch orbital buttons
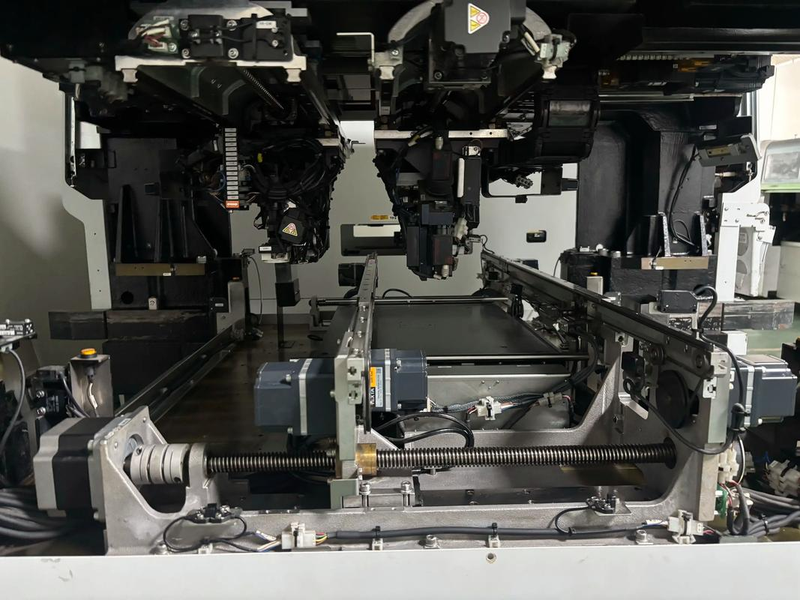
4. Press and release the orbital switching button to show that it will be switched to another orbit, and re-engage. The 2 x 8 mm tower consists of two separate 8 mm towers, all of which are managed by the control panel, but only one orbit can be activated each time for operation. Keys for moving forward, backsliding, scrolling and setting are valid only for currently activated orbits。
A forward button operation statement: a short press, with the material belt moving forward by the set step distance; a long press, which continues - without the scrap collection, the material belt will continue until the hand is loose; if there is a scroll function, the material belt will be recycled and the button will be released。
6. Back button instructions: short press allows the material belt to move one step backwards at the current step distance; long is treated according to the circumstances: if there is no waste roll, the material belt continues to recede and the waste wheel does not return; if there is a material roll, the dismantling procedure can be carried out; if there is a wrong trigger, the material is automatically activated. Special reminder: when the operation goes back, it must open the material cover or activate the locking device to avoid the removal of the waste belt。
7. After pressing the scroll button, the voltage scrap power is activated and continues to function until the following events occur: the button is released or the pressure time exceeds 30 seconds and the waste support is not tightened. When the scrap belt is tight, it pushes under the shaking arm until it is cut off。
8. Step distances and material extraction positions can be set by setting a button to work with the forward, backward and scroll buttons。
9. The status screen is used to reflect in real time the operational status of all orbits and the incorrect information. For the 2x8 mm feeder configuration, there are three main types of common errors: orbital error, processing error and modular error. Orbital errors are usually triggered by electrical malfunctions or abnormal sensors in the feeder module and are clearly indicated on the screen. The processing error is sent by the sticker and passed to the corresponding supplier and displayed in the display unit. When the control unit fails and affects the entire feeding module, it is shown as a modular error. Once there is a problem with the feed module, both individual and two led lamps will be red, indicating a malfunction. Step distance led lamps indicate the type of error by scintillation in different ways: leds are shown in slow-scintillation mode for module or orbital errors, and the meaning can be compared to the corresponding statement table. Special alarm: when a module error or orbital error occurs, if the operator presses a button other than the orbital selection key, the screen will temporarily display the current step distance setting, but the status indicator remains red. One second after the release of the button, the system will automatically restore the original error type to ensure that the operator is able to accurately identify and process the malfunction information associated with the orbit。