

The led light in the house hall or bedroom was broken, generally in the form of no light or dark. At this point, some friends will buy a new big lamp for the builder; others who are capable of doing so may buy a flashlight with the same watts and change it directly. So is it possible not to buy a new big light or change a flashlight
It's actually possible. But only friends who are capable of doing things or who have some knowledge of the circuits。
In general, it is recommended to buy a new light drive, which would be more economical than a direct change of light. Like this:
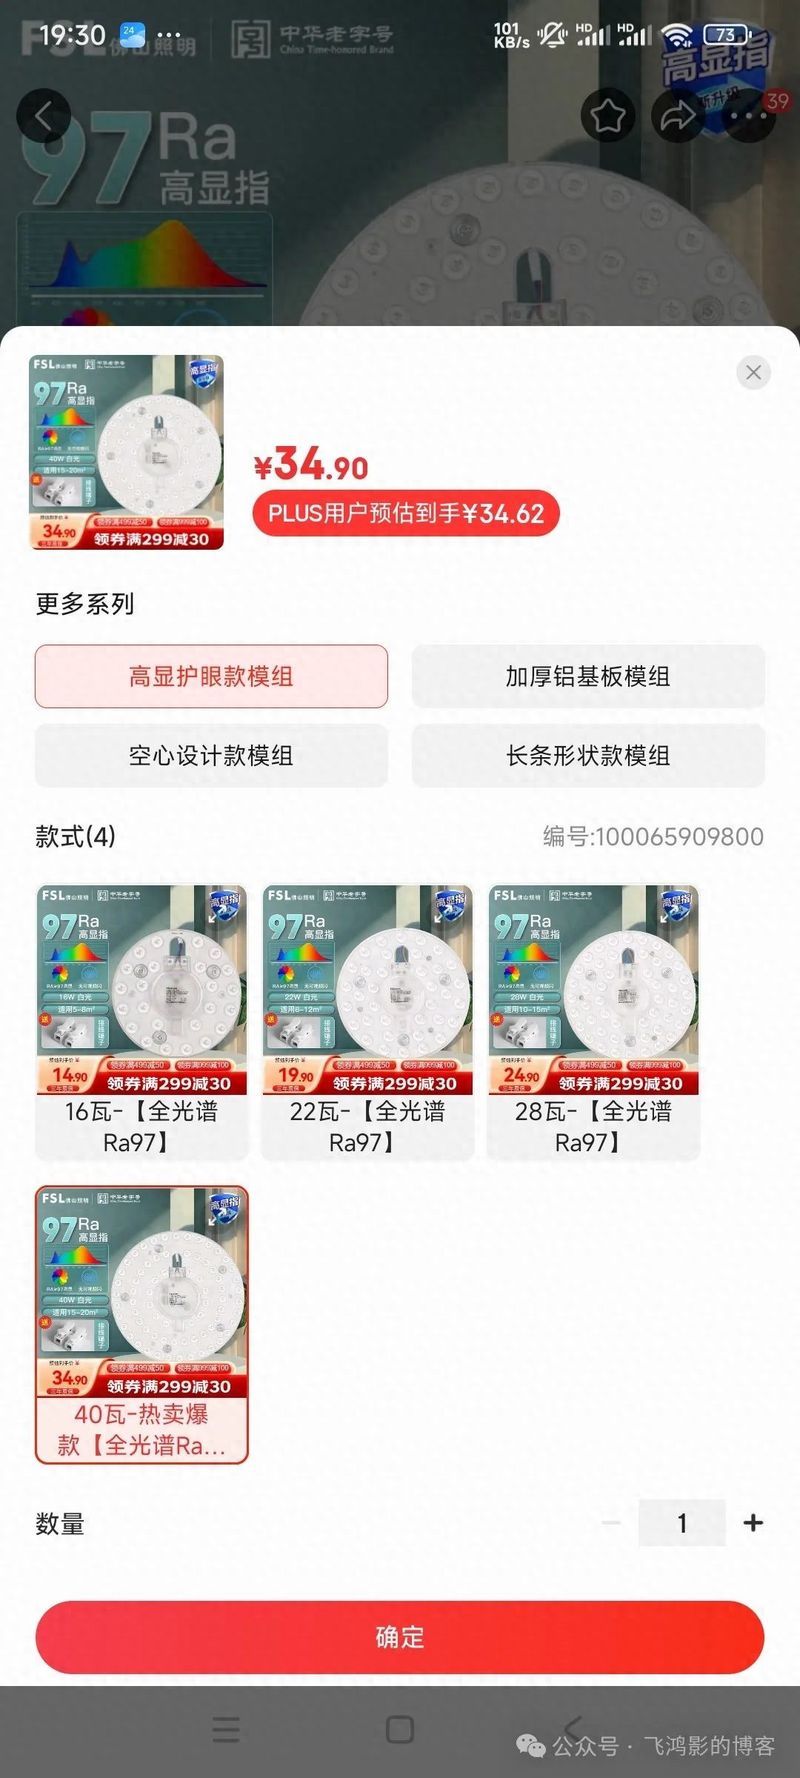
Just take off the old lights and turn on the new ones. We're going to have to cut the switch。
The purpose of this paper, of course, is not to teach you how to change the lights, but to teach you how to fix them, based on a practical example. For some of the more special types of lamps, it may never be possible to buy the same type of lamps again, and it is best to repair them。
The operation is in danger. Please don't try it so easily
Common light damage is often caused by:
1. Lamps damage:
Some of the lamps were not on after the led lights were turned on, and it was generally clear that they were damaged. The damaged beads can generally be seen with the naked eye: there is a black spot on their surface that proves that they have been burned. Sometimes the beads are linked together, so the loss of a particular bead causes a single bead to fail。
(1) minor damage:
If only one or two beads are broken, we can repair them in both ways: find the broken beads, connect the metal at both ends with a single wire, and cut it short. The effect of this is that most of the beads can be activated normally, with only broken individual beads remaining unlighted and having little impact on overall brightness。
(2) mass damage:
In the event of extensive damage to the bells, it is recommended that the entire bellboard be replaced. Lampboards are also available online, with three points to be noted when purchasing: measuring the size of their own lamps; looking at the bellboard and starter interface; and remembering the output range of the starter。
2. Starter damage:
Most of the led lamps fail on the starter - if the light is completely down, or if the lamp flashes, such as when the light is turned on, the whole lamp fails, and in all cases the starter is broken. The starter can't be repaired, it can be replaced, and it's not expensive for the starter. Three points should be noted when purchasing a new starter: watch the interface - the switch is as follows (if the starter is a head, the beadboard is the mother; and vice versa). Remember if your own lights can change color and several colors. New starters must have the same number of colour variations as old starters. Keep in mind the output range of the starter - the starter will mark a range, as long as the lightboard power is within that range。
Then we look at the specific maintenance process。
Symptoms: the lights are dark. The constant flow-driven (white box) output end voltage can be tested if there is a universal watch on hand, usually at 45 to 85 volts。
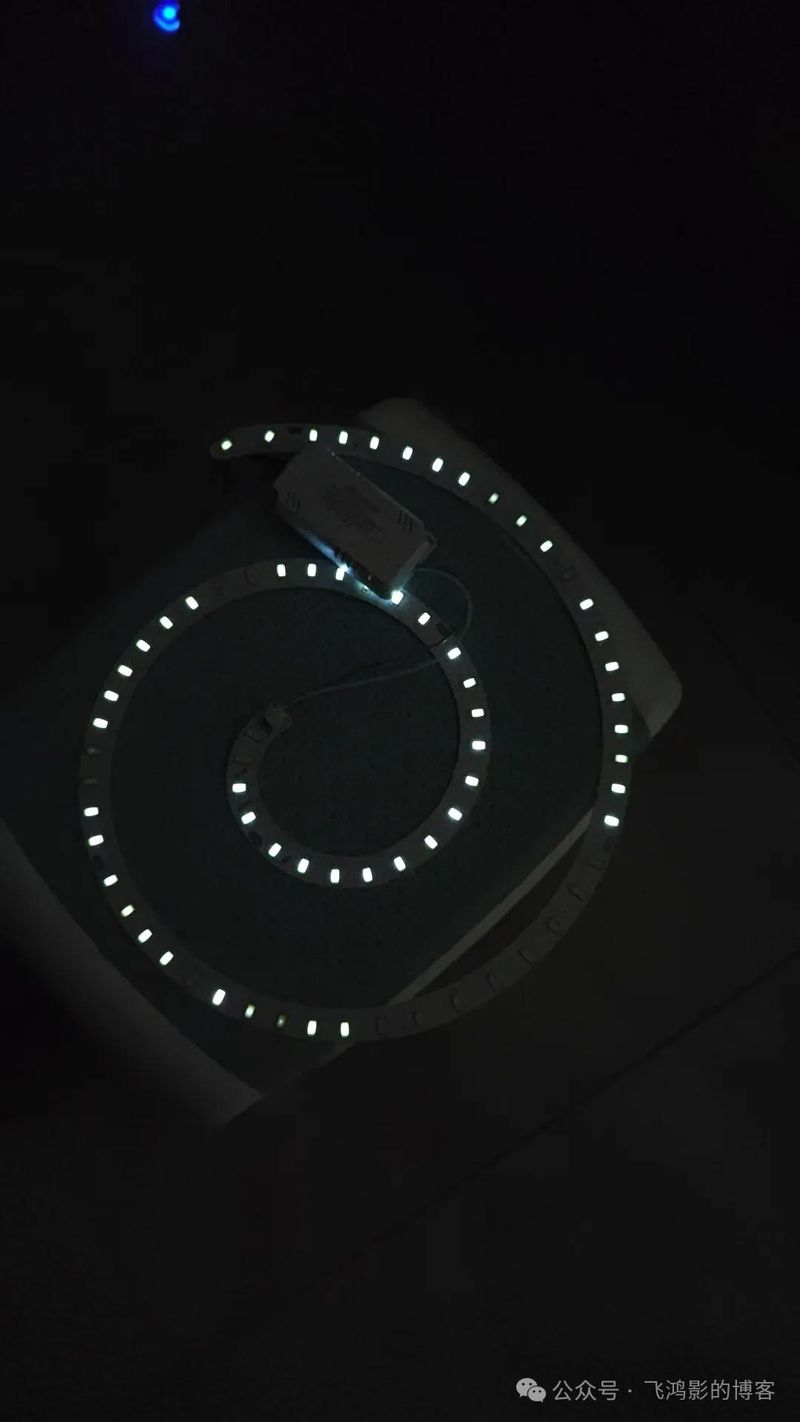
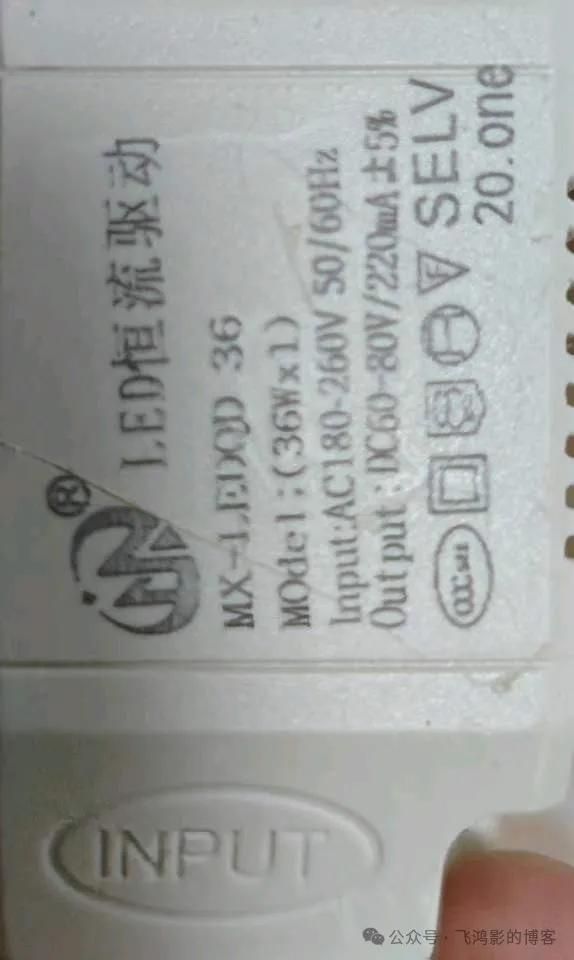
The following maintenance is performed:
1. Dismantling of the original lights
2. Production of a bead test tool, such as maps:
Fulfilling the voltage is 3 volts. (led activated voltage 3v, current 220ma)
I took a 3v button battery and made it using a one-size-fits-all chart. It's a way to light up the led light, and it's not very bright。
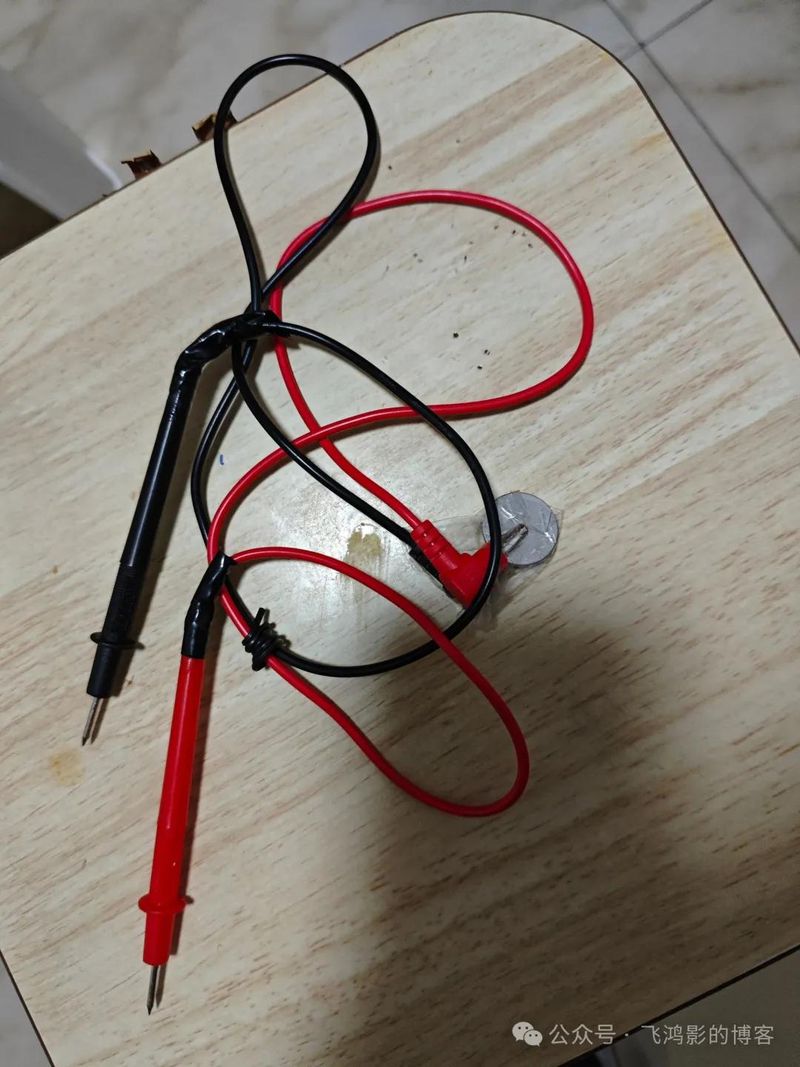
3. The light beads are normally connected in two or three clusters and are then linked to other clusters。
In this example, the beads are a two-chamber and then a serial process. The test is done in a set of two beads. If two of the beads tested are broken, i. E., they are not lighted, there must be a road opening; if only one do not affect the whole. Remember to mark the bad。
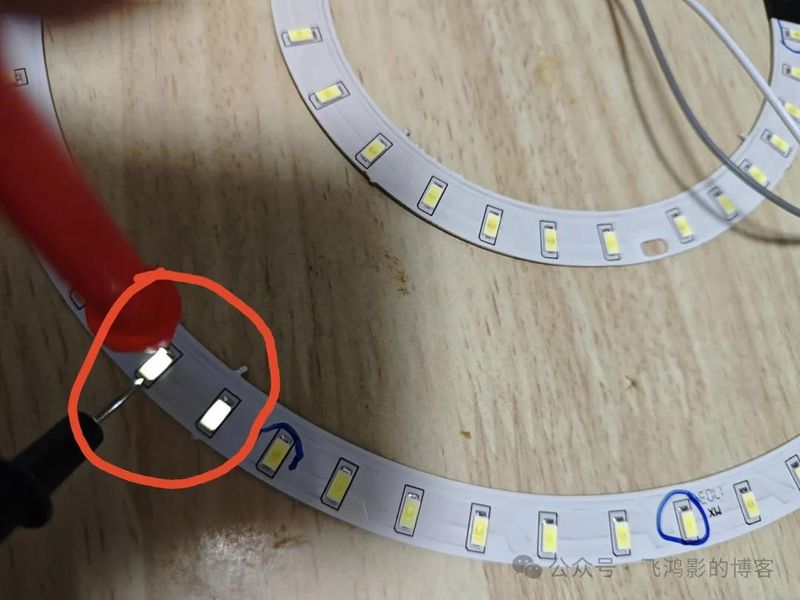
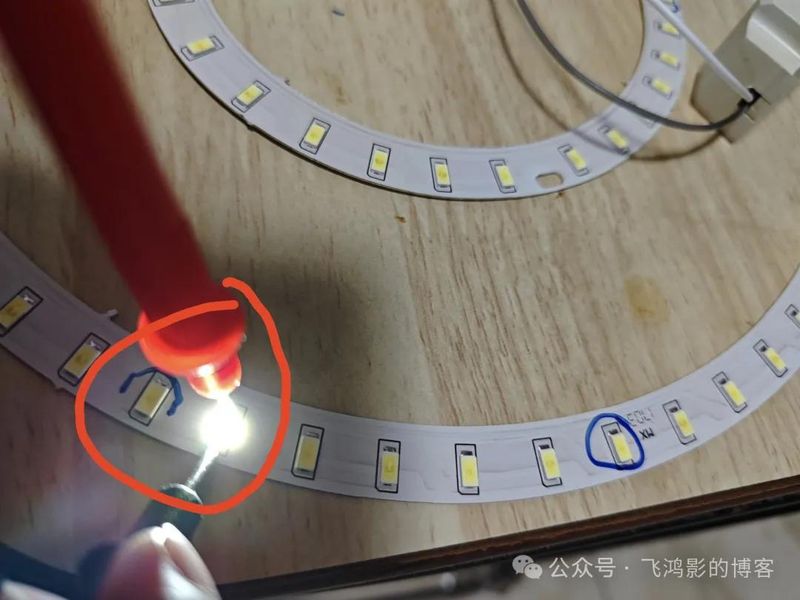
In the end, the number of damaged beads (only one in the group, regardless of the damage). If it is too small, it can be easily repaired. Here's two of them. They're all broken. Then i cleaned one of the beads with a knife, connected it directly with a steering line and wrapped it in insulation。
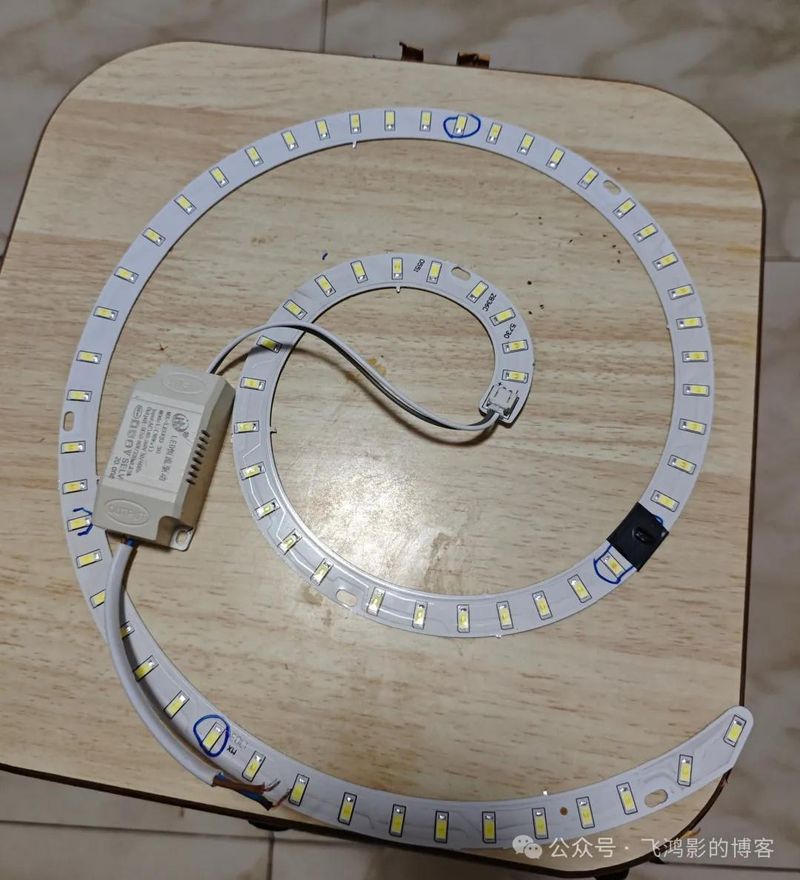
5. Then connect the conductor to the power test:
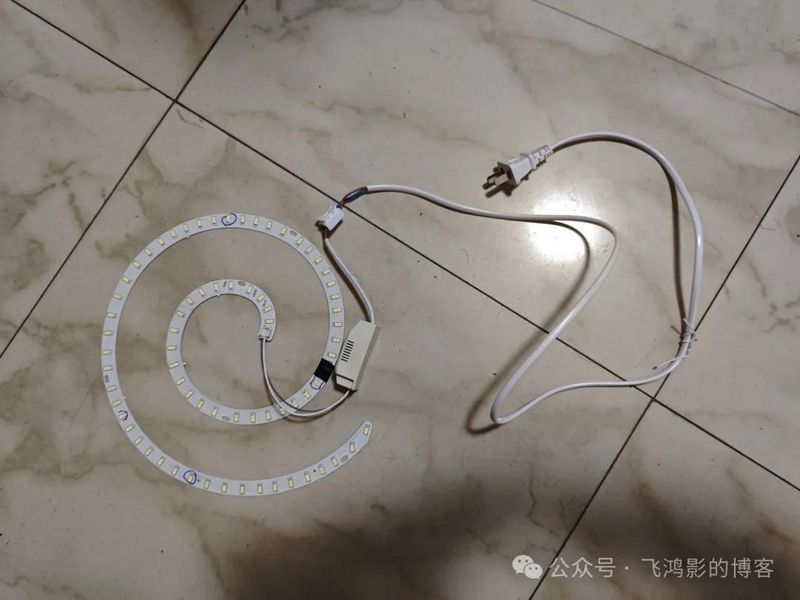
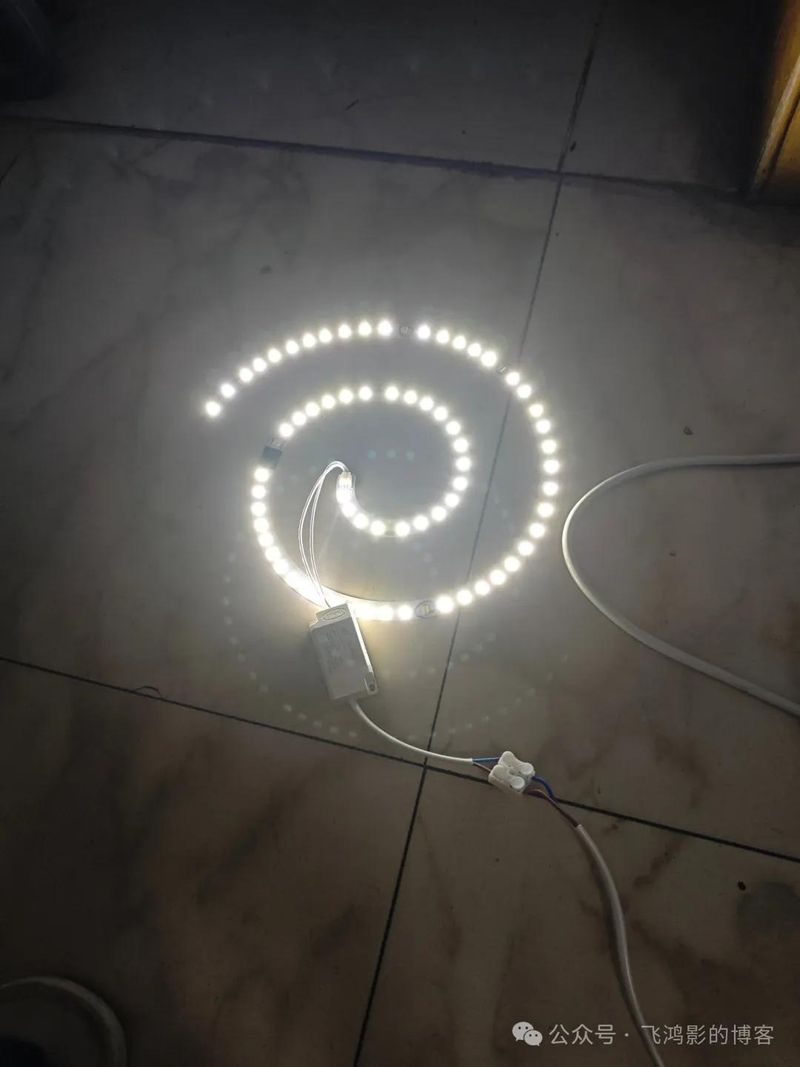
It's recovered. Finally, the switch will be removed and re-installed。