


Using appropriate tools, we can quickly check the state of computer hardware. Regular checks and maintenance of computer hardware through systematic inspection steps can ensure that our computers remain in optimal condition and avoid, to the extent possible, data losses due to hardware. Electricity
Brain hardware has a limited lifespan and failure is a matter of time. If we do not want to lose valuable data because of sudden computer failure or because of the loss of hard drives, then we need to test hardware on a regular basis. With the appropriate tools, we can do this easily. Next, the chip will present the steps and tools of the inspection。
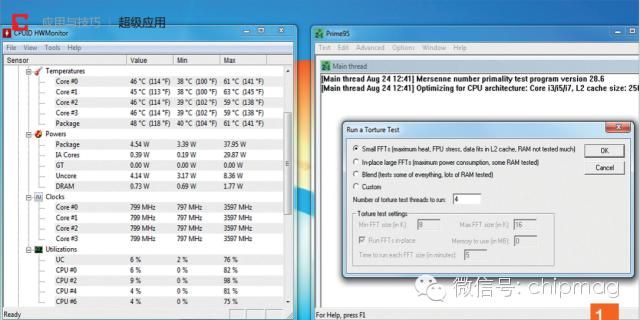
1. Cpu: pressure testing
Download install hwmonitor
Www. Cpuid. Com/softwares/hwmonitor) and prime95 (www. Mersenne. Org/download). Start prime95, click on “just stress testing”, select “small ffts” in the “run a torture test” dialogue box and hit “ok” to start the stress test. It will take about 20 centimetres of time to run the hwmonitor while observing the temperature of the chip, and if over 80 degrees or alarms appear, action will be taken to process it immediately
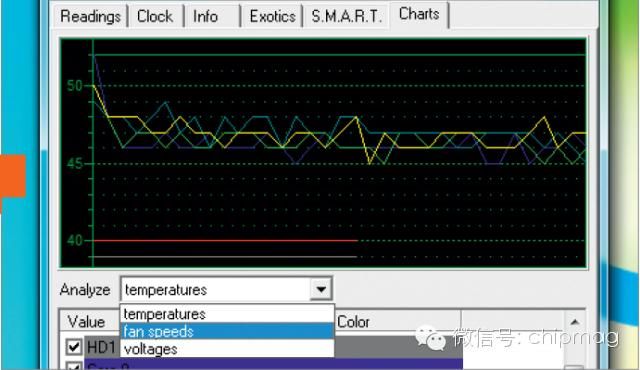
2. Fans: monitoring speed
Install and start speedfan
Www. Almico. Com/speedfan. Php), switch to the "charts" tab and select "fanspeeds" from the "analyze" drop-down menu. Select all the fans through a check box in front to observe the values tested for a certain period of time. If the speed of the fans fluctuates, then we should consider cleaning them or replacing them if the cleaning is not effective。
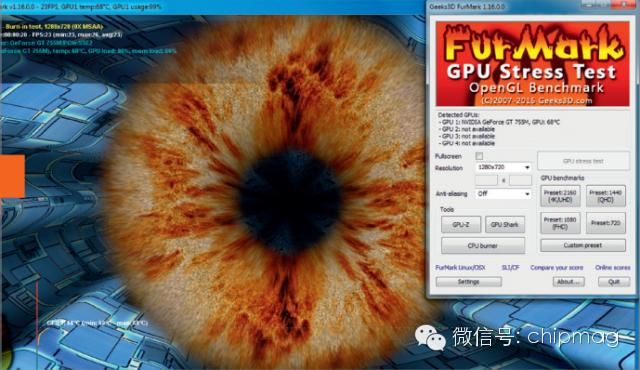
3. Display card: comprehensive testing
Install and start furmark()
Www. Ozone3d. Net/benchmarks/fur), click on “gpu condition test”, and a new window will be opened. If large objects are found to move rapidly in the test window, this usually means that the graphic processor is defective. On the other hand, the display box indicates that there is an error in the memory of the display card. Furmark will also display the temperature of the display card during the test and, if the temperature exceeds 80°c, the pressure test should be stopped immediately. Check to show a card radiator and, if necessary, wash or replace it。
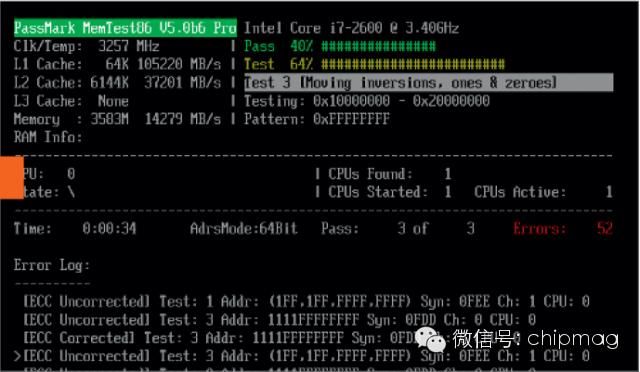
4 memory: finding fault module
Download the memtest86 iso file (www. Memtest86. Com) and record it on cds or dvds, using a cd-rom to start the computer. Note that to start with a cd-rom, we need to set the correct steering drive on the bios. After the cd-rom is activated, memtest86 will start automatically. If the tool detects an error, we should remove all the memory and then retest it every time we use only one memory to determine the malfunctioning module。
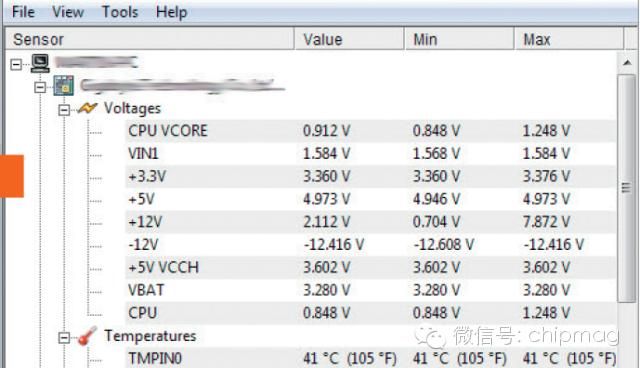
Power adapters: observation of voltage fluctuations
Install and start hwmonitor
Www. Cpuid. Com/softwares/hwmonitor) undertakes a test project to look at “voltages” and to observe the monitoring values of “3. 3 v”, “5 v” and “12 v.” they are the output voltage of power adapters. If the volatility of “min” and “max” in the data columns exceeds 0. 5 v, then we need to consider replacing the power adaptor or sending the power adaptor to a specialized institution for repair。
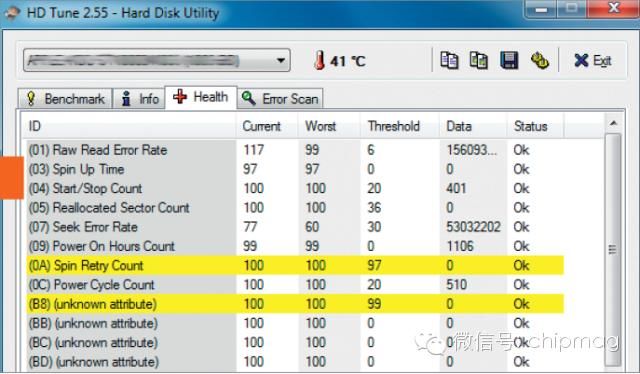
Hard drive: health check
Install and activate hd tune (www. Hdtune. Com). We can view the current operation of the hard drive from the "health" tab, and the hard drive can be checked from the "errorscan" with the temperature of the current hard drive shown next to the thermometer above. Ideally, it should be between 25°c and 40°c。
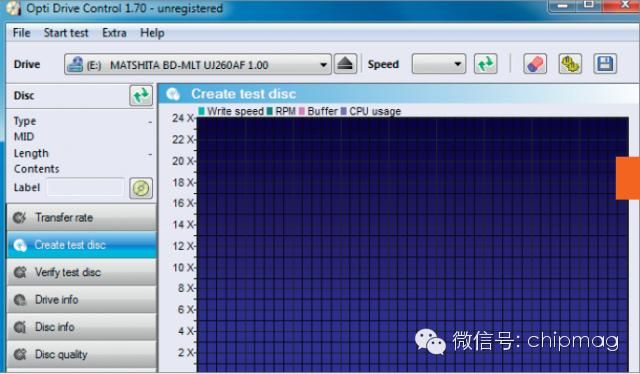
7. Optical: test writing
Install opti drive control (www. Optivcontrol. Com) with a blank cd-rom
(opti frive control supports cds, dvds and blue light media) put in the writer, start the tool and select "create test disc", remove the "test write" selection and click "start". After writing, we can thoroughly check the writer through "verifytest disc". If there's an error in information, we can first try to update the writer's solid, which can work in many cases
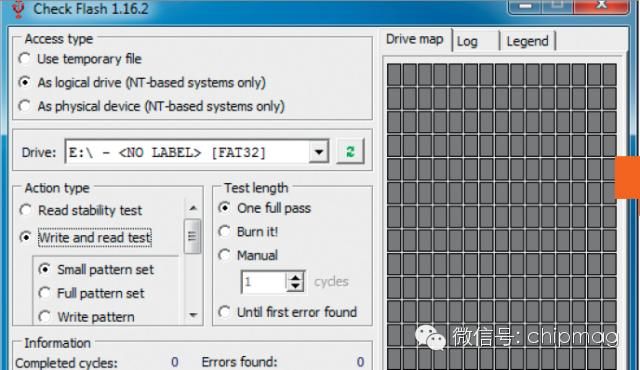
Flash: finding errors
Before testing flash media, we have to create backups, and data will be deleted during testing. Download and compress check flash()
Zip file for mikelab. Kiev. Ua/index en. Php), start the tool. Select the solid-state hard drive or flash drive to detect in "drive" and activate "as logicaldrive" in "access type"Please click "start" and select "yes" to start the test. Finds error information in " log " after testing. If there are several errors, then we need to consider avoiding storing any important data in the flash media。