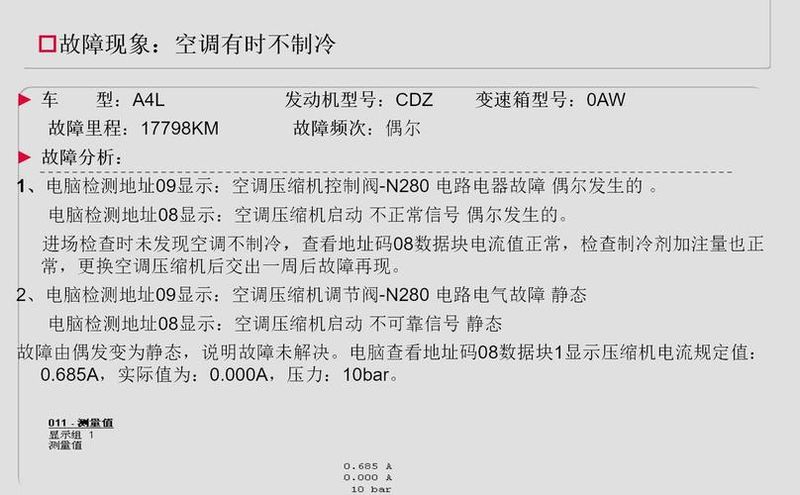


Reason for the fall of the wall tiles
1. Cement sand paste tiles, which are not fully bubbled
2. The tile bubble is sufficient, but the spare time after removal is excessive
3. When cement sand is laid, no lacerations are made on the wall, resulting in the removal of tiles from empty drums
4. Dry walls are not humid with prior water
5. Cracks are sewn without drying, causing man-made relaxation during filling
6. Uneven coating of concrete slurry, resulting in an empty tile drum, with the concrete slurry on the back of the brick not having the same effect on the tile as the air in the empty part of the drum, which eventually led to the looseness of the tile
7. The tile is not fixed at all, resulting in a fall during the drying process, which in turn leads to a fall
8. Wall floors, floors or plumes are not being handled and empty drums are being removed from the floor, which results in the tiles being laid up and loosed
9. The quality of cement, sand or mixed ratio is inadequate
The use of tiles to paste tiles into concrete sands results in less effective adhesives, which in turn results in loosed tiles。
Processing
1. Slurry undefeated only of tiles
This can be done by scraping all the slurry on the bricks and then adding an appropriate amount of cement to 107 glues and mixing it into a paste. Then you put a thin layer on the back of the tiles, and then you stick them to the wall that you paste, and you can stick your kung fu。
Two, tiles and sand
This is also the case with the pasting of tiles, where small pits are dug first on the side of the wall. It was then re-mixed with a slurry of 107 glues, pressing the tiles tight on the wall, waiting for the slurry to become more or less hardened, before opening hands。
Prevention
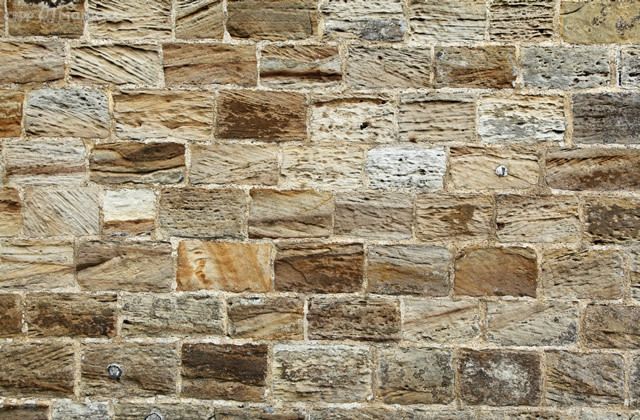
1. Selection of brick quality. The selection of external wall bricks, in addition to the water intake and the resistance to freezing, which should be in accordance with the norms or design requirements, must be singled out and used as cutting blocks。
2. Grassroots treatment is good. Before pasting, a reasonable thickness at the grass-roots level must be determined based on the attached line. The upper limit of the wall's condensation must be cut in time; the dimpled wall should also be levelled out to ensure that the thickness of the viscos is between 10 and 15 mm, and attention should be paid to the rough treatment of the ground-level plastering surfaces with molluscs in order to obtain the optimal combination of the glued layer and the bricks。
3. Ensuring slurry strength by glue and stitching. Require matching to be accurate and evenly mixed. Cement slurry is usually selected with 1:1. 5 to 2 and is more effective when mixed with 2% cement weight of 107 glue, and with a 1:1 sewn of bricks and a finely sifted sand。
4. Maintaining a certain degree of humidity before pasting, both at the grass-roots level and in the face of the bricks. 2h of water before pasting at the grass-roots level; and drying of surfaces before the pasting。
5. Pressure bricks by standard process. On the basis of the search for good rules (mounting, flating, setting, barbing, pre-packing, partitioning), it would be preferable to scrape the selected face bricks on the back of the face with a small amount of sand so as to increase the combination of the face and the glue layer, then actually leave the thickness to be filled with ash on the sticky layer, put the exact position on which the face bricks are pasted and the gap between the bricks in place, and hit them lightly with an ash handle or a special wooden hammer, after the whole row has been completed, then under a foot-to-foot test, the opposite bricks are to be flattened, hit hard, avoid moving repeatedly and rub the face bricks。
6. Take care of the reasonable trajectories of special areas. The focus is on all upper edges, such as balcony, fence, rain shed, waist line, window, roof and daughter's wall, which, in addition to the need to make a streaming slope, should be covered with bricks; the lower drop zone must be covered with bricks and a sidebar should be treated。
7. Follow-up checks. On-site quality examiners must follow up with the above-mentioned operational points and acceptance criteria for the quality of the outer wall bricks. Every step, every floor, every floor, every special area, and any deficiencies are corrected。
Reason for the break-up of the wall tiles
1. Non-spoiled tiles: before they are laid, water-sucking tiles without water absorb water from the cement slurry, resulting in water loss without glue and often empty drums, cracks and cracks。
Poor-quality tiles: free choice of unrenowned brand-named tiles, which may be poor-quality tiles, are not hard enough and are too heavy to use, and can be fractured。
3. There is no gap in the tiles: when they are laid, the necessary gap is not set. It also breaks, empty drums or cracks because they are squeezed. Both the tiles and the sutures are a natural phenomenon of thermal swelling and condensing, so it is necessary to leave the necessary gap in the paste。
4. Non-conformity of paste: unconforming paste can also lead to frequent cracking and cracking of tiles. The ratio of paste cement slurry is generally 1:1 and if the ratio is not evenly distributed, it does not achieve viscosity; if the sand is too high, the cement is poor or expired, it causes problems such as cracking and cracking of tiles。
5. Wall deformation: once again, the wall is deformed, resulting in tectonic, horizontal or tilted cracks of tiles. Before laying tiles, the construction staff should be asked to check the walls to see whether they are secure。
Processing
1. Cleaning of walls and bricks to the base of the area and grinding of the sand with wires for solid areas。
2. Reloading the treatment range base surface with water-proof follies to flatten the pressure material and then proceed with the next steps of construction after maintenance has reached its intensity。
3. Repainting of polymer anti-aqueous coatings to achieve the integrity of the water-proof layer in the area, ensuring moistification at the grass-roots level prior to the construction of the coatings and ensuring that water is not lost during their reaction to solidification。
4. Once the coating has been fully solidified, the outer wall bricks are attached and water is wetted and then humidly maintained。
Prevention
1. Early impregnation of tiles
As concrete slurry is laid with tiles (mainly finger walls), they need to be laid in pre-impregnated for approximately two hours. The higher the density, the better the quality, the shorter the immersion time required. The thin paste has no rules of expulsion and contains the percentage of sand used in proportion to the larger adhesive composition。
2. Leave the stitches
Thermal expansion and cold contraction occur in tiles and suture seals, which should be laid with appropriate gaps; the suture sealer is a flexible, resilient and low-intensity product that compensates for thermal expansion and cold contraction of tiles and is able to avoid holes and cracks to some extent。
The reason the outside walls are empty
1. Construction is not standard: it refers to dusting at the wall floor, which is not treated in accordance with basic requirements, or waste at the grass-roots level, which results in empty drums。
2. Inadequate water impregnation: means that paste decorative material such as tile-painting is not immersed or insufficiently immersed before being laid, resulting in the absorption of excess water by sand。
3 the paste is not full: it is mainly due to the fact that during the course of the construction work there was a loss of material, the lack of use of cement sand or the poor quality of tiles
Processing
1. Cleaning of tile cracks with paper cutters
2. Cement and slurry, with metal hammers hitting empty drums to produce vibrations and pouring cement out of the cracks
3. Filled with sutures. Wait for the mud to dry and then test the empty drums。
4 if empty drums are difficult to fill with concrete sand slurry, the whole tile will need to be repaved。
Prevention
1. Avoiding the use of plastered floor bricks for internal walls to the outer wall, material tests should be performed prior to construction, including freezing tests and water-bearing tests。
2. All floors should be integrated before operation, with construction designs and tailoring。
3. Grass-roots walls must be removed and there should be no garbage or oil. Smooth concrete walls should be subject to measures or hair-cutting, and water should be wet before grass-roots slurry is wiped。
4. Carefully measure the mixing of slurry by co-coordinate and control the water ash ratio。
5. The required layer coating should be based on a thickness of 5-7 mm per layer, which should not be too short for each layer, which should be scratched overnight, and continuous scratching should not be allowed to break the layer and so-called scratching of empty drums. This is the treatment of shaving between layers, which allows for a solid and solid integration of the plaster layer。
6 levels must be found in order to match the thickness of the slurry with the bricks。
7. Bricks shall be immersed in water until no bubbles, but not less than 2h, before they are used, and then dry and wet outside of the water。
8. Bricks shall be selected before they are used and shall be placed in a set of piles, which shall be removed from the base of poor quality bricks such as lack thereof, loss of angles, warping, cracking and laxation。
9. Timely correction of bias before pasting the slurry without water。
Work should be carried out before the onset of winter in order to protect against the cold and cover the summer from exposure。
The paste must be full and sew tight。