How to plant tomatoes on the balcony
1. Preparation for planting
2. Cultivation
Step 1 takes the seeding of plastic basins, adding bottom stones to the bottom of the basin to avoid bottom spills。
Step 2 places in plastic basins the soil that is sold for seeding. (soil disinfection — soil disposal)
Pack it, find an abandoned pot and steam it for 30 minutes; soil is fermented in proportion (must fermentation)
Step 3 must be watered before seeding, as it can easily lead to the loss of seeds。
Cultivation phase - seed disinfection, 15 to 20 minutes of warm water impregnated seed, 55 degrees of water, mixing, approximately water
Five times the size of the child. After cooling to 28 degrees, the temperature is maintained and immersed for 12 to 24 hours, during which time water is exchanged once or twice。
The second is a sprouts, which dry the sterilised seeds and wrap them on wet towels and place them in an environment of 28-30 degrees per hour
One or two days from day to day with fresh water so that seeds can flourish
Step 4 digs a cm deep hole in the soil and puts germinate seeds in it, covered with pines of 0. 5 to 1 cm
Earth, temperature is around 25 degrees. This soil better be watered the day before
To the loss of seeds. The seedlings must be watered and the soil moist. In three or four days, two leaves of seed will come from the ground
It's coming out. The temperature then remained constant during the day, dropping to about 20 degrees at night and increasing the number of leaves to four or five。
The water would then have to be “dry and wet”, i. E. Watered after the soil had dried up and watered. Every time i water
After that, a small hook can be used to reach about 5 centimetres into the soil
Step 5 is about three to four days after planting, and long leaves grow, and stem and leaf suck
They collect water and grow wool。
Step 6 begins to grow the special leaf of tomatoes。
Step 7 seeded before the three leafs formed。
Step 8 seedlings should be drawn from the bottom of the plant, with each basin leaving a dryer and thicker leaf
A thicker seed。
Step 9 will be ready for replanting about three weeks to one month after planting. Medium
Put a basin bottom net on it. Dig the seedlings and soil out of the old tub
Out, dig holes in the big flower pots, put the whole piece of dirt in and pour water. The seedlings can grow longer
Crops will grow better. They don't water, they don't fatten, but they have to be realistic
If you do, you can add some
Step 10 goes into the bottom of the basin until it is fully covered。
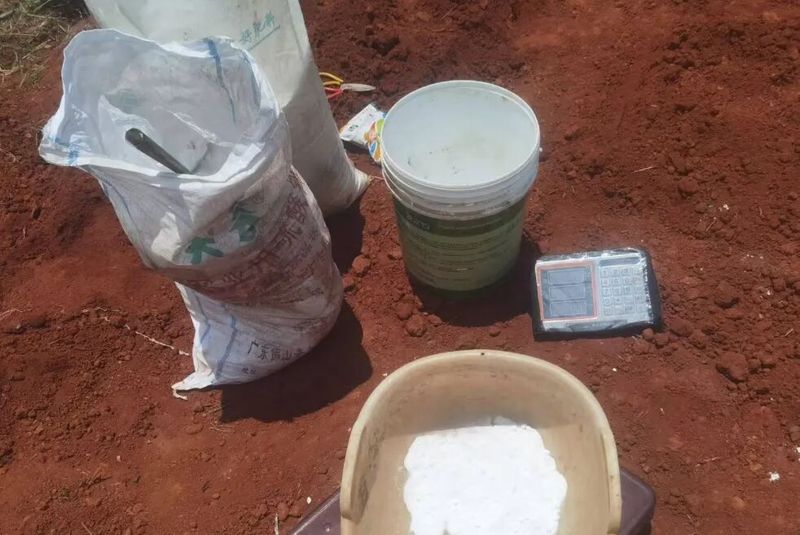
Step 11 incorporates culture soil in the basin and if the soil does not contain fattening, it must be mixed with base fat (solid fertilizer)
That's good. Care needs to be taken not to let the fertilizer touch the roots and cover it with soil after applying the base fertilizer。
Step 12, when placed in the soil, places the seedlings on the ground to measure height, requiring approximately 3 at the edge of the flower basin
Centimeter irrigation space。
Step 13 remove the plastic basin and be careful not to scatter the roots of the earth。
Step 14 insert chopsticks or bamboo sticks into the soil at the edge of the basin as vertical pillars。
Following the completion of the planting of step 15, a significant amount of water was re-irrigated until the bottom of the basin was released。
Step 16, when the plant is 20-30 centimeters long, you can insert bamboo sticks a little away from the stem
As a temporary pillar。
The technique of step 17, which binds the stem and the support with a rope around eight words, is to plant the plant
Long-term consideration, leaving some room for growth。
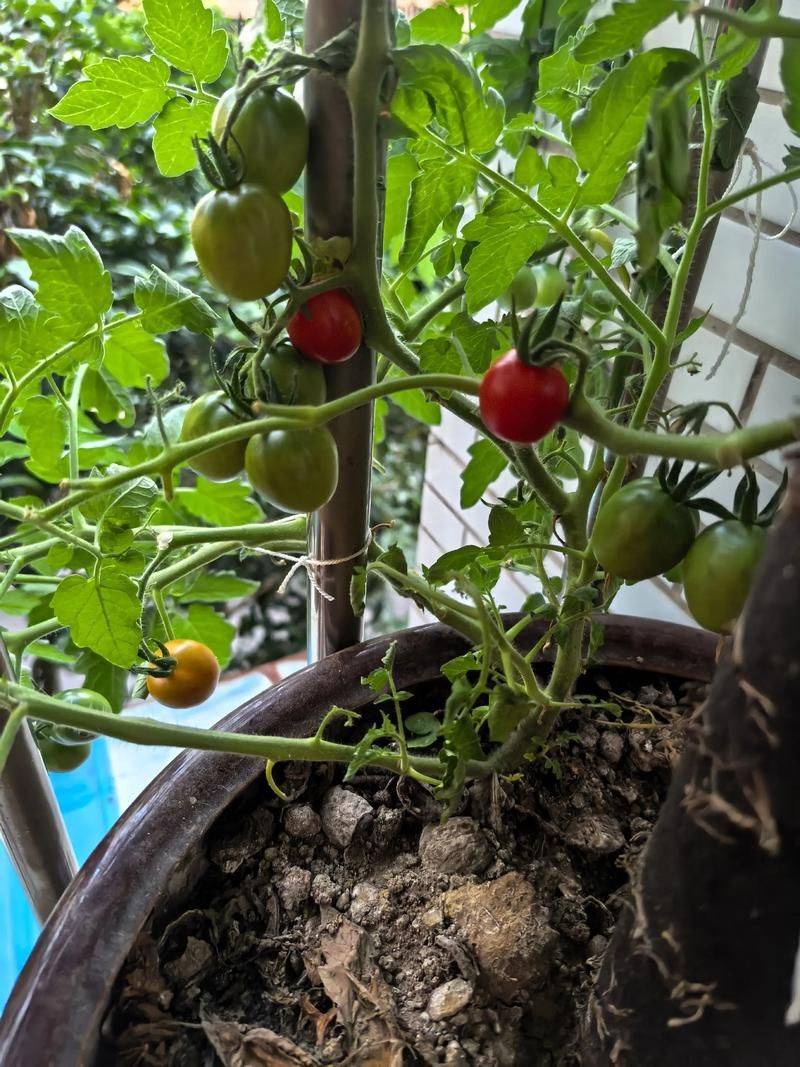
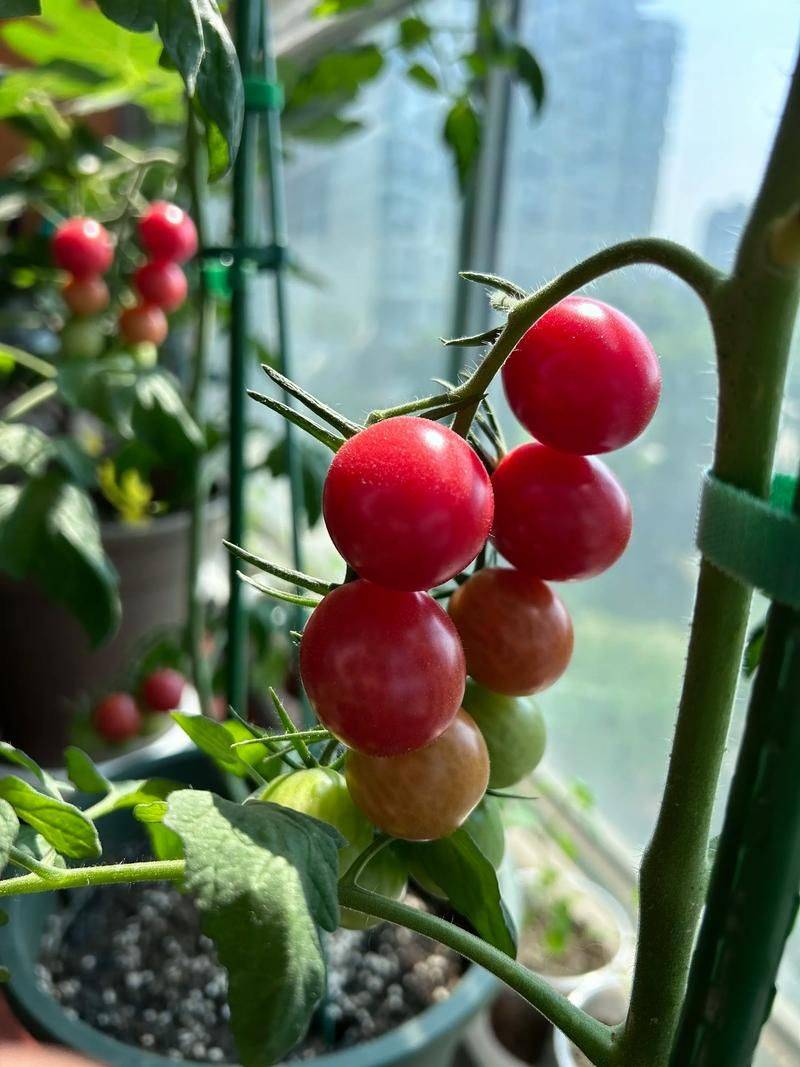
Step 18, supported by the pillars, gradually grew into a thriving mini tomatoes。
Step 19 begins when yellow flowers bloom. (at least 15 days after the planting, tomato seeding)
It's starting to grow in the tub. When the plant begins to bloom, water and fatten up