

A lot of people are doing it for the first time, like a fly without a head, and today they ask that tomorrow. I've built two houses, and i've looked at many sites for relatives and friends. It is not a big mistake to do this today, in white language, to go through the renovation process from beginning to end, not to use false professional terms, not to recommend any brand name, not to exaggerate propaganda, to be purely self-explanatory about the practical sequence and pit-scrambling experience。
I. Preparation for renovation: no work without this
The renovation was not done on a dry basis, and the more fully prepared it was, the later it took. Many were rushing to break down the wall, with no size, no plan, no budget, and nothing else。
Set your own budget. The renovations are floorless and can be spent at all costs, and the total amount must be drawn in advance, such as the amount of hard, soft, household electricity, and a provision of about 10 per cent to prevent temporary increases. Don't believe what the company calls a “low-cost package”, and later increases can double the budget directly。
Retrofitting. There are three common types: full, half-pack, and clean. Working people don't have the time, choose the best package, buy it themselves, hand it over to the company; have more time and know better to clean it up; and do not want to worry and have a full budget, but keep an eye on the material list and not be replaced。
Then the style and layout. It's important not to pursue multi-net red. To think in advance about the family's usual population, living habits, such as open kitchens, study rooms, closets and washing machines. It's not clear. The water, the wood, the back。
And find a better way to build. It is important not only to look at the sample room, but also at the site where work is being done, to see whether the site is clean, the workers are not crafty, and whether the work was lost. It is also important to be careful with the introduction of the acquaintances, in which the duration of the work, the manner of payment, the terms of the breach of contract are clearly stated before the contract is signed, and the verbal commitments are not counted。
Finally go to the property store. The renovation must be preceded by registration of the property, payment of the cost of cleaning the garbage, clarification of which walls can be removed, which ones cannot be moved, and the weighting structure must not be touched. Not only is it dangerous, but the property is found to be subject to fines and even requests for restoration。
Ii. Major disappearance: move the pattern first, then details
The first step in the preparation process is the main demolition, which is the key to changing the pattern of the house and cannot be confused。
The first is demolition. The unburdened walls, the extra walls, the old doors and windows, and the poor-quality balconies of the developers can be removed. However, the walls, the shearing walls, the outer walls, and the beams and pillars are absolutely unmovable, and this is the bottom line of security and cannot be ambiguous at all. When dismantling, be careful to protect the sewers, not to let the bricks fall in and block, which is particularly problematic。
And then the walls. If you need a room and a cloakroom, you can build a new wall. The new wall must be connected to the old wall and the wall must be fenced and the wall will not be easily broken. When the wall is finished, do not rush the next step, until the wall is dry, otherwise it is prone to the tide。
And shoveling walls. Most of the grubs that developers brush are of average quality, and it would be better if the later walls were not skinned or fractured, so that they could all be ploughed to the cement floor, so don't worry about the cost。
When this step was completed, the family pattern was largely settled, followed by the most important hidden project in the renovation, the hydroelectricity。
Iii. Water and power rehabilitation: hidden engineering, forever, never to be spared
Water and electricity are buried in walls and on the ground, and once it is installed, it is almost impossible to change it, and it is necessary to smash the wall with bricks。
First step to locate. In conjunction with electricians and watermen, all switches, plugs, taps and home appliances are marked. Both sides of the living room couch, television walls, dining room tables must be occupied; there are plenty of kitchen appliances, electric cookers, ovens, dishwashers, water purification machines, small cooks, all that you can think of, with a splashproof box; there is a wind blower, a smart toilet in the bathroom, and a toilet in advance, so that you can change your smart toilet in the future without changing the wire; and there are two booths on each side of the bedroom bed that are easy to charge。
Large power appliances, such as air conditioners, water heaters and ovens, must follow a four-square line and not share them with common outlets, otherwise they will be easy to jump. The level of the switch and the location of the booth must fit their habits and do not listen to workers。
Then the material. Wires select the country-specific copper line, water pipes select the formal branded ppr tube, and no impurities. Water pipes are kept as high as possible, and in case of leaks, they are detectable and easy to repair; wires are to be pierced, powerful and weak power is to be separated, spacing is to be maintained to avoid signal interference。
The construction should be carried out in a straight and vertical manner, and not in an arbitrary manner in order to save material. Once the pipes are laid, pressure tests must be performed, and a steady pressure of half an hour without leaking water will qualify; after the circuits are completed, electrical tests will be performed, each plug and switch will be tested to ensure that there is no problem。
Upon completion of the water and electricity, it is essential that photographs and video files are made and that pipes are marked in order to be able to fit the containers in the back。
Iv. Waterproofing: one leak at a loss
The water and electricity supply was immediately followed by water protection, particularly in the bathrooms, kitchens, balconyes, which were severely flooded areas。
The ground floor is first addressed, the surface walls are cleared, the pits are flattened, and there is no dust or miscellaneous. Waterproof paints are then painted on the surface of the wall, at least 1. 8 metres high on the floor of the bathroom, best covered in the shower area with a 30 centimeter brush on the kitchen and balcony。
Waterproofing is done twice or three times, and every time it waits for a dry run and a dry run. After drying up, it is necessary to perform a closed-water test at least 24 hours, preferably up to 48 hours, before going downstairs to the neighbor's house to see if the ceiling is permeating or damp. There's a leak that has to be done again. Don't be surprised。
If the water is closed, the bricks can be put up, or when the bricks are dropped and leaks discovered, the bricks will be smashed and the neighbours will be offended by time and money。
V. Muwater projects: the blocks are not good, and the place is wrong
Once the waterproofness is satisfactory, it enters the masonry phase, consisting mainly of bricks, flats and tubes。
First of all, the pipe. The bathroom, kitchen sewers should be packed with bricks, preferably with a sound-proof cotton, or the upstairs flushing is particularly loud at night and affects the rest。
And then the bricks. The living room, the kitchen, the bathroom and the balcony are covered with bricks. The tiles are pre-stamped with water to prevent the draining of the water in the cement from causing empty drums. The tiles must be sewn, not to hear the workers say they look good, and when they swell, the bricks break open. It's nice and clean。
The floor of the bathroom must be sloped and tilted in the direction of the leakage, ensuring that the bath will run quickly and will not accumulate. Once the bricks are finished, the empty drums are checked, the hammer is struck, and too many empty drums have to be reposted。
If the wood floor is laid in the house, the ground is to be levelled, not sufficiently organized, the floor is squeaked and it is easier to rise. Find someone else and wait for the dry passage before proceeding。
Once the mud had been completed, the basics of the home came out, followed by the carpentry section。
Vi. Carpentry: practically, don't make a fuss
The carpenters mainly do hoisting, boxing, door covers, background walls. Many people now choose to customize the house, and the carpentry on the ground is mainly in simple shapes。
Do not be too complicated, the layering is not only depressing, it is hard to clean up, and a simple pair of eyelids is good enough to be old. The toilets and kitchens are suspended with aluminum buttons, which are smooth and easily broken。
The cupboards, whether they are on the scene or custom-made, are primarily for collection purposes and are not for fancy shapes. The closets should be properly organized, with the hangars, stacks and drawers planned; the bottoms of the closets should be left empty and the shoes should be easily worn. Carpentry does it with a close eye on the size, matching the size of the household electricity and furniture, and does not leave it behind。
After all, carpentry materials are kept at home for a long time, and formaldehyde is bad for health. Once completed, check if there are any stabbings, if they're tight, and if the door is working。
Vii. Painting works: how's the wall
After the carpentry retreat, the paintworker entered, mainly shaving, painting and painting。
Scratch first, usually twice, three times, every time, every time. Scratch the sandpaper and smooth it out, so it doesn't feel like particles. It's not good to paint behind it, and it's too expensive to crack。
It is then painted with emulsions, painted first, painted twice. The light colours are the most secure, the brightness is not easy to overwhelm and the dark colours are not easy to turn over. The paint is protected, the windows and windows are not dirty, and later cleaning is particularly difficult。
If you want to paste the wall, you also have to flatten the wall, brush the membrane and paste it. The wall duct tape picks up the green ointment, so don't use the bad glue。
When the paint was finished, there was almost no dust in the house, followed by the installation of various finished products。
Viii. Complete equipment: structure, discussion, back to work
This is a complex and complex step, and the sequence is particularly crucial, and it is important to keep it in mind that one wrong step has to be taken。
The first is a door and window, a door and a window. Wood doors, bathroom doors and kitchen doors are installed in order to adjust the doors to ensure that the switch is smooth and the lock is useful。
Then the cabinet, the closet. Customized cabinets will be installed to match the hydroelectric position, the surface will be tightly spelled and the water will be sealed around the sink to prevent leakage。
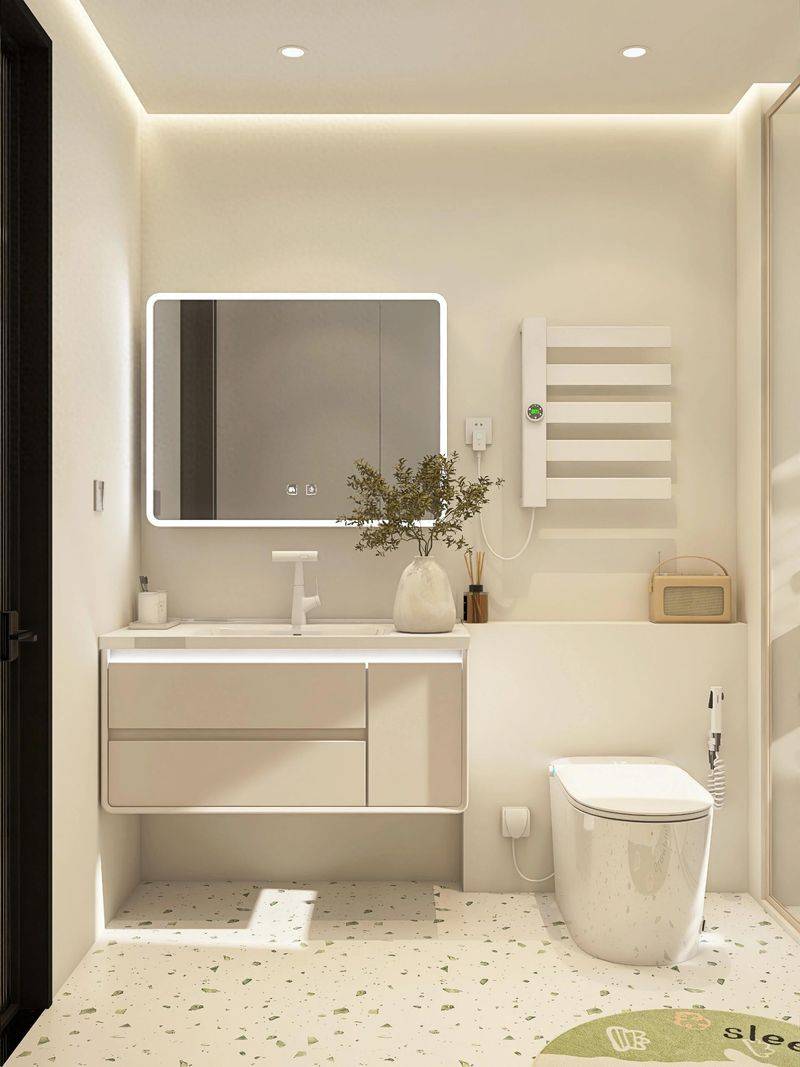
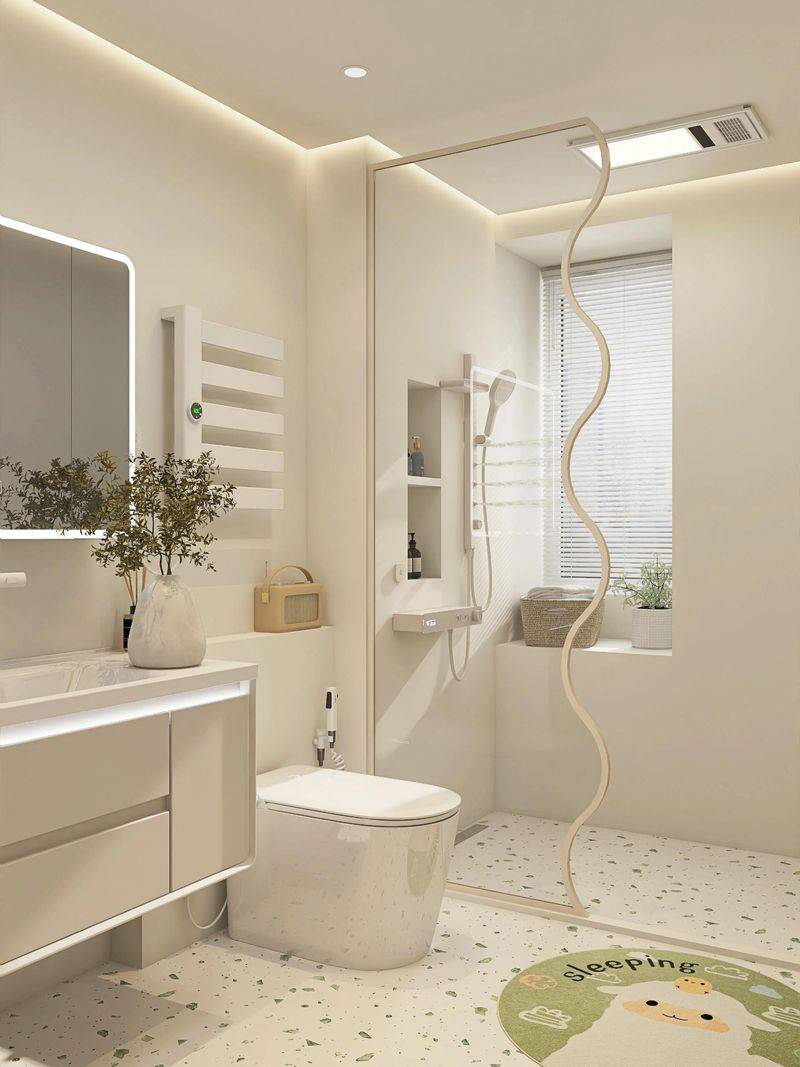
It is then equipped with a bath: toilet, flowers, bathroom cabinet, tap, leak. The glue should be even at the time of installation, the toilet should be secure and the leak should flow smoothly。
Reload switch plugs, lamps, hardware. The switch plugs are aligned with the previous position, the lamps are solid and the hardware in the bathroom is selected for durable use, not cheap。
It was followed by wooden floors and kick lines. Once the wood floor has been laid, it must be sewn, the arches prevented, the footlines tightened, and no cracks left。
Finally, the drapes, the hangers, the small objects, although indistinguishable, were not easy to live。
Upon completion of all the installation, check whether the damage has been damaged or relaxed, and if there is a problem in time for the workers to correct it, then do not wait for them to evacuate the site。
Ix. Launching waste cleaning + soft-loading: don't rush out
The finished product is full of dust, film, and garbage, which is to be thoroughly cleaned. The glass, the floor, the cupboard, the corner were cleaned up, clean and clean, and the feeling of home came out。
The cleaning is followed by soft-clothed and electrical appliances: couches, beds, dining tables, refrigerators, washing machines, television, curtains, decorations, green plantings, etc. The size of the house is checked in advance. Don't get too big to plug in. It's not too messy. It's a nice color。
Once all is done, do not immediately move in, especially when there are elderly people, children, pregnant women, who are ventilated for some time, and have some green plants。
Ten, one last word
The renovations were not perfect, and it would be a little sad, but most pits could be avoided as long as the process was correct and the key links remained intact. Don't rush to the wind, don't waste money on critical materials, don't believe in words, and every step of the way you look at your own heart, the house will be fine。
It was a mistake to prepare for the previous period to last check-in, in the same order. Keep this process in mind, one step at a time, and even for the first time, it will provide a comfortable, practical and no regrets home。