
Network printers are essential equipment in a modern office environment, enabling multiple computers to share printing resources and improve office efficiency. However, the correct configuration of network printers remains a challenge for many users. Next, we will give details of the steps taken to configure the network printer。
##1. Ensure connectivity
First, ensure that printers are correctly connected to the network. This can be done by wired (e. G., wi-fi) or wireless (e. G., wi-fi). Wireless connectivity requires linking the printer's network interface to a router or switchboard; wireless connectivity requires printers to turn on wi-fi and connect to the office wireless network。
2. Distribute ip addresses
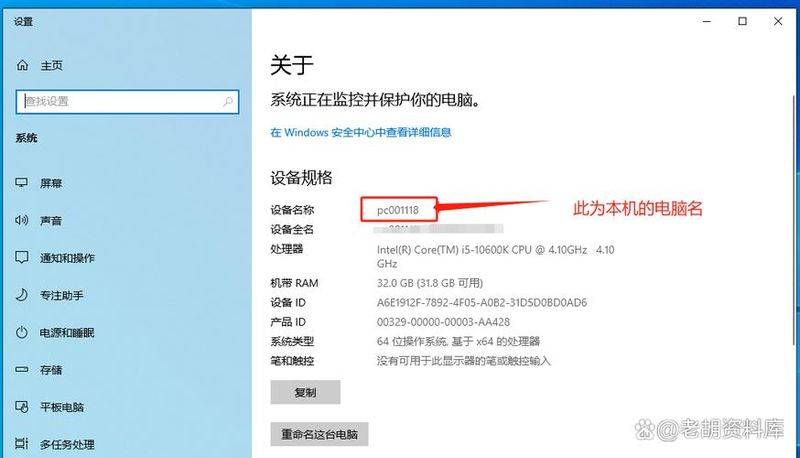
Network printers require a unique ip address to be identified and accessed in the network. Ip addresses can be assigned automatically through dhcp or manually through printer management software. When distribution is complete, please record the ip address of the printer for subsequent configuration。
#3 install driver
On computers that are to install printers, it is first necessary to install a printer driver. Drivers can be downloaded from the printer's official website or installed on cd-rom attached to the printer. During installation, follow the hint to ensure that the driver is installed correctly。
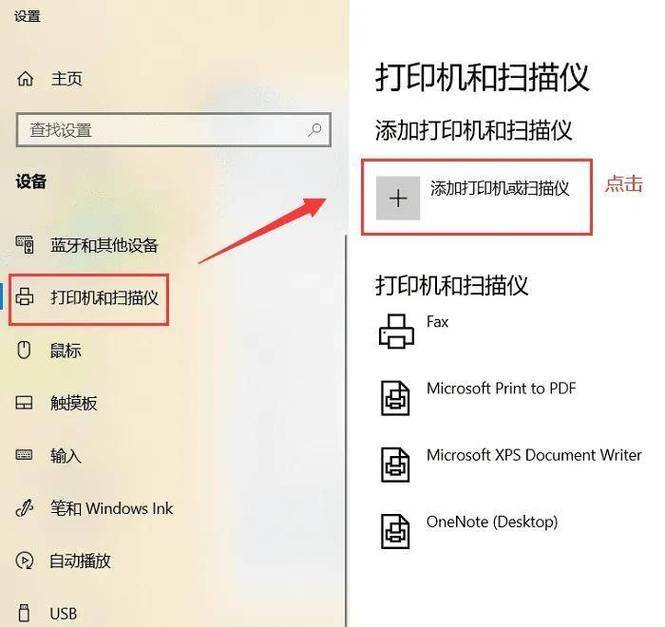
Add network printers
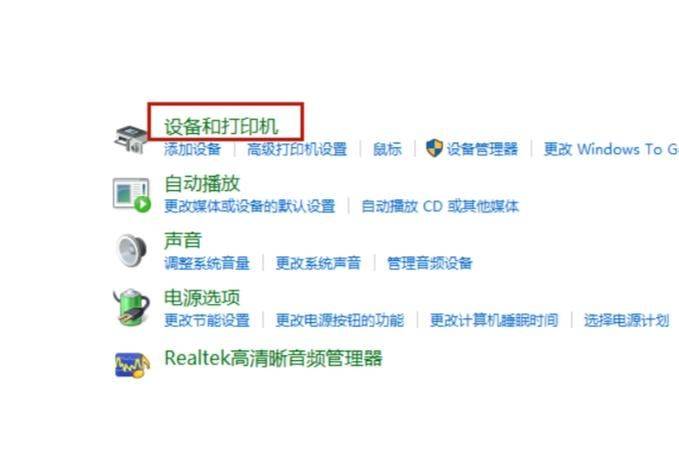
In the computer's control panel, the "equipment and printers" option was found and click "add printer". In the ejection wizard, select " add a network, wireless or bluetooth printer " , and then search and add to the hint. Computers will automatically scan printers in the network and list available options. Click next to install when your network printer is found and selected。
Configure printer properties
Once installed, you can further configure the printer through the printer properties settings. Sets, for example, the default paper size, print quality options for printers. If you want to share printers with other users in the network, you can also tick the sharing printer option from the printer properties and set the shared name。
Test printing
Once the configuration is completed, a print test is the direct way to test the configuration for success. Select the print test page option in the printer management interface or computer printer settings. Confirms that the printer has successfully printed out the test page and checks whether the page quality is satisfactory。
Through the above steps, you can successfully configure network printers, achieve multi-computer shared printing resources and improve office efficiency. Remember to regularly check and update the printer driver to ensure compatibility and performance。