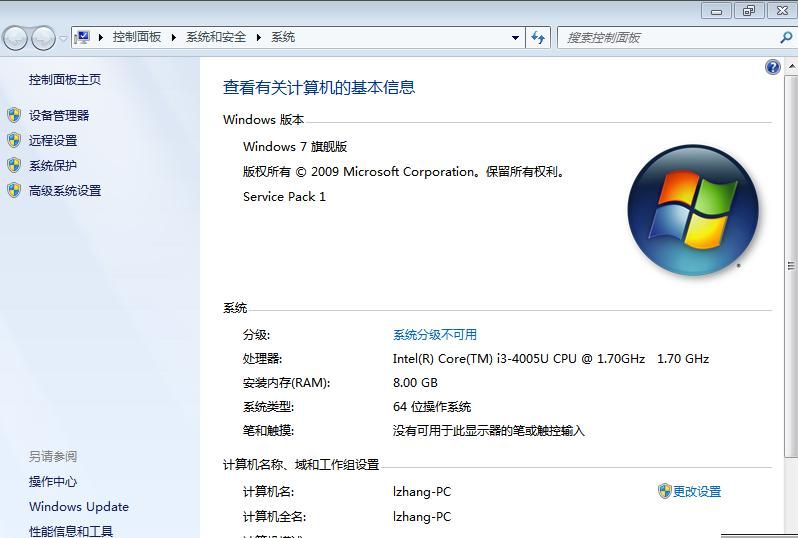


- focus on it small technology, one small skill a day
Introduction
With the proliferation of solid disks of computers, many people feel that their laptops are operating very slowly. There are also many who know that replacing a solid disk can be much faster to start and to read and write. Let's replace the laptop's solid disk with mr. It today
The notebook type of the case is wah zhu w409l. Dismantling machines reinforce disks and then install systems。
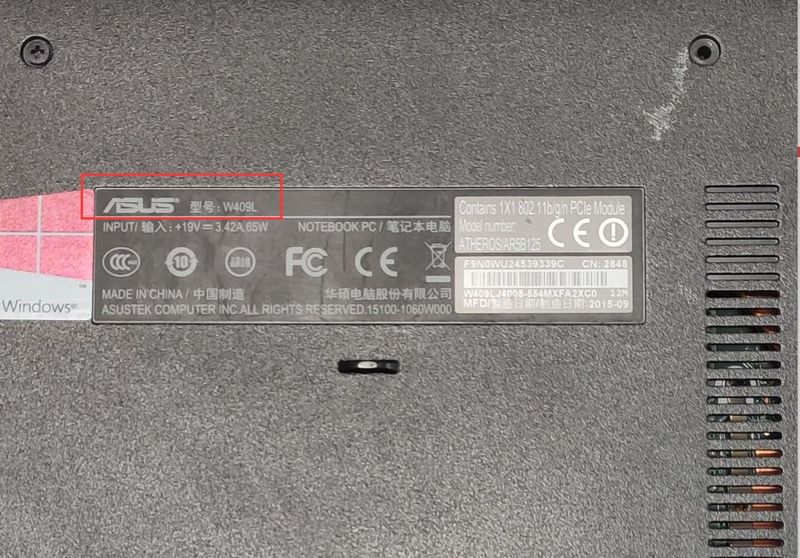
Ii. Hua zhui w409l notebook opener to replace solid disks
The notebooks are difficult to unplug, unlike those of the previous ibm series, and there are lots of notebooks that can replace the memory, hard drives, etc., of the notebooks once they are removed。
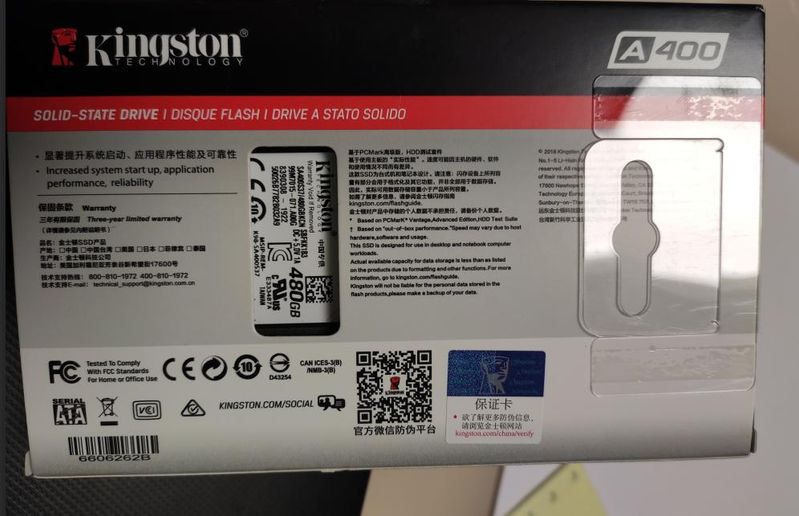
The purchase was for 480 g solid disks in kingston。
2. Start dismantling the machine and wring the d-shells out of the screws from the following circles。
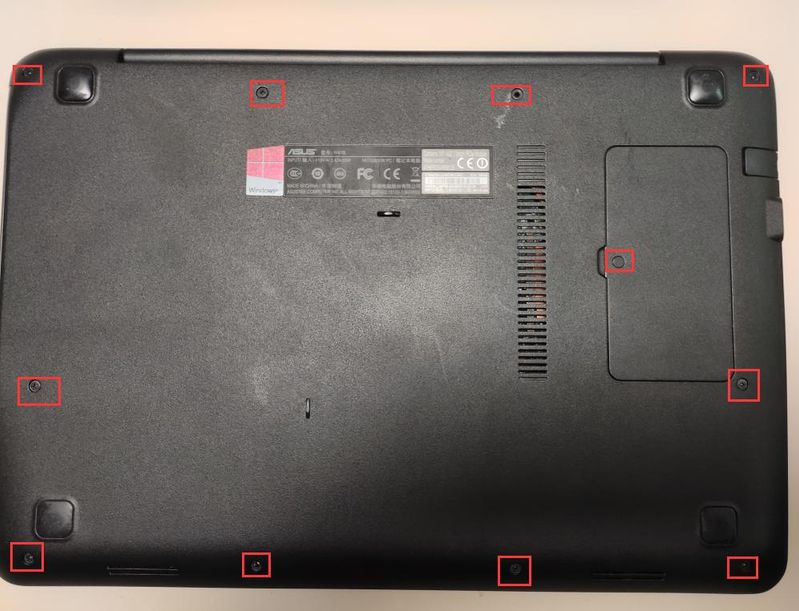
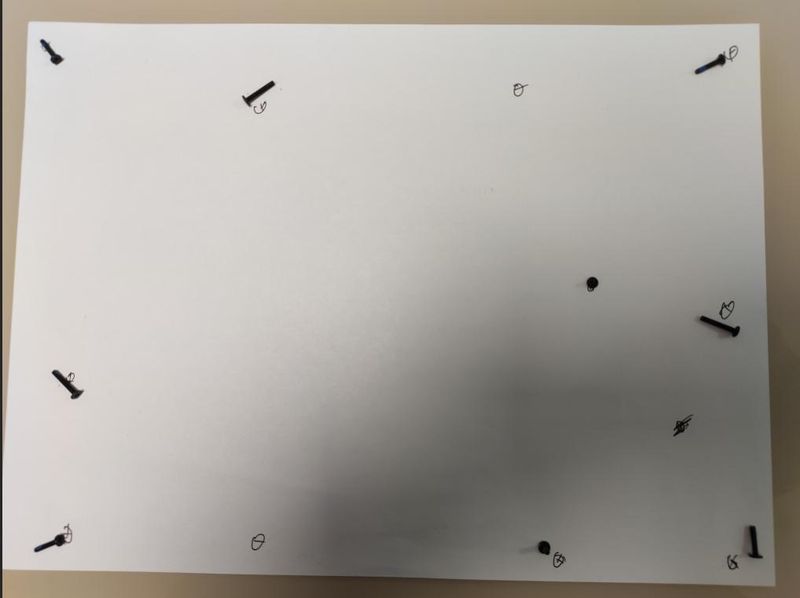
3 because of the length of the screws, a rookie can find an a4 piece of paper when dismantling the machine and place the corresponding screws in the corresponding position, pending replacement of the solid-state disk to facilitate return installation。
4. When the screw is finished, the front of the d-shell and the c-shell is preceded by a single-word screwdriver, which is slowly opened, and then the hand is used to move it slowly. You can shake more and move away。
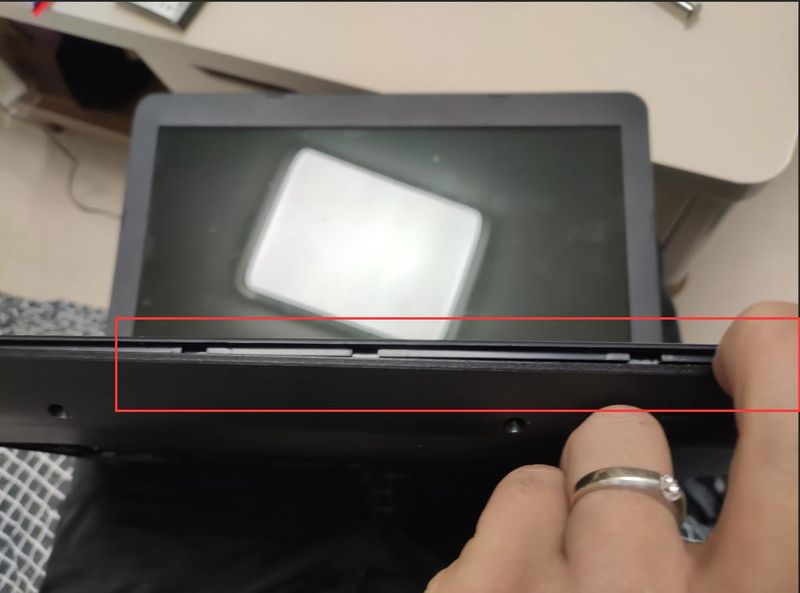
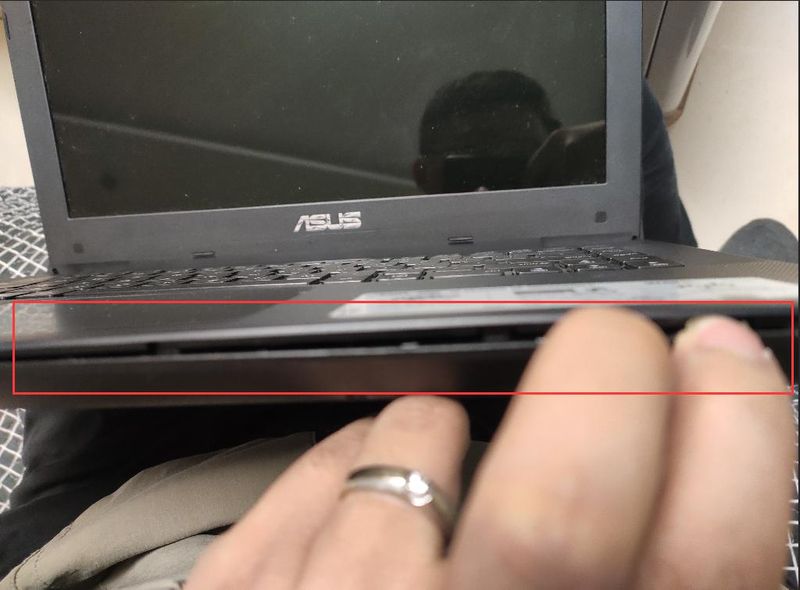
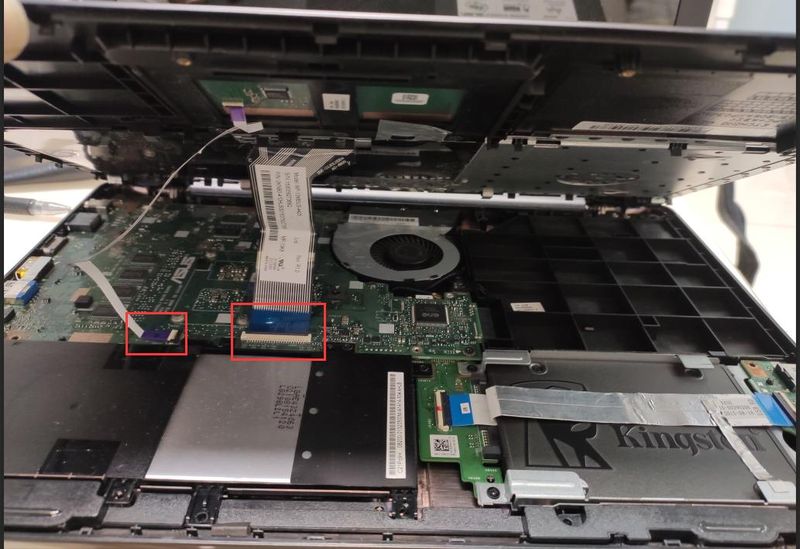
5 when moving, be careful to line the touchboard and keyboard。
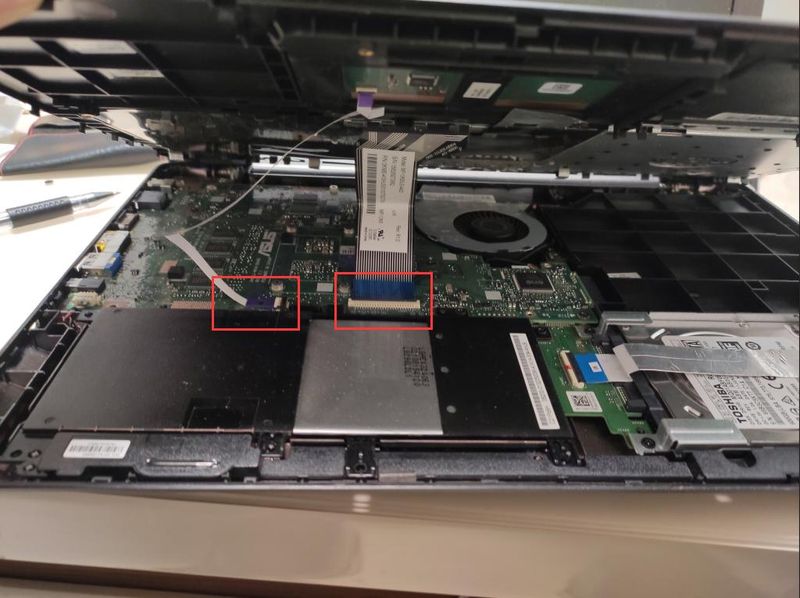
6. Lines for touchboards and keyboards to move interfaces up so that two panels can be removed。
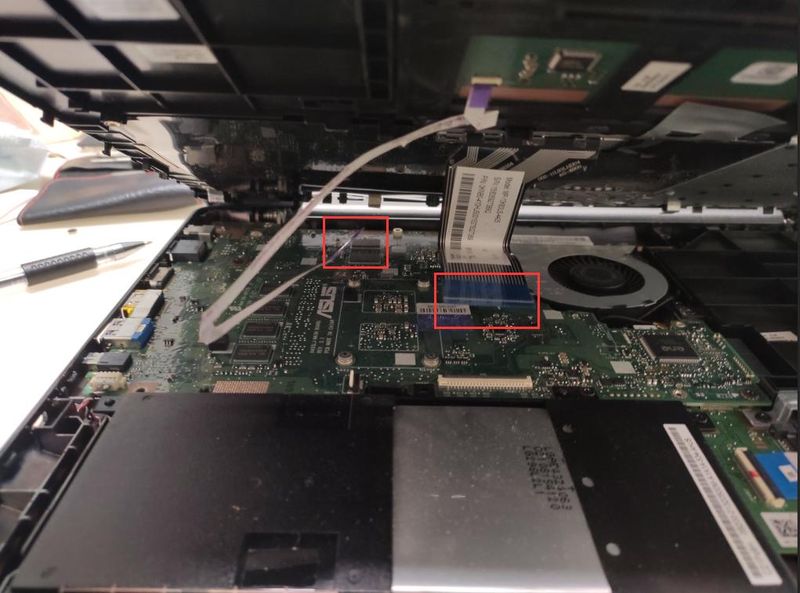
At this point, the c shell is to be removed from the c shell。
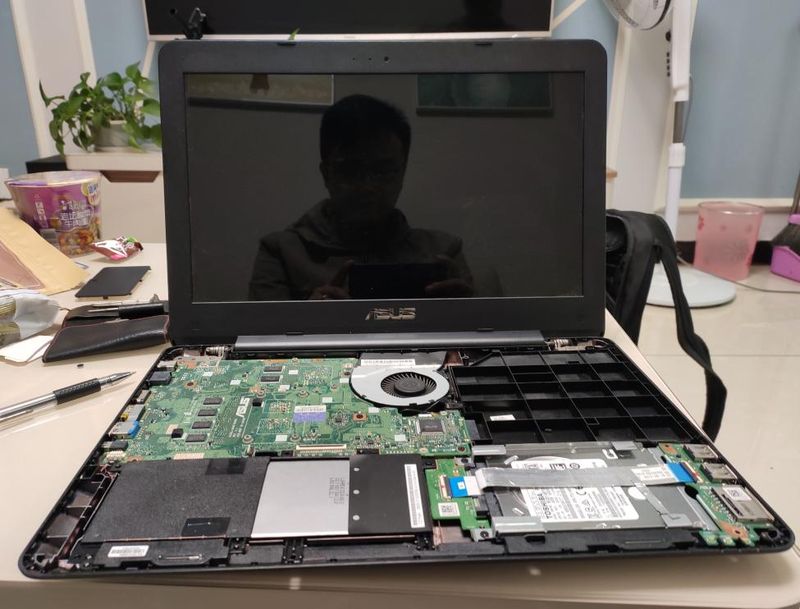
The location of the mechanical hard drive can be seen at this time。
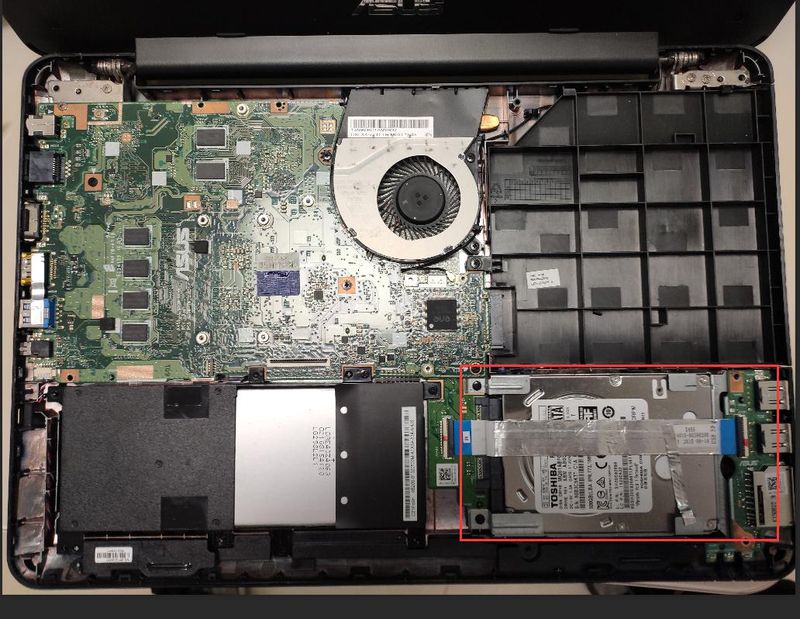
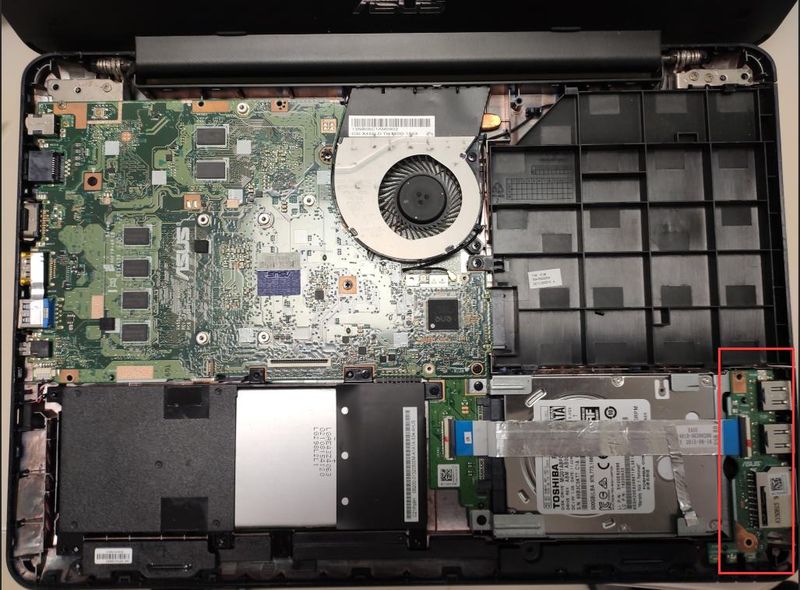
9. The usb interface panel on the mechanical hard drive can be removed only after it has been removed。
At 10, two screws off the hard drive。
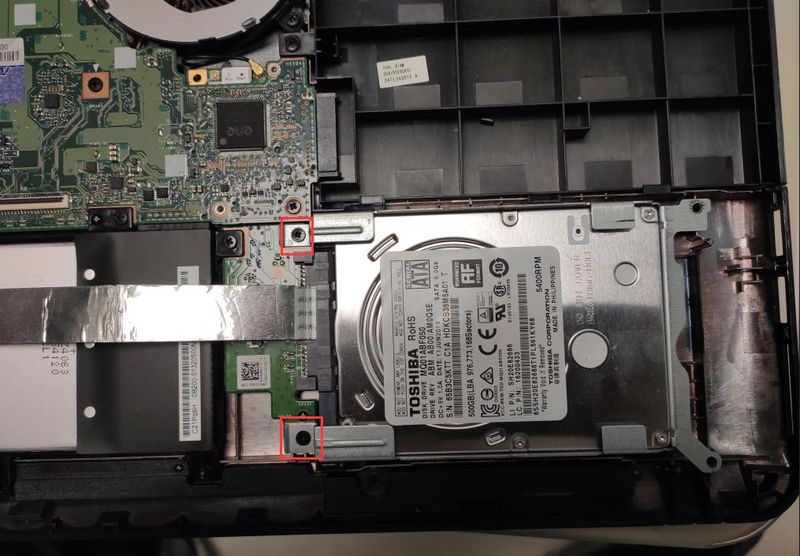
That's when the mechanical hard drive is out。
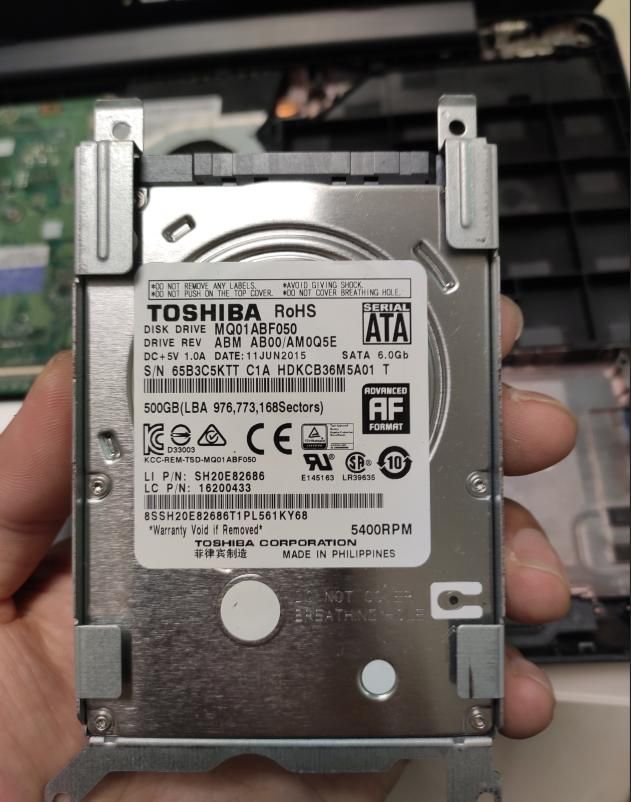
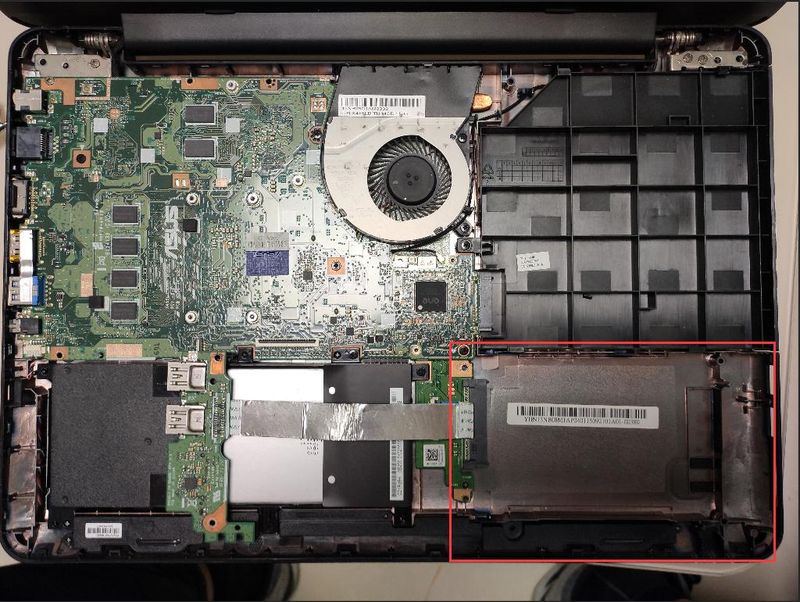
13. Remove the mechanical hard drive frame and install it on the kingston solid disk。
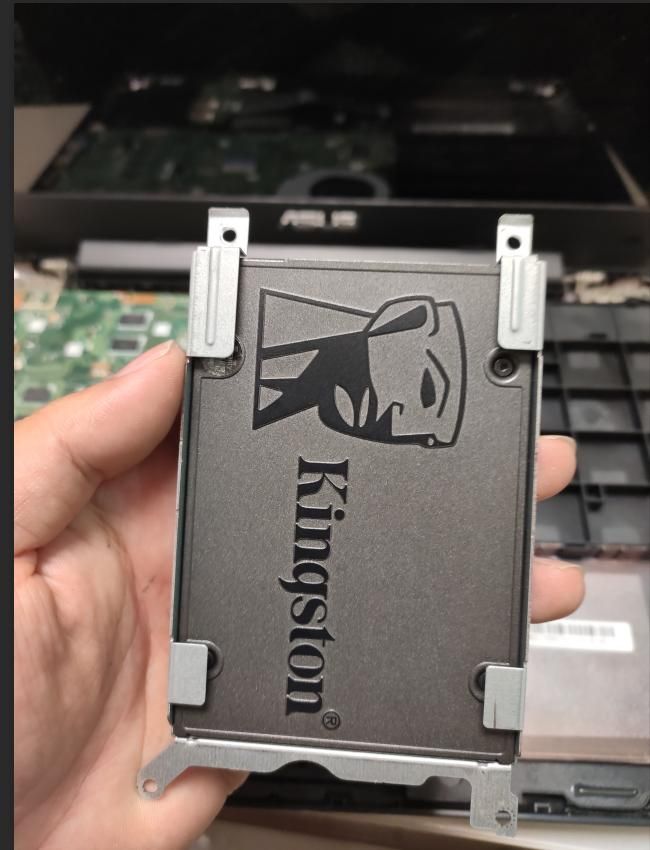
14. Send a solid disk to the hard drive position。
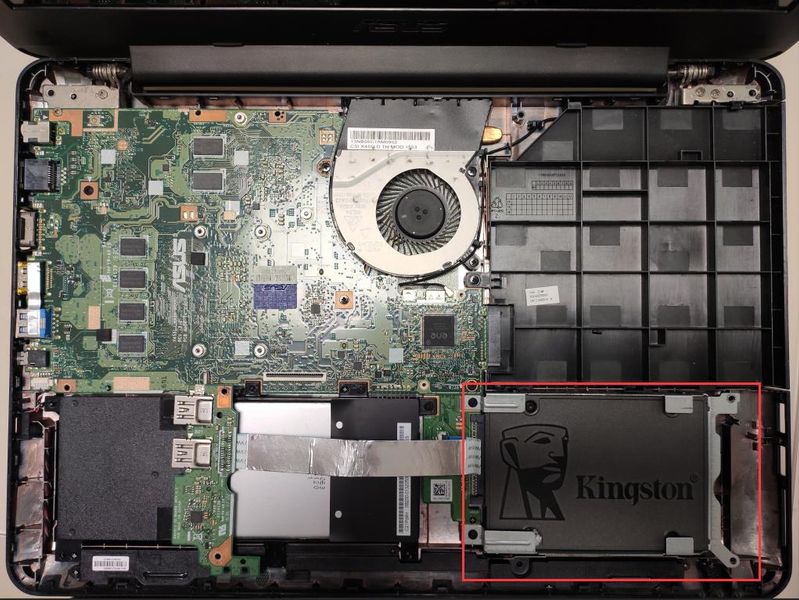
15. When it is completed, the usb interface panel will be returned to its original location。
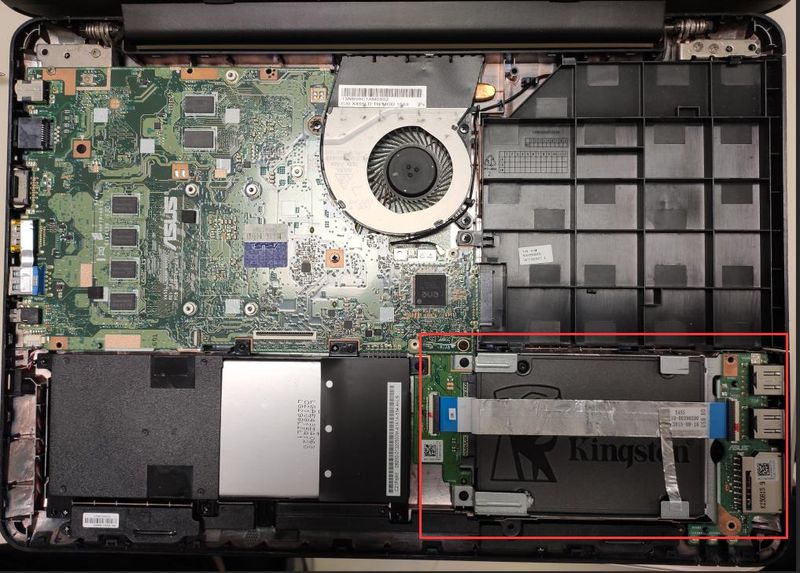
Then bring the c-shell and line the touchboard and keyboard to the main panel。
Is the test operational? We found a normal turn-on。
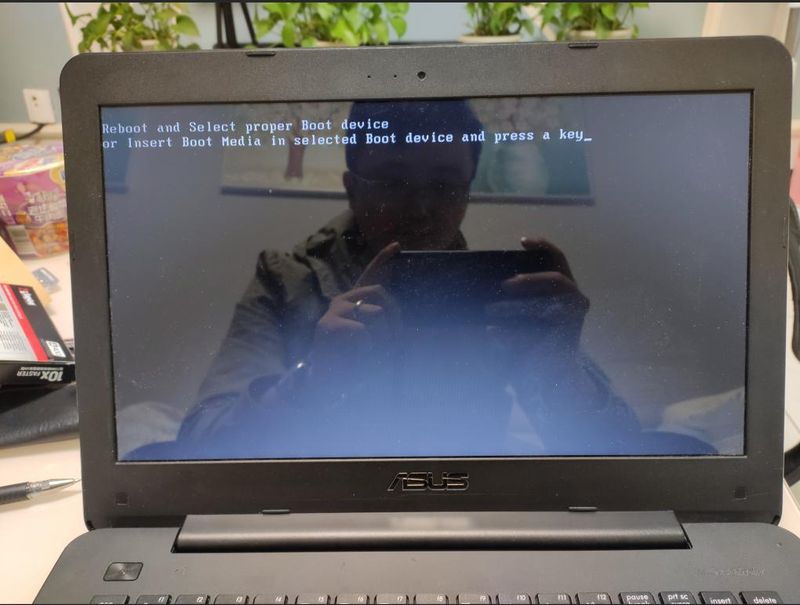
Disk replacement is done. An operating system is set up below。
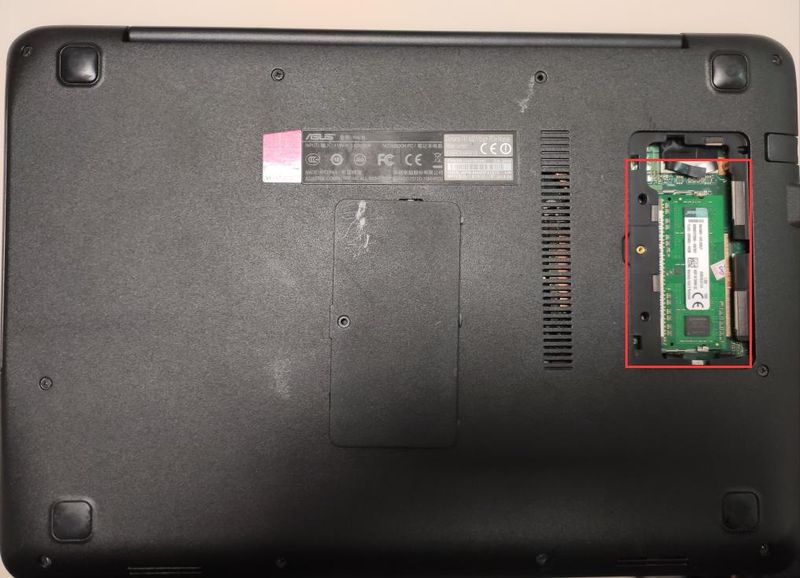
Iii. Installation of a win7-bit operating system
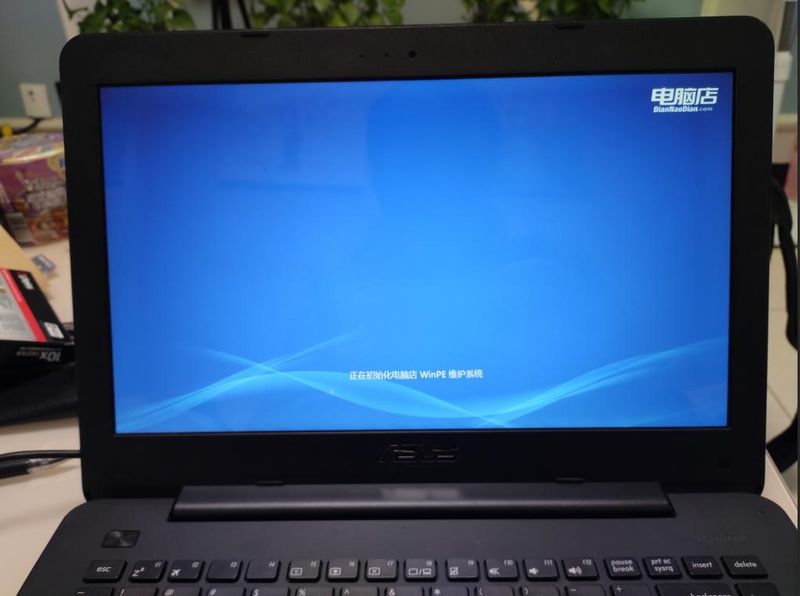
Access to the pe system, with hard disk partitions。
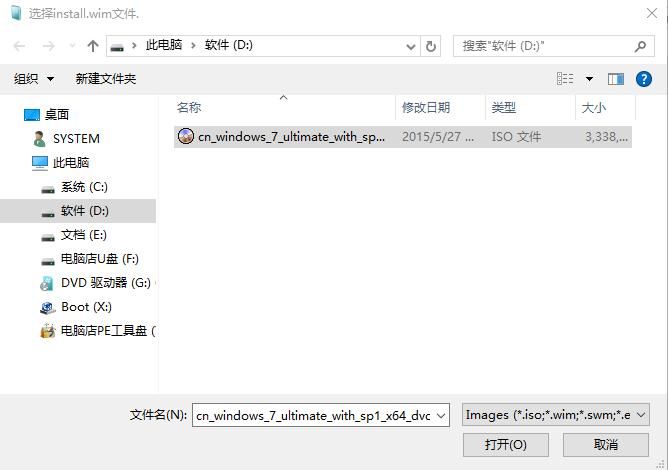
2. Copy the downloaded win7-64-bit operating systems to the computer d-disk, which can also be placed on the disk without copying。
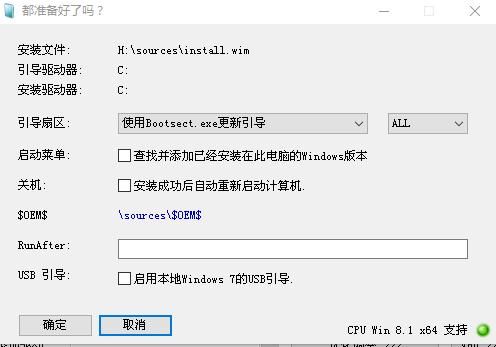
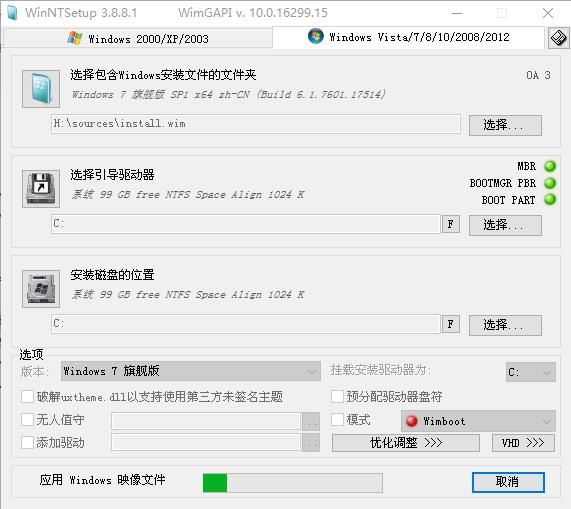
3. Open winntsetup software in pe。
3. 1. Select the folder containing the windows installed file: this is the direct selection of the downloaded iso system file for dddwin7-64。
3. 2. Select the guide drive: select drive c。
3. 3. Location of the installed disk: select drive c。
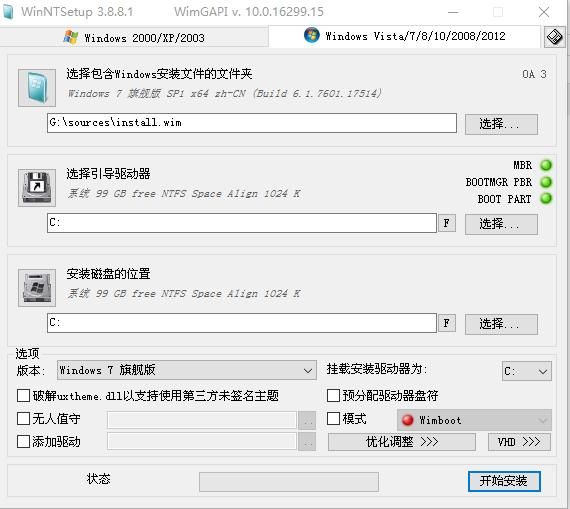
4. Click ok, start installation。
5. The system is being deployed。
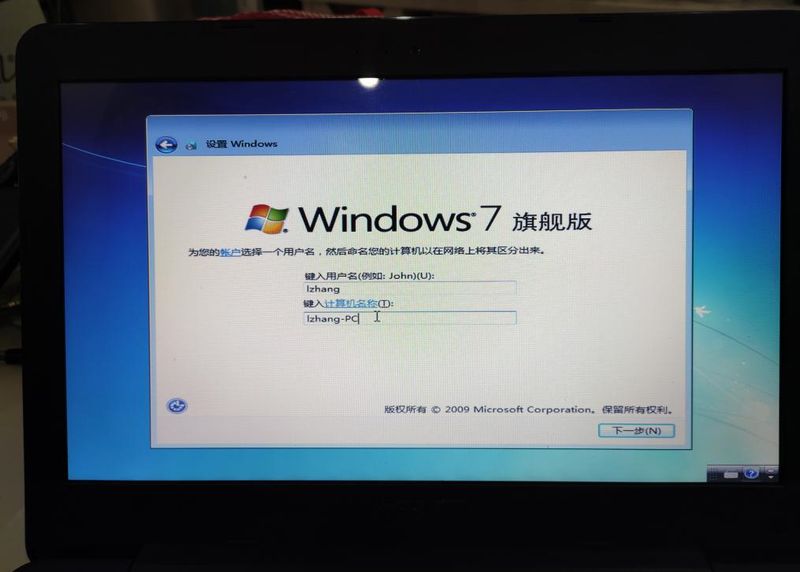
6. The configuration of the system parameters begins when the system files are deployed. Enter the hostname。
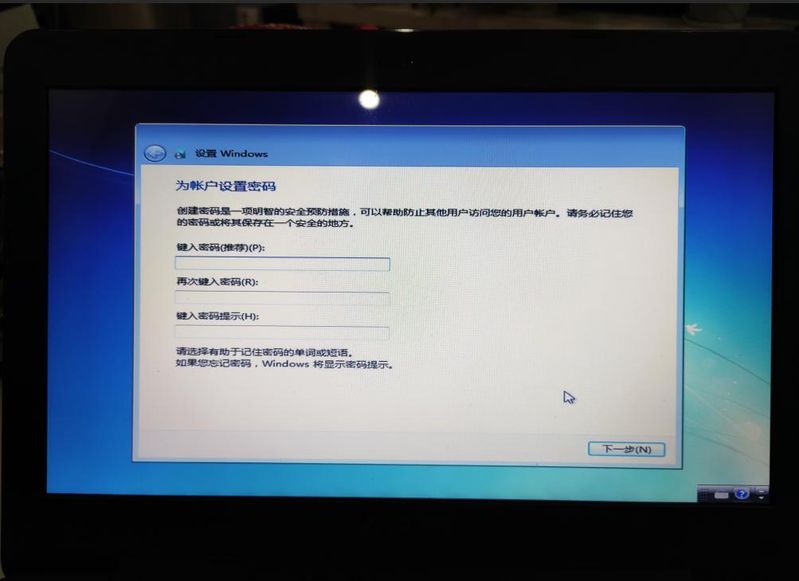
7. Enter the password or skip directly。
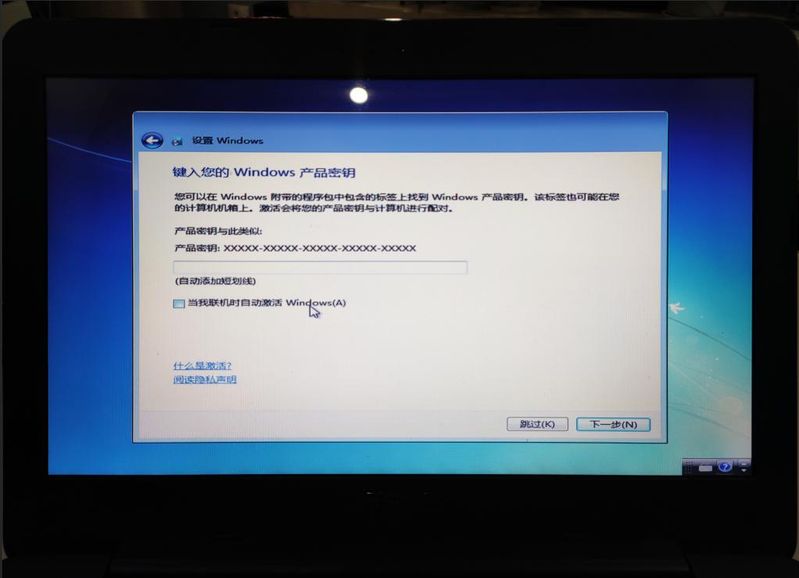
Skip activation。
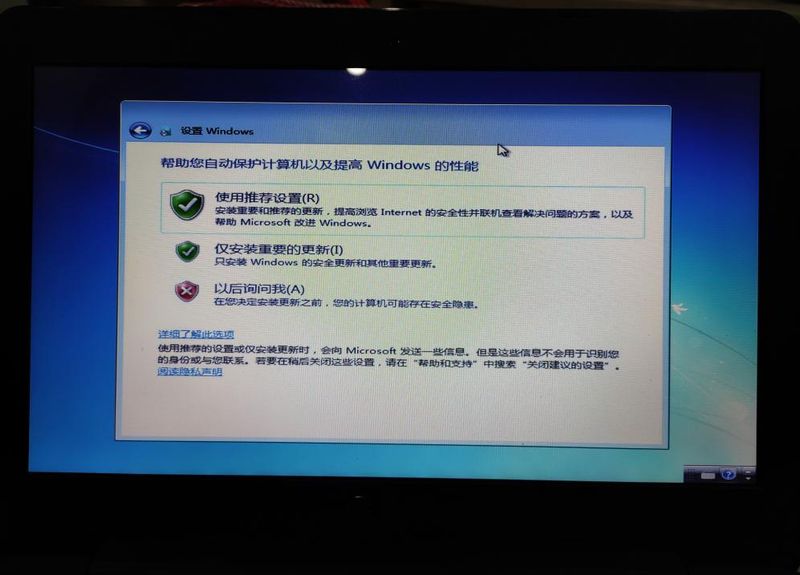
9. Use recommended settings。
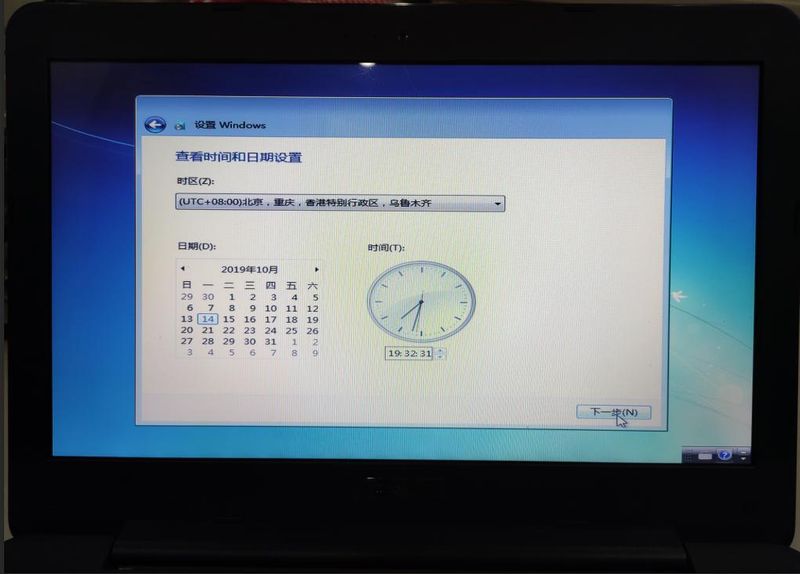
10. Set date and time。
11. System configuration complete。
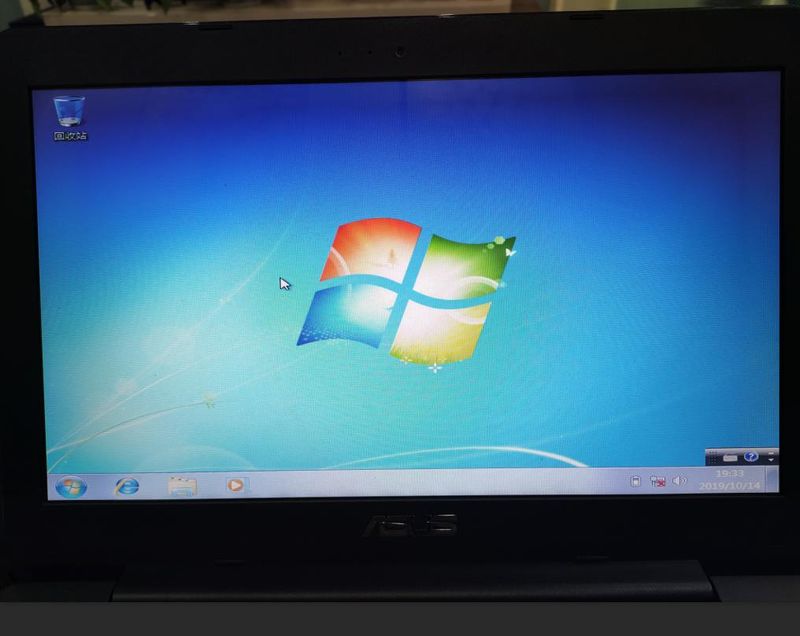
The system was installed in 12, and the system was then driven up-to-date, and after the installation of the usual software, the operating system became operational。