

The branch of the flower is so thick that it needs to be taken as a painting, first of all by conducting a comprehensive observation study, analysing the structure of its branches, leaves, flowers, twigs, troughs and titties, and understanding the subtle changes in its shape and colour at different times. It's all about growth. And when the wood is dried up, because of its height and strength, seek to grow old and fit. Dry, twig, flower, leaf cover each other, properly organized, enriching and increasing the image; poorly organized, paper-filled, influencing the subject。
Tilt
Tilts: grown from the top down, with thicker branches above and thinner branches below. The branches are stylish, with large branches and small branches penetrating, and ink is used to paint。
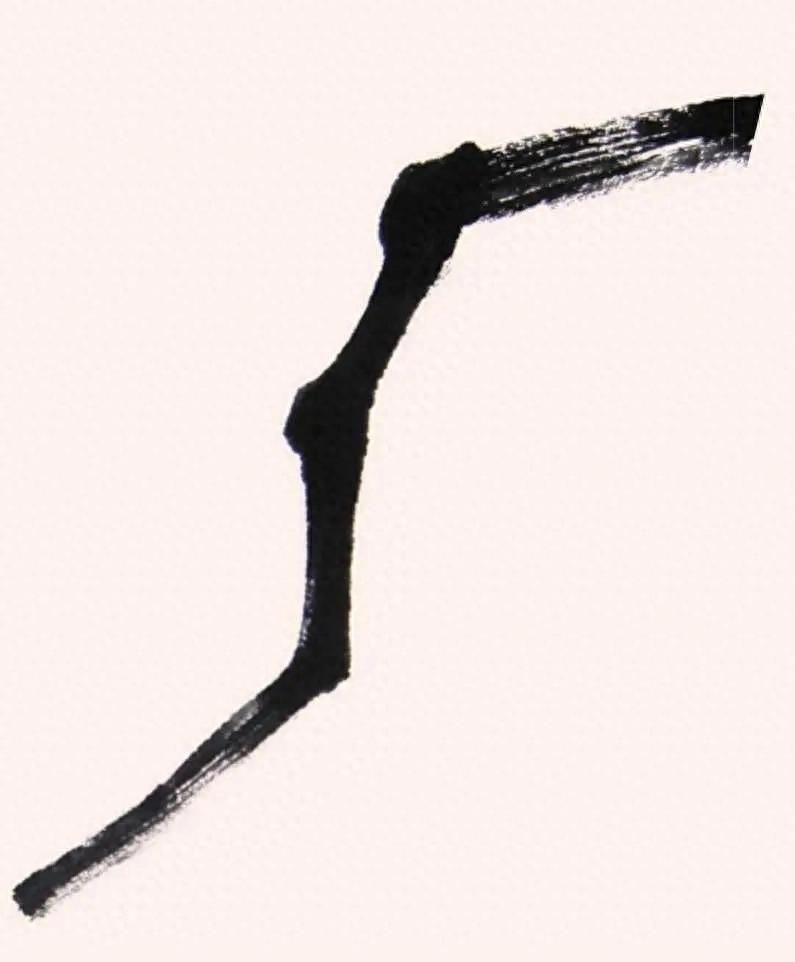
1 enriched ink, with the middle-line hand-carrying pen branches, which can be straight with pens and rhythm。
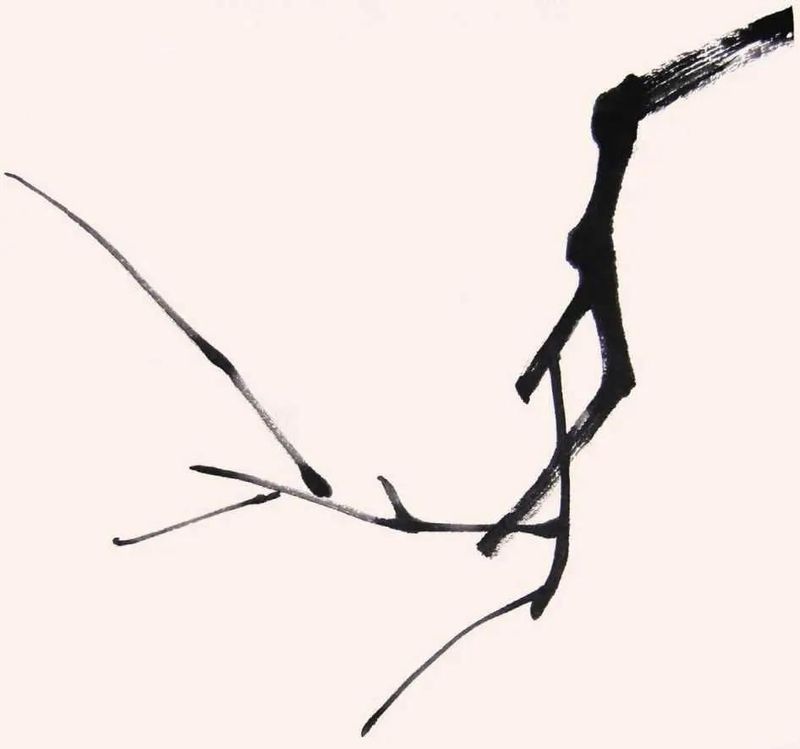
2 enriched ink, drawing thin branches, and observing ink change。
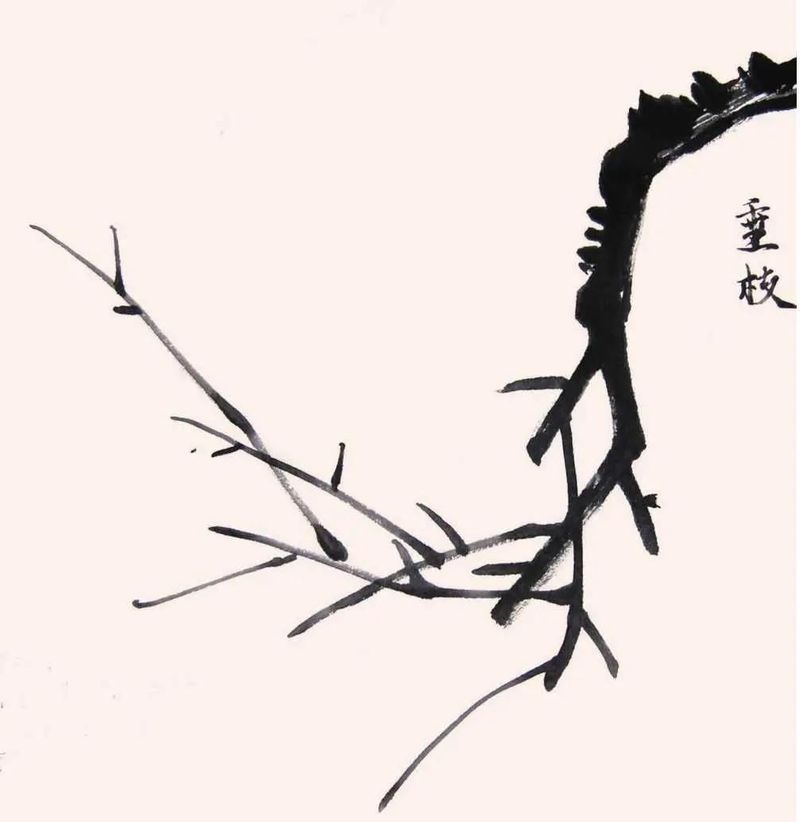
3 with thick moss, be careful to be big and thin。
The cross branch
The branches are shorter, longer, hard to pull, smaller and more moss. Draw with a pen, be careful with the main branch's ink, wet with ink, with both the ink and the side of the note, so as to hold the pen, and dry the branch to reflect the dryness of the branch。
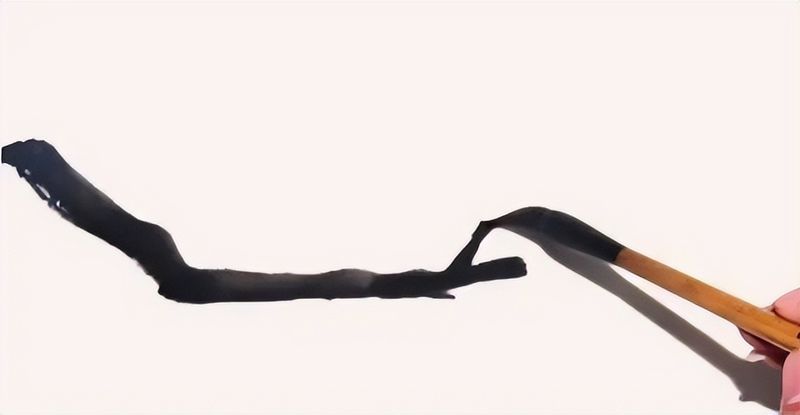
1 conciliate with a small amount of water in ink, with a pen on the side, drawing a branch dry, and be careful with the lifting process in order to show the truth。
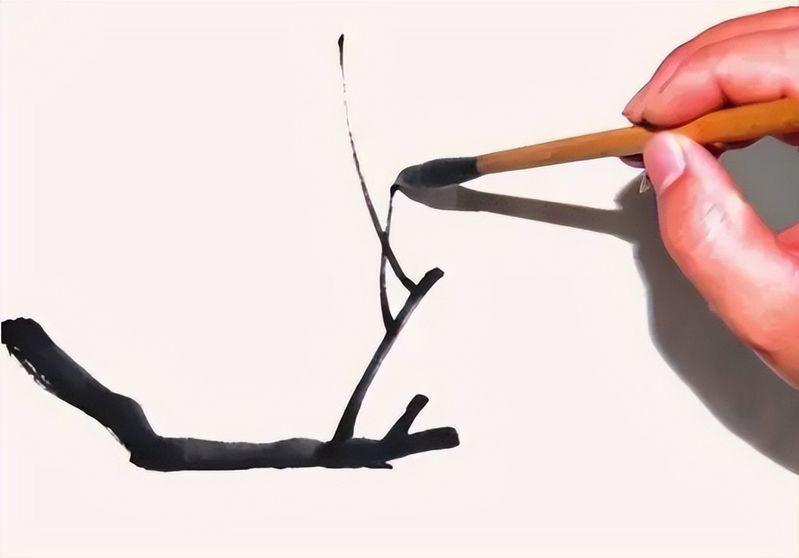
2 heavy ink twigs are drawn from the bottom up and lines are gradually fined。
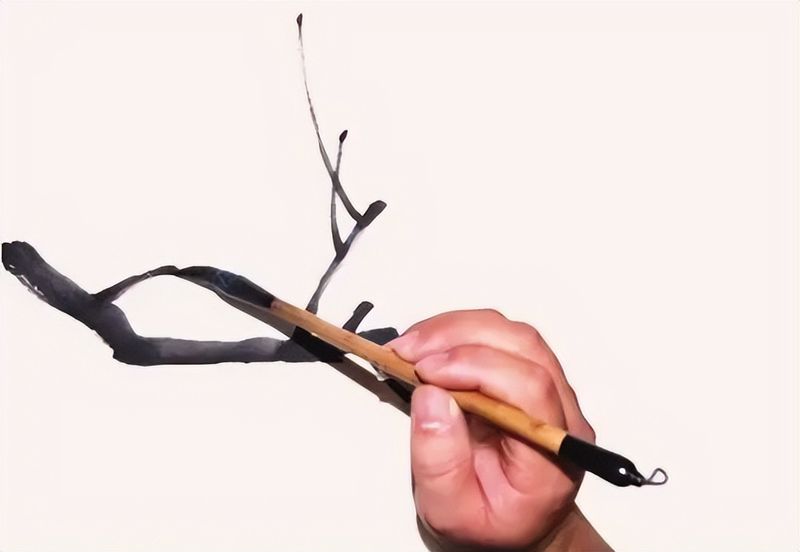
3 add some branches as a liner。
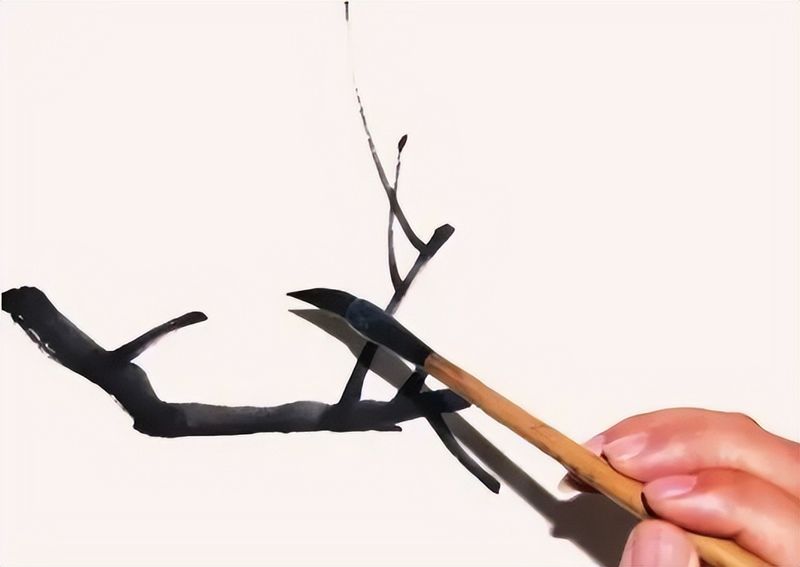
4 when drawing branches, care is taken to be flexible in the use of pens, and when adding dry branches, care is taken about the length of the branches and the size of the piping。
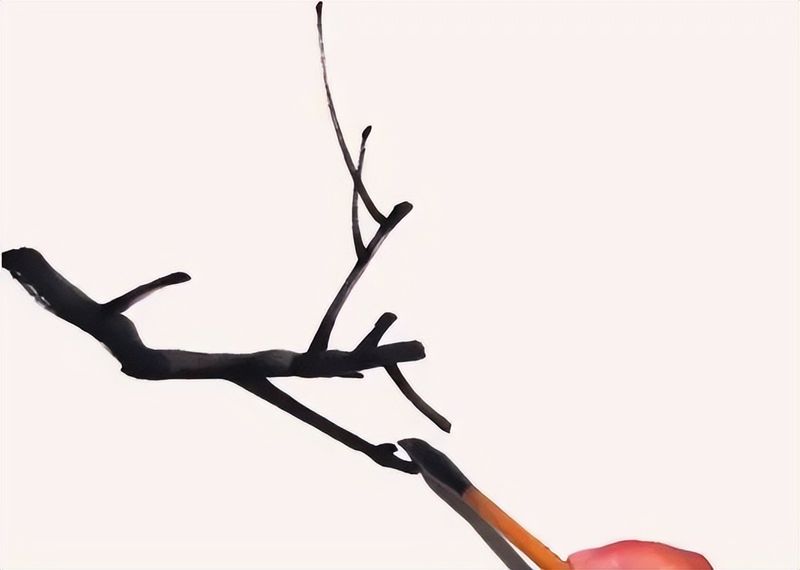
5 draws the side branch from top to bottom in ink, notes changes in ink, and gives priority。
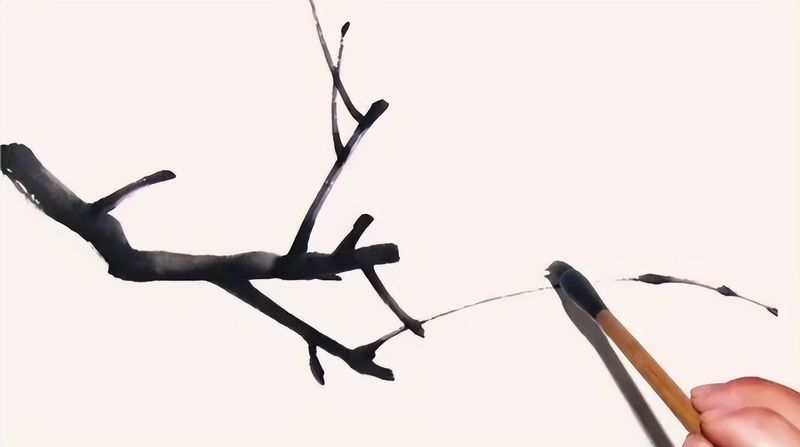
6 combine the ink, draw the branch, and be careful to express the layer with ink。
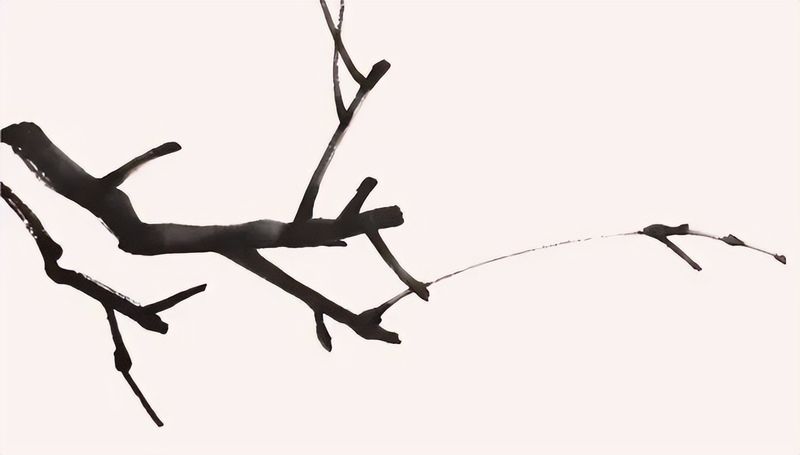
7 add branches in ink to enrich the picture。
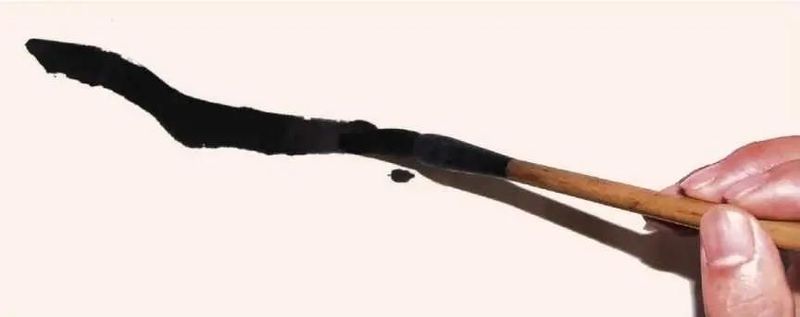
Jie
1 ink-drying branch, to be painted at the point where the branch turns, and not for too long。
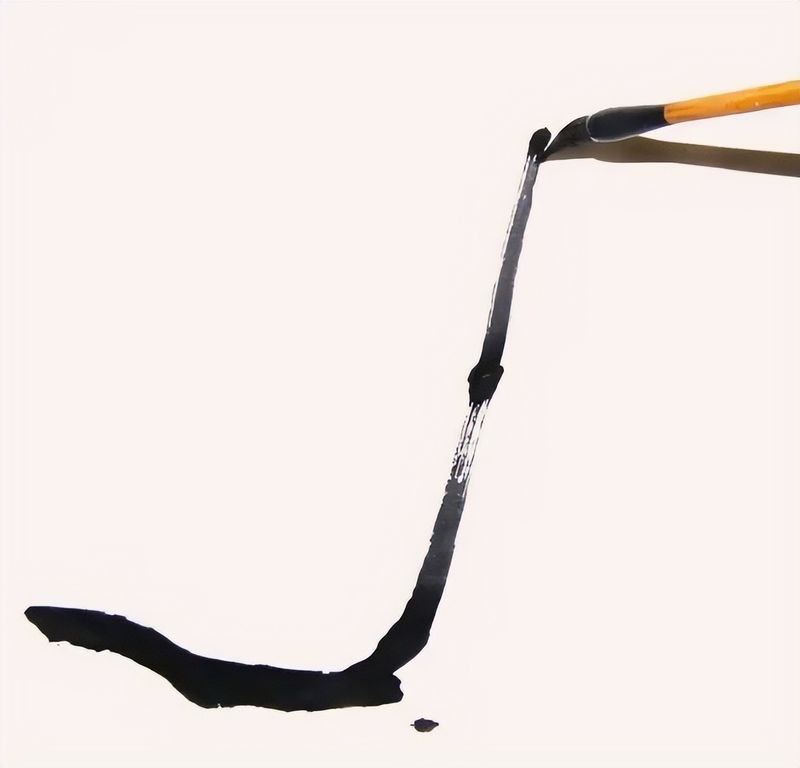
2 with heavy ink and light ink (tread with dryer ink) leave pen marks and white。
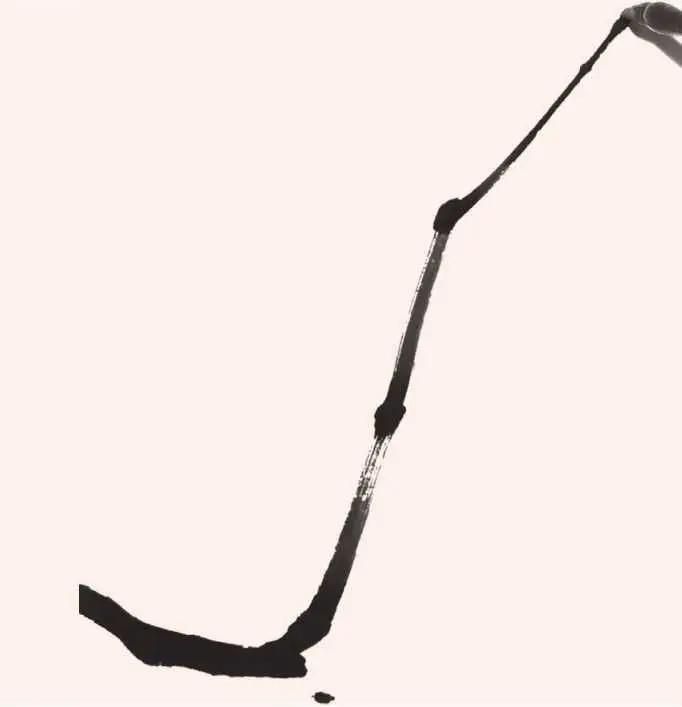
3 draw the twigs and use the pen from thick to thin and watch for the pause at the turning point of the branch。
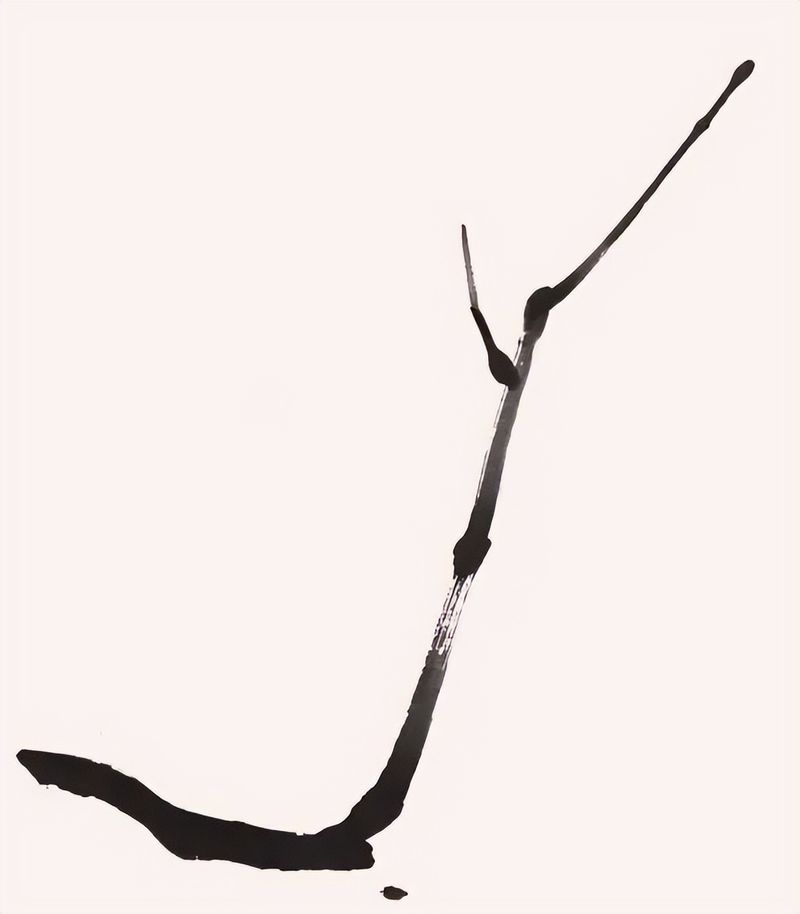
4 add a side branch, with ink from deep to shallow, pen from thick to thin, and a gas。
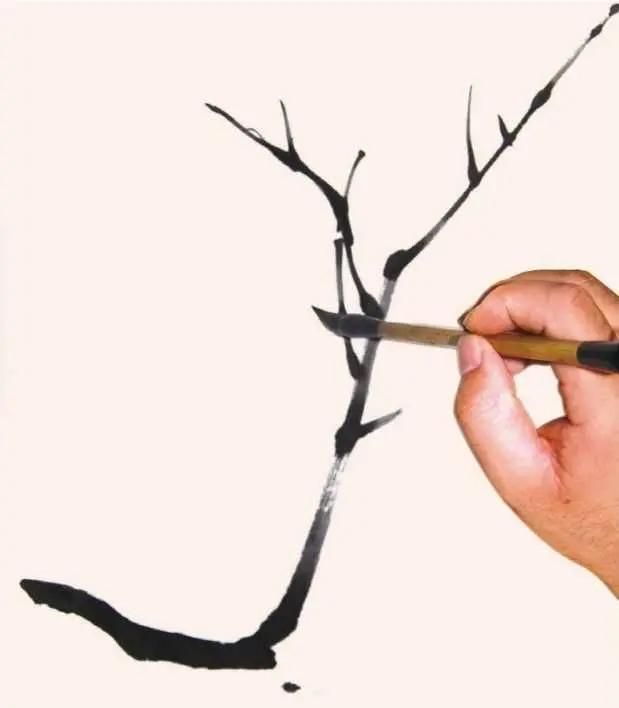
Five, draw the branches in ink, and watch out for the brush。
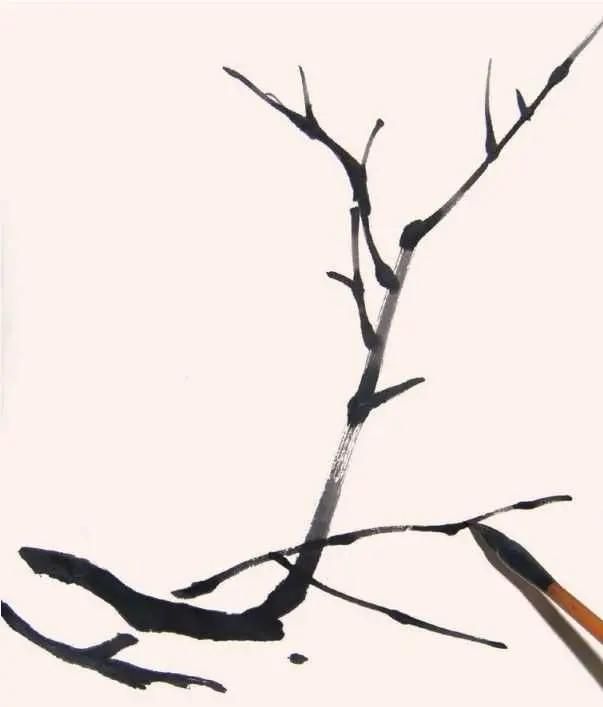
6 continue to add a set of branches and draw hard。
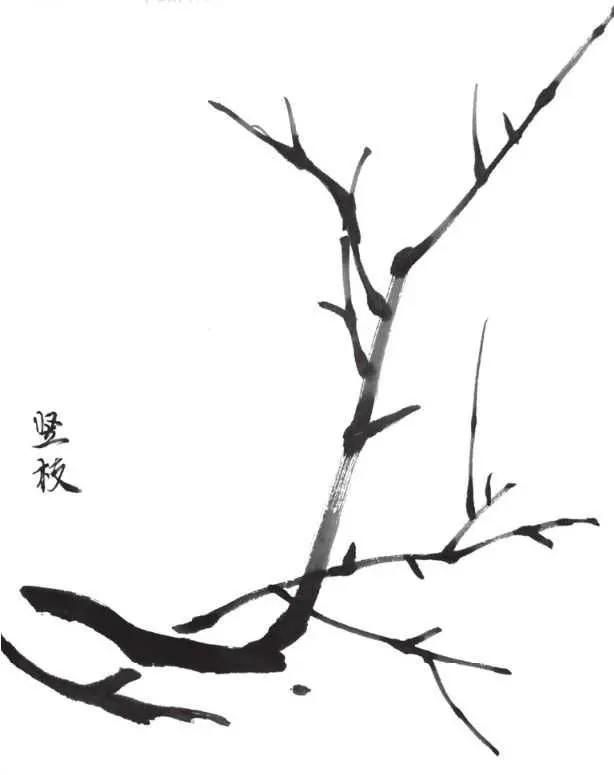
7 finally, add a few little branches to finish the drying。
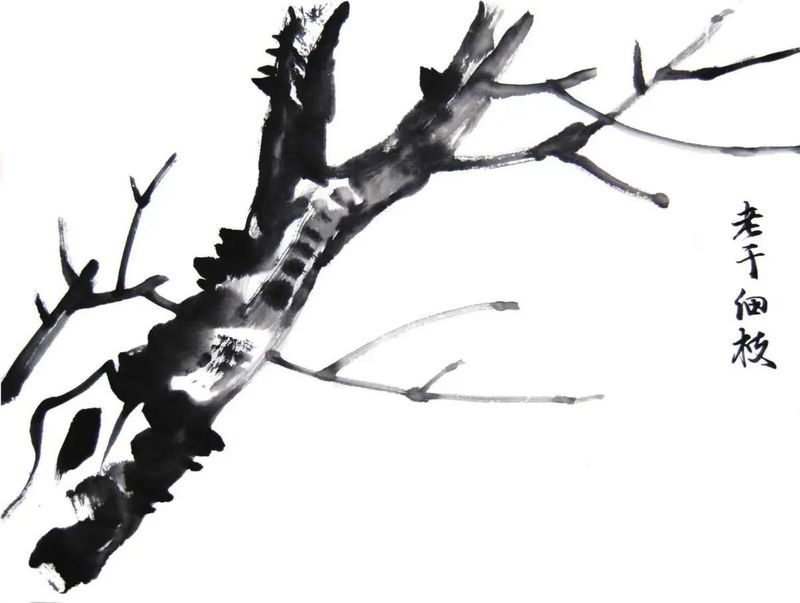
You're an old man
It's mainly the old trunk, which is rough and can be drawn with a dry pen; it's thinner, it's made ink, it's different ink, it's less uniform, it's body and quality。
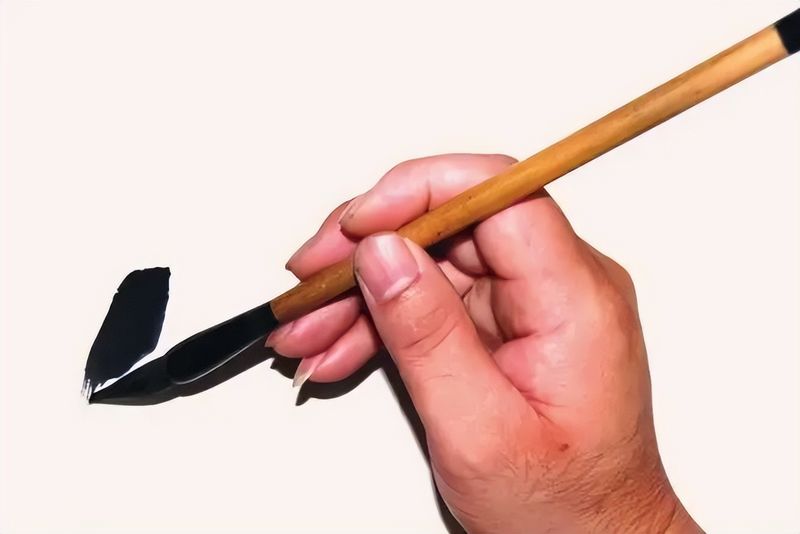
1 first, the ink is thick, the sides draw the cut on the stem, then the pen。
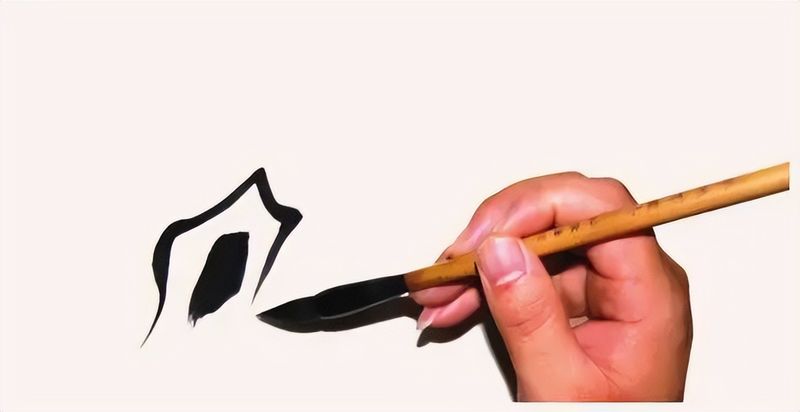
2 continue to ink the ink for the incision and use the pen to make a false change。
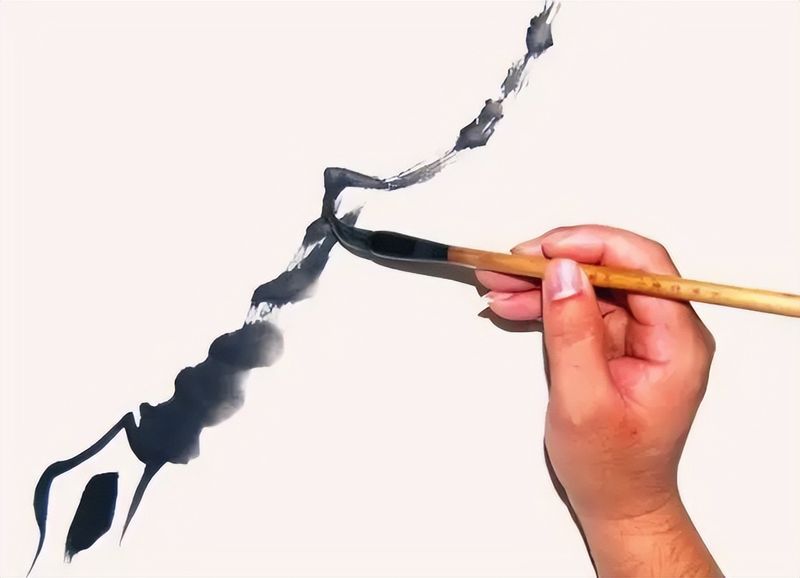
3 draws the quality of the stem of the tree using the oscillation, showing the shape of the bark。
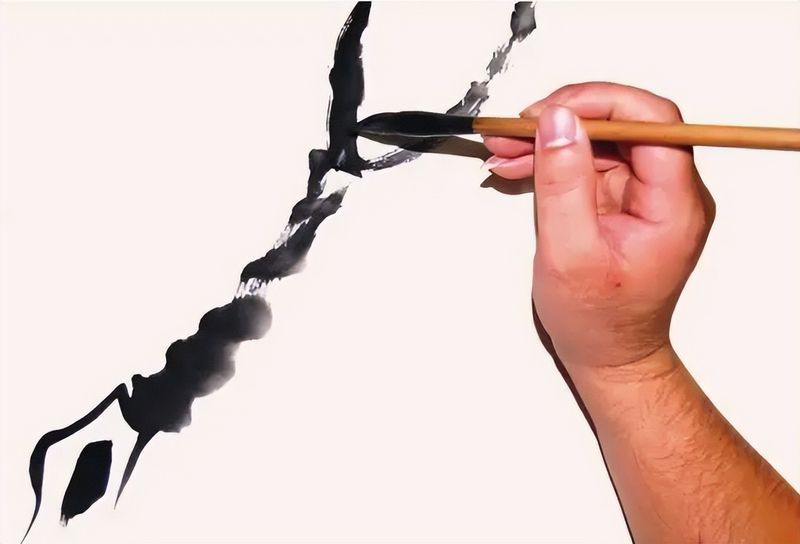
4 add a stem to show the drying and sanctuaries of the old tree。
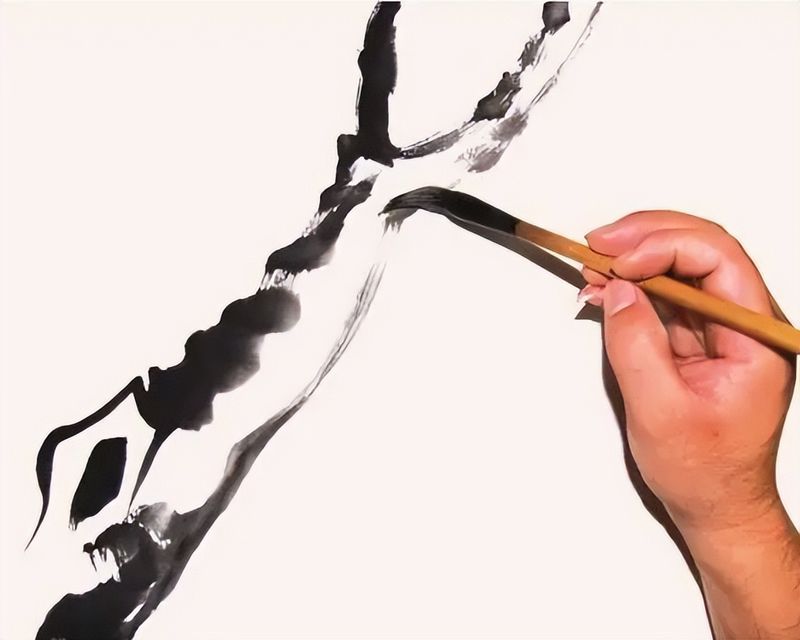
5 draws the contours of the trunk with light ink, drys with ink, leaves a brush。
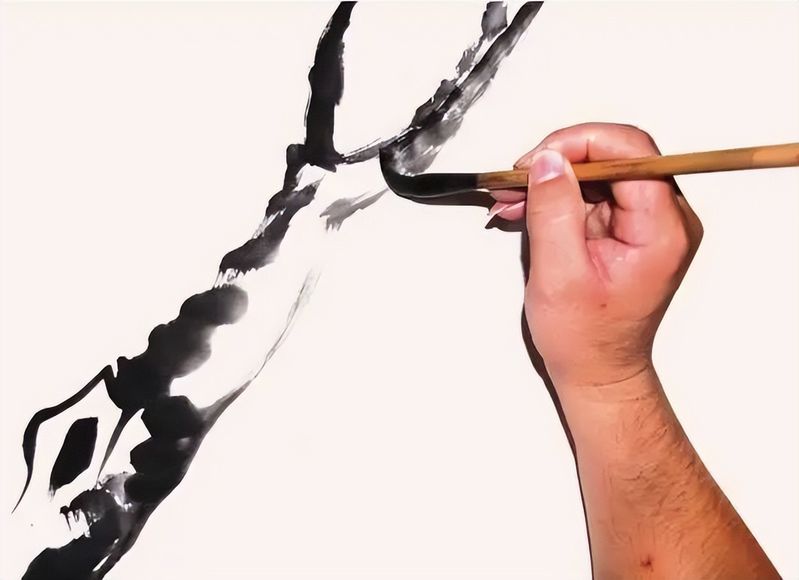
6 draws out a large, dark and dry relationship with light ink to watch out for pauses and dark ink。
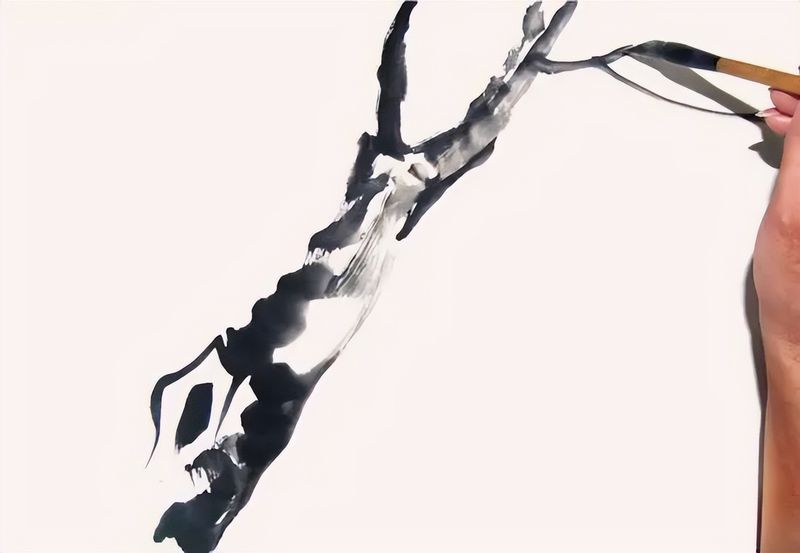
7 draw the twigs, do not pause with the pens, and the pens flow in contrast to the old trunks。
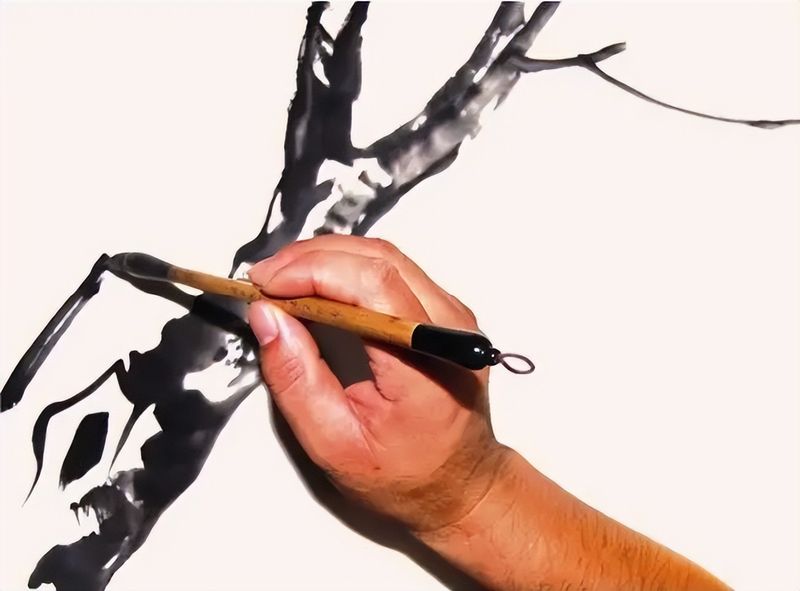
8 add an auxiliary branch, with a pen。
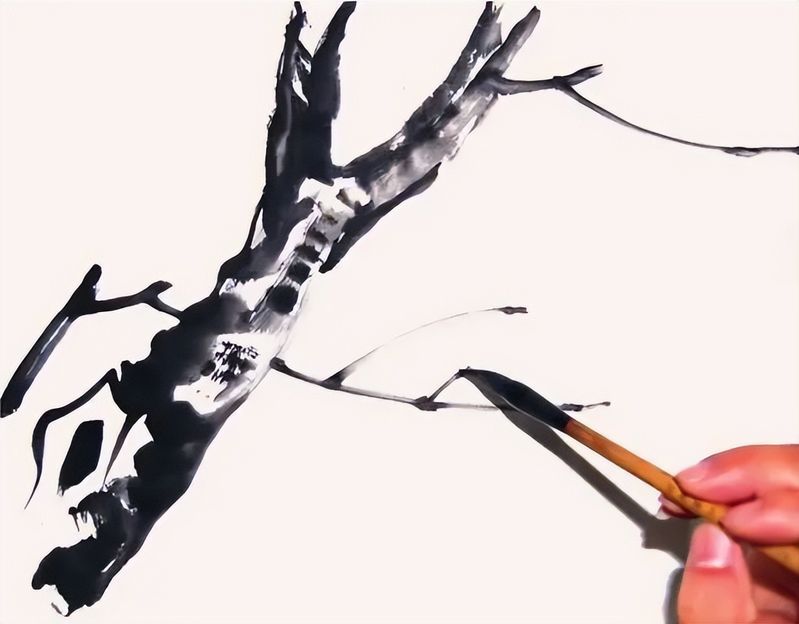
Nine pens of sharp ink, but less than the main branch, drawing branches。
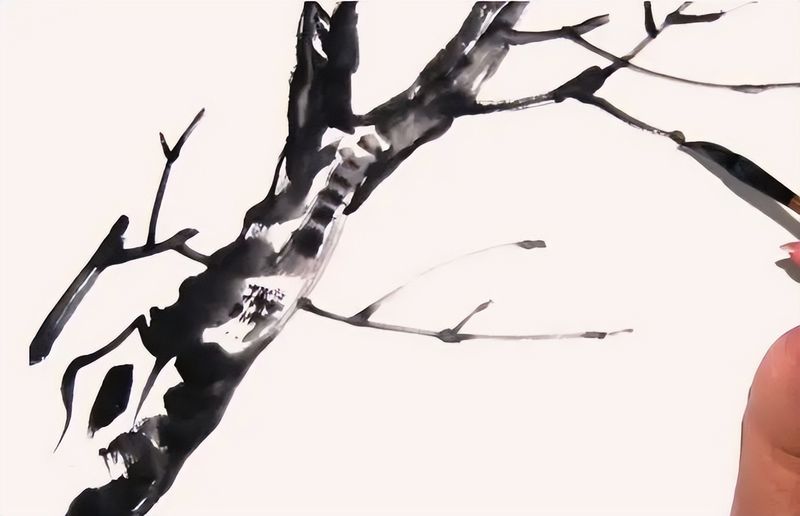
10 add a stem at the intersection of the previous step, noting that the pause is suspended and the pen is drawn up。
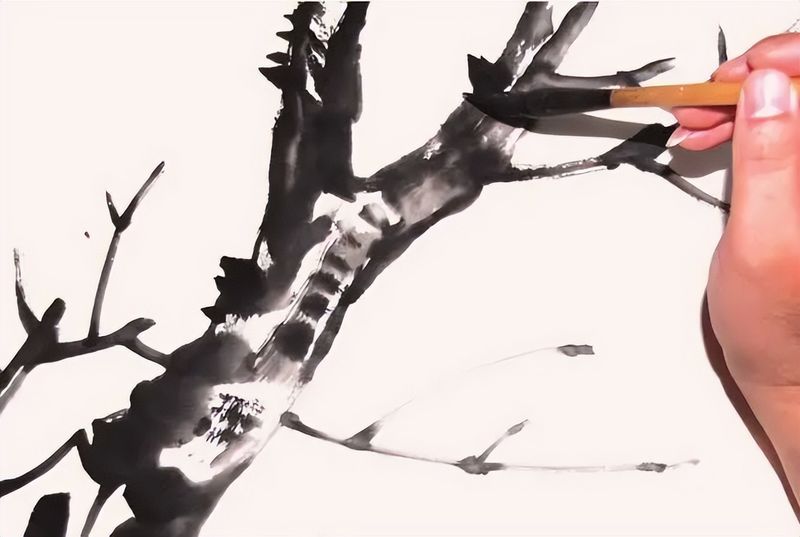
11 the selection of positions continues to add branches, and in combination, attention is paid to the changes in penetration, length and intensity。
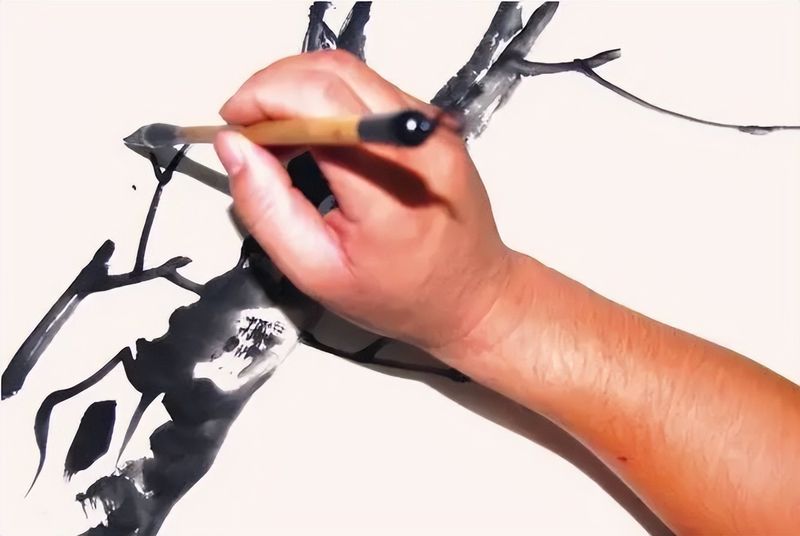
12. Perfect the stem, reflecting the vitality of the branch。
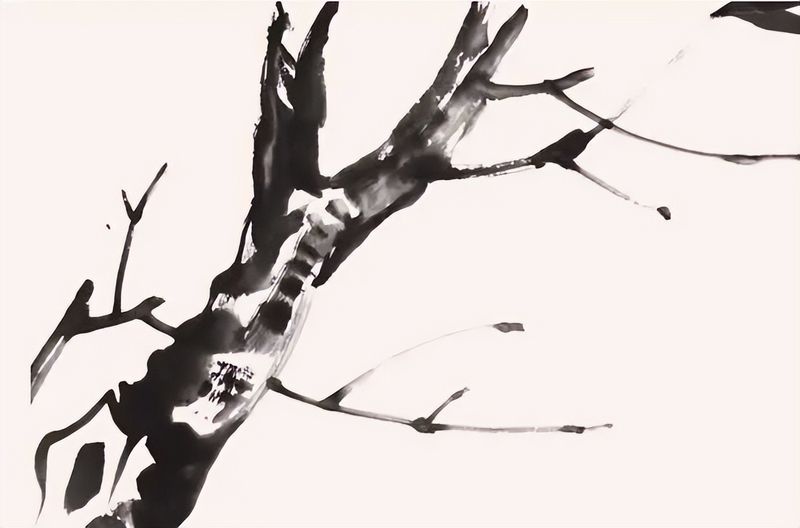
13 with thick moss, be careful to be large and high and low。