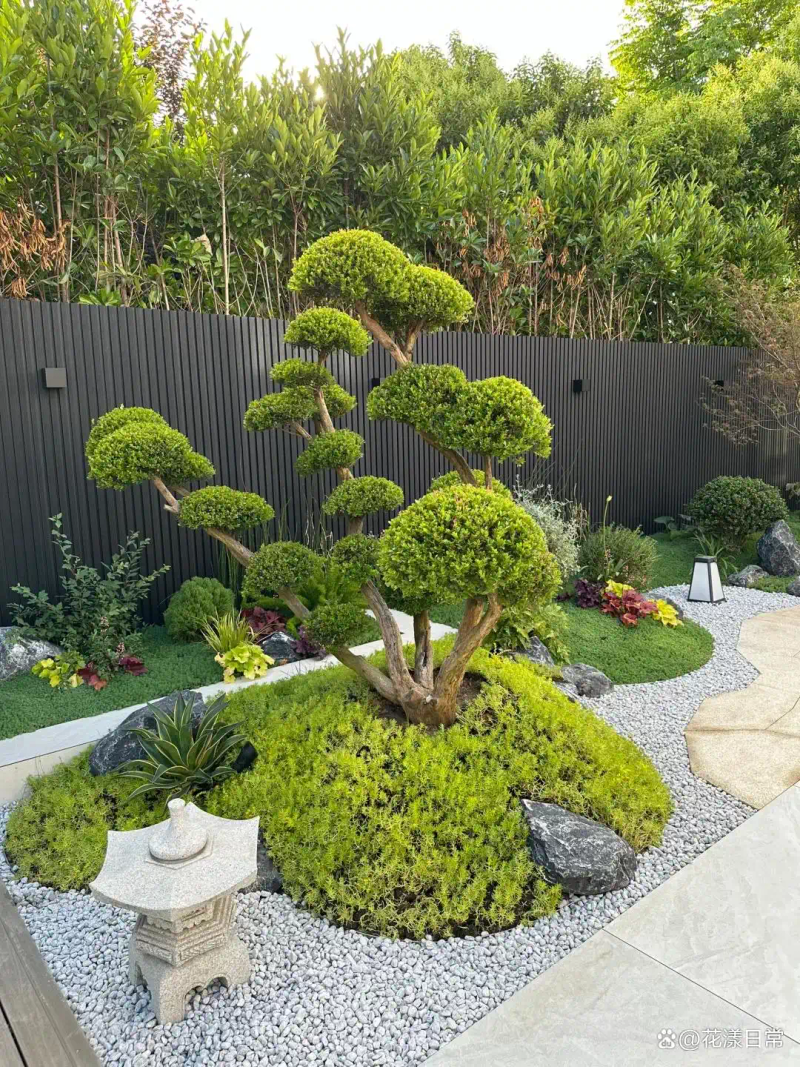
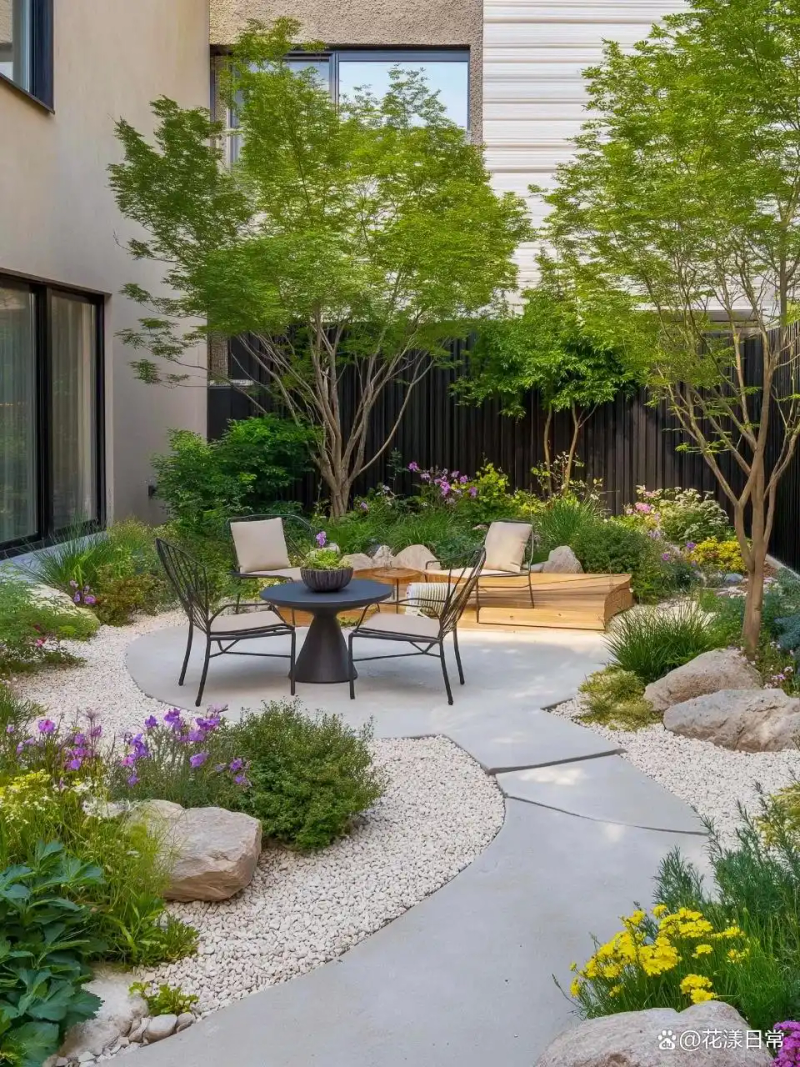
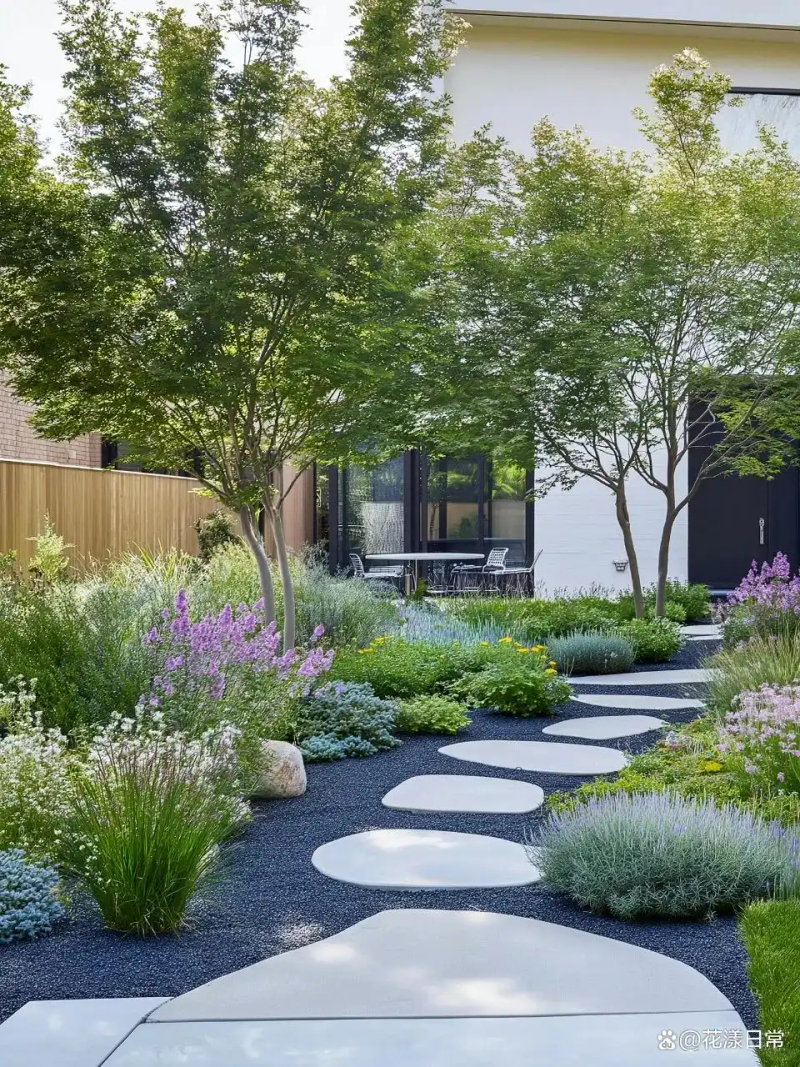
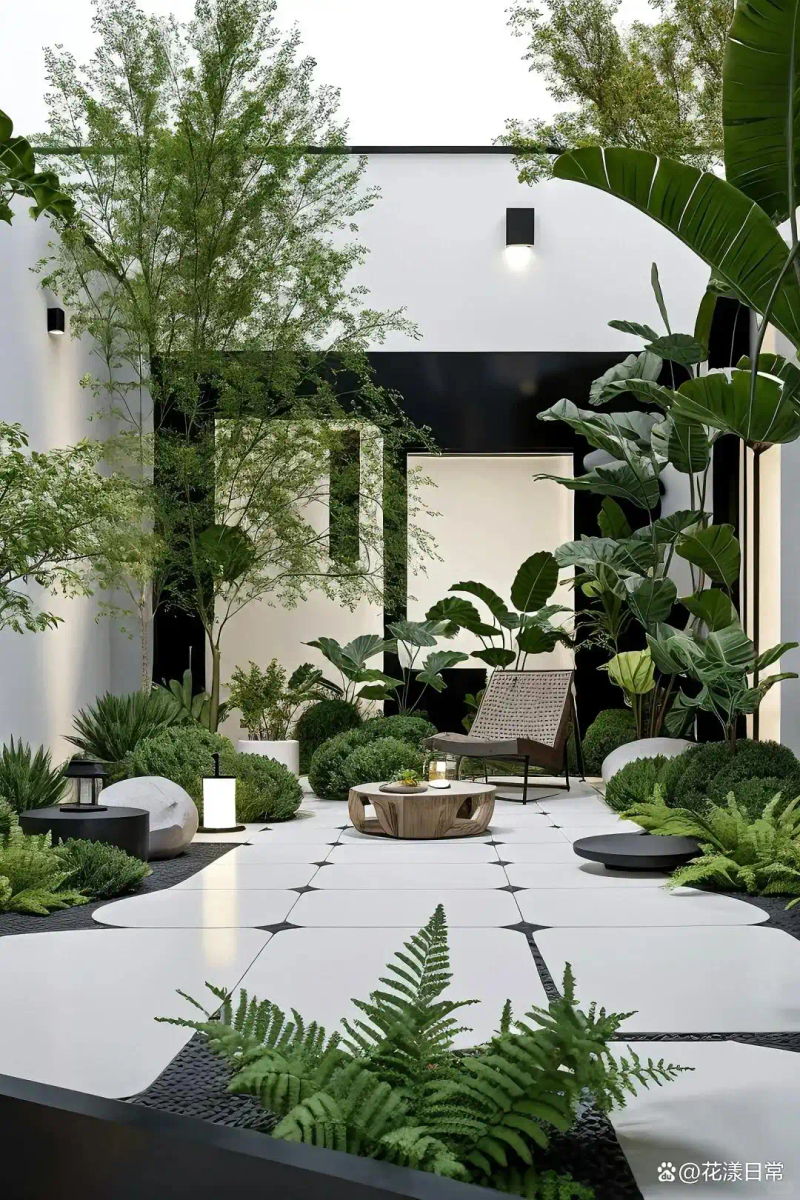
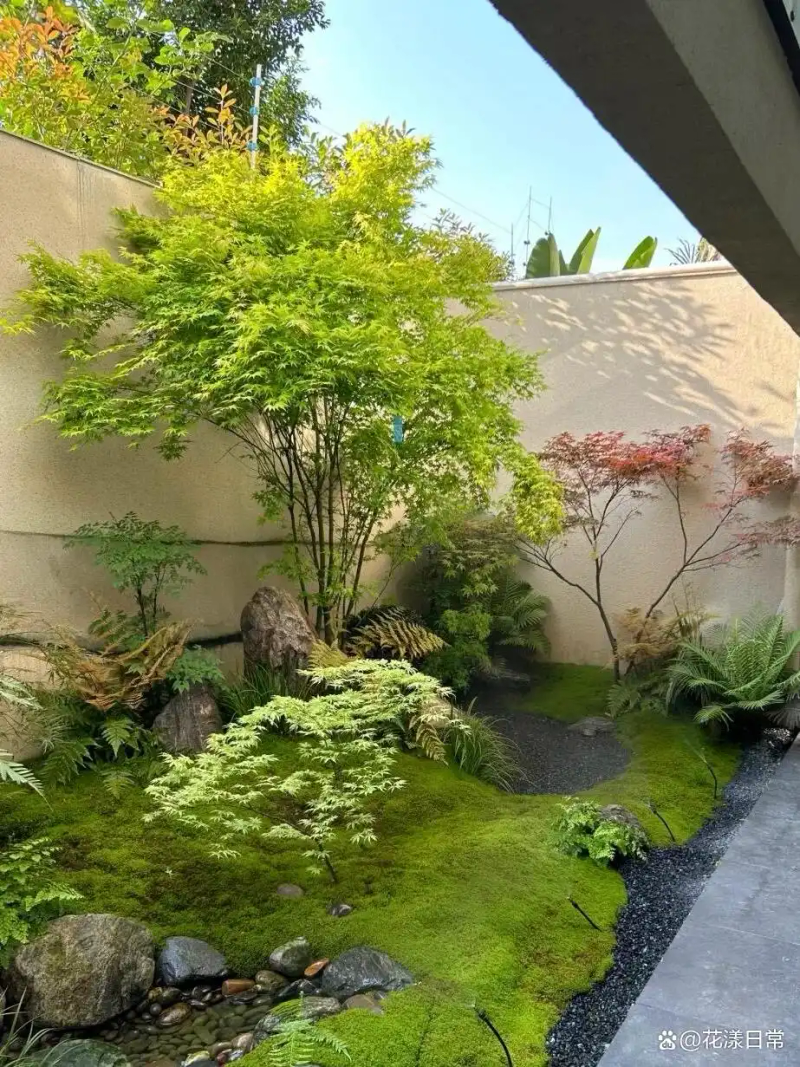
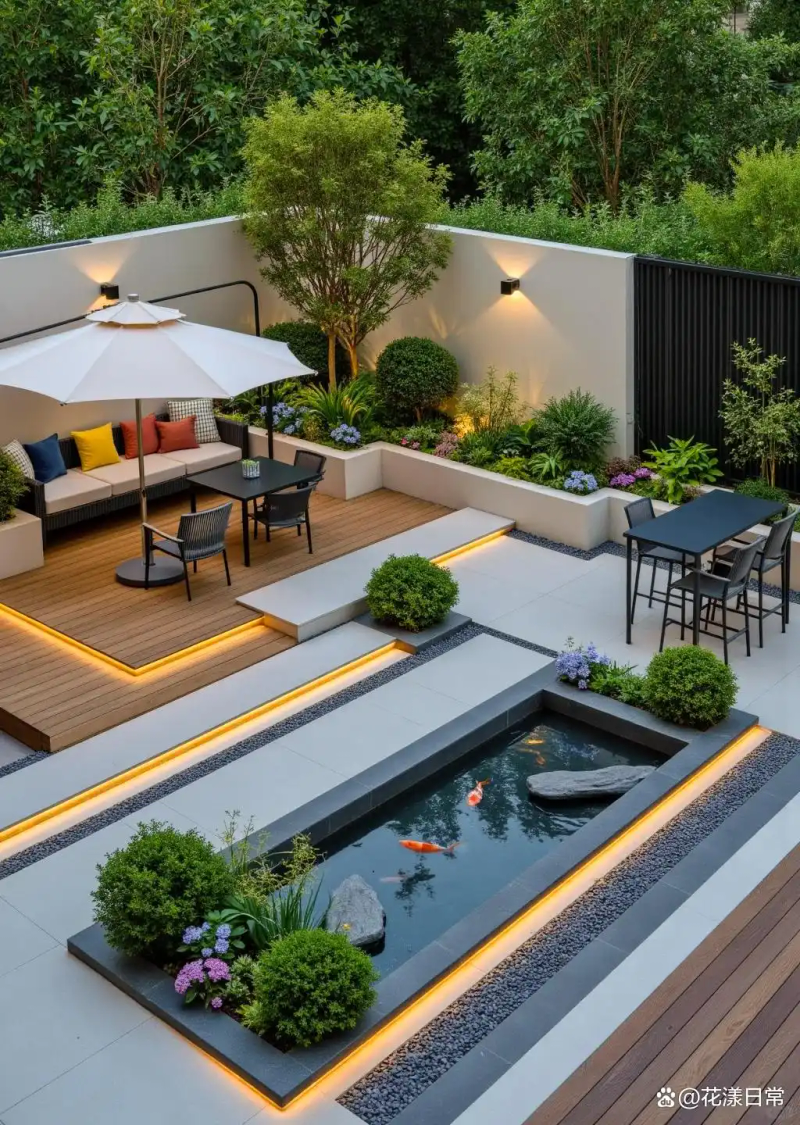
Did you expect to see a strong green shade when you pushed the door open? But growing trees is not just digging a pit and pouring water, and there is much learning. Today i will teach you the 10 key steps of the tree that will make it easy for you to build a kingdom of greenness in your own courtyard
Step 1: select a precise site and select a “gold spot” for the trees
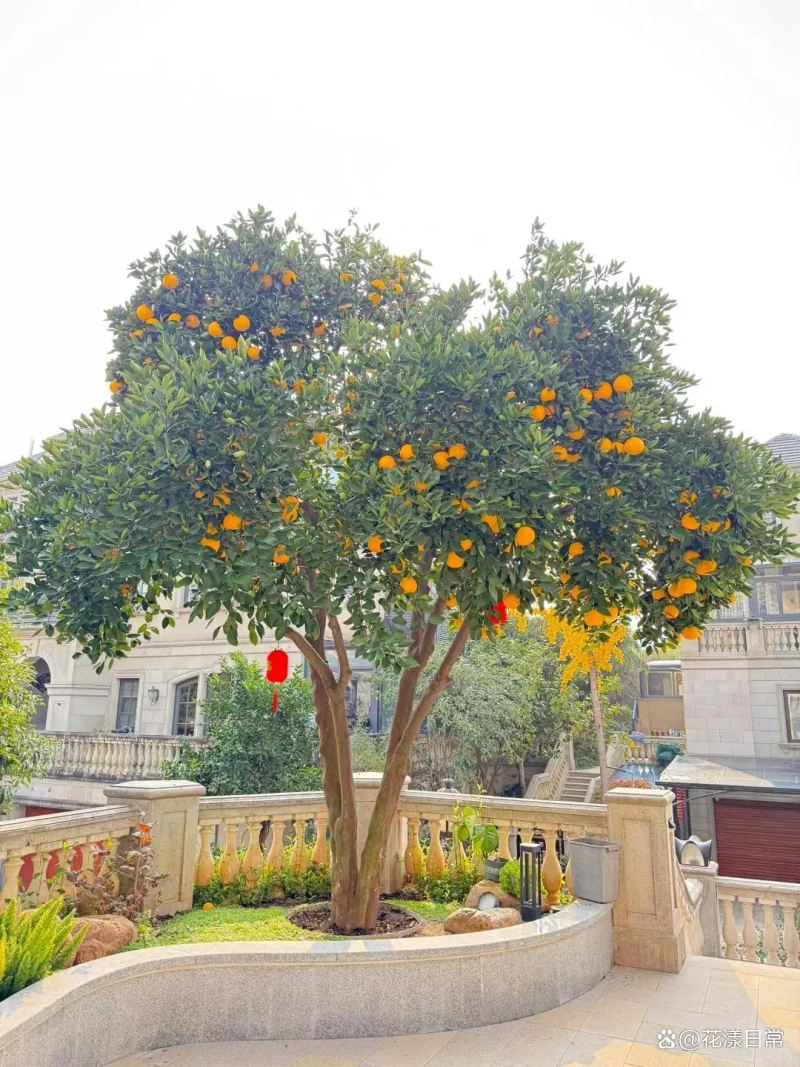
Sites are the bedrock of the tree and directly determine whether the tree can thrive. First, the light needs of the trees, the preference for the sun varies from tree species to tree, such as pomegranates, violets, which require sufficient light, to tree species such as dows and tea, which are suitable for semi-vaginal conditions. Secondly, attention is paid to the distance between trees and buildings, which generally remain around 3 metres away, preventing roots from growing and destroying the foundations of the building, while avoiding trees growing up to cover up indoor light. Finally, if soil drainage is poor and the roots of trees are perishable, areas of higher or better drainage may be selected, or drainage may be enhanced through soil improvement。
Step two: dig in, "the cradle of growth."
The pits seem simple, but they are hidden. The pit is one circle larger than the earthball, with 42 centimetres greater in diameter and 30 centimetres more in depth, thus providing sufficient space for the roots of the trees to grow. And the pit walls must be vertical, which is more conducive to rooting down the roots and making the trees stronger. When the pit is dug, the stones and miscellaneous items inside it can be cleaned and the roots may not be affected。
Step three: set up a “nutrient package” to lay the foundations for growth
“by raising the trees well”, it is crucial to shoot the mixed soil. First, a layer of nutrients is laid on the pit floor to provide the trees with early nutrients. A combination of corrosive soil with pearl rock, rich in corrosive soil, can provide rich nutrients for trees, and pearl rock can increase soil permeability and drainage. (c) to fully mix the nutrient soil with the soil, to make the roots better adapted to the new environment and to lay the foundations for the healthy growth of trees。
Step four: looking for a "carry-in-the-carrying" and a good sense of beauty in the downfall of the muzzle
We must look for a proper view before the tree plaque falls. The trees are slowly rotated, carefully observed, and the branches stretch and form the most beautiful angle, and then marked to ensure that the trees are planted in the same direction. The most beautiful side is directed towards the leisure or major viewing areas, making the garden view more attractive. At the same time, attention should be paid to the overall balance of the trees and to avoiding a tilt after planting。
Step five: paint the drainer, the pottery layer has its roots
Placing of granules is an effective measure to prevent water from being accumulated at the roots of trees. On the bottom of the pit, 15 centimetre-heavy pottery is used as a drainage layer, with large gaps between the pottery, excellent drainage and rapid discharge of excess water. At the same time, the root has been raised to 10 cm above the ground, further enhancing the drainage effect, preventing long-term root leaching in the water and creating a good growth environment for the root system。
Step six: unlock the shackles and cut the leash for growth
Before filling, you must cut the line on the earthball. These cords are fixed during transport and handling, but if they are not cut, they bind the roots to grow and affect the roots of the trees. Carefully cut the line and untie the roots so that they can spread freely and quickly take root in the new soil environment。
Step 7: installation of “respiratory pipe”, pvc tube for oxygen protection
The insertion of a holed pvc tube around the pit is like the installation of a “respiratory pipe” for the trees. These vents allow the air to flow around the root system, avoiding the decay of the roots due to lack of oxygen and ensuring their healthy growth. When inserting an pvc tube, take care of the height and angle of the pipe to ensure a smooth flow of air, while avoiding its impact on soil filling and the stability of trees。
Step eight: tectonic earth-filled cooping, solid foundational water protection min
The stratification of the soil and the construction of the hull are important steps towards a solid foundation and water conservation. When refilling the soil, the layer is to be layered and each layer is to be filled lightly, ensuring that the soil is in close contact with the root line and providing stable support for the trees. Upon completion of the landfills, 20 centimetres of high and 1 metre in diameter are constructed around the pits, so that when water is poured, the water is concentrated in the pits, fully infiltrated into the soil and acts as a root protection。
Step nine: triangular support fixed and wind-resistant trees steady. Mountain
Triangulation of trunks can effectively enhance the resistance of trees to wind. Select three wooden sticks or poles of suitable length, with a rigid mass, which are triangulated, with one end attached to the trunk and the other buried deep in the soil. When fixed, care should be taken to be relaxed, so that the bark cannot be too tight to damage, or so as not to function. In this way, even in the event of wind, trees can stand steady and avoid being blown down。
Step 10: water for life, rooting for trees
The last step, which is also crucial, is the watering down of the roots. Fill 200 centimetres of water with fixed roots, allowing the water to fully permeate the soil, so that the soil is finer, so that the roots are closely integrated with the soil, and so that the trees quickly take root. Water should be slowly watered, evenly permeable, avoiding local water accumulation or inaccessibility. Follow-up water conservation, based on weather and soil moisture, may be carried out in due course after the water has been given。